I had the opportunity to use the ELB1200 ahead of it’s release at the start of September 2017, and it was something I’d been looking forward to since Elinchrom’s announcement earlier that year. My location kit comprises of 4x ELB400 with an action head and a HS head for each one. And I have to say, they are just superb. They’ve done everything I’ve asked of them and more. So whilst I was keen to road test the ELB1200, I did have that little nagging voice at the back of my mind, quietly whispering “What can it do, that the ELB400 can’t?”
I brushed those thoughts aside with the obvious reply “Power!”, but is there more to it?
Manufacturer specifications
- A and B outlets
- 2:1 (66%:33%) asymmetry
- 1:1 (50%:50%) option
- 1.7s recycling time in FAST mode
- 3.0s recycling time in DEFAULT mode
- Large OLED control display
- Head recognition
- LED illuminated outlets, show which head is active
- Each head can be activated or deactivated separately
- Flash duration display
- Strobo, delay and sequence features
- Precise colour consistency
- Reliable flash duration consistency
- USB input for firmware updates
First Impressions
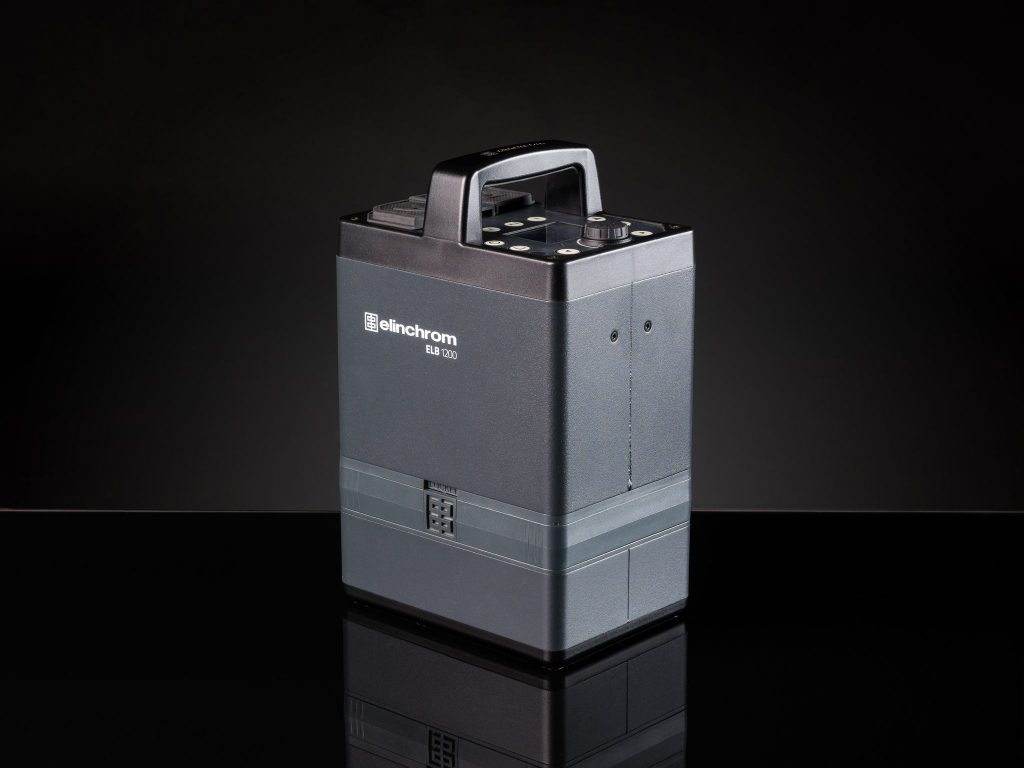
When the kit arrived, an ELB1200 with an Action head and a Pro head, I had a brief familiarisation session at the studio before venturing out to the realm of client shoots. No one likes to look a bit of berk in front of a client! It turns out, my brief familiarisation session was much briefer than anticipated. The button legends were familiar from the ELB400, so navigation was fairly straight forward. The first thing I noticed was the head selection is manual, so you can select which head to use when you have two heads plugged in. A, B or both. And equally, you can disable them without unplugging them.


This was where it got a little interesting for me. Between the head selection buttons, there is a button marked “A:B”. This allows you to select asymmetrical output, or symmetrical. Great news from my point of view. The ELB400 are asymmetrical, so you get 2/3rds through A, and 1/3rd through B when you have two heads attached. The same output ratio with the ELB1200 in asymmetrical mode. Symmetrical splits the output 50/50, so both heads deliver the same amount. I found this setting very useful, particularly when shooting food.
The second hallelujah moment was discovering the dial. Okay, that sounds a little over the top. On the ELB400, you raise or lower power by pressing a button. Holding it down to increase/decrease rapidly, or single presses to adjust by 1/10th increments. The ELB1200 allows you to increase or decrease by a full stop with the press of a button, and make 1/10th adjustments with the dial. Very quick in use.
The ELB400 display includes the output in Ws, whereas the ELB1200 can also display the light duration. This makes it much easier for those of us dabbling with water and the like.
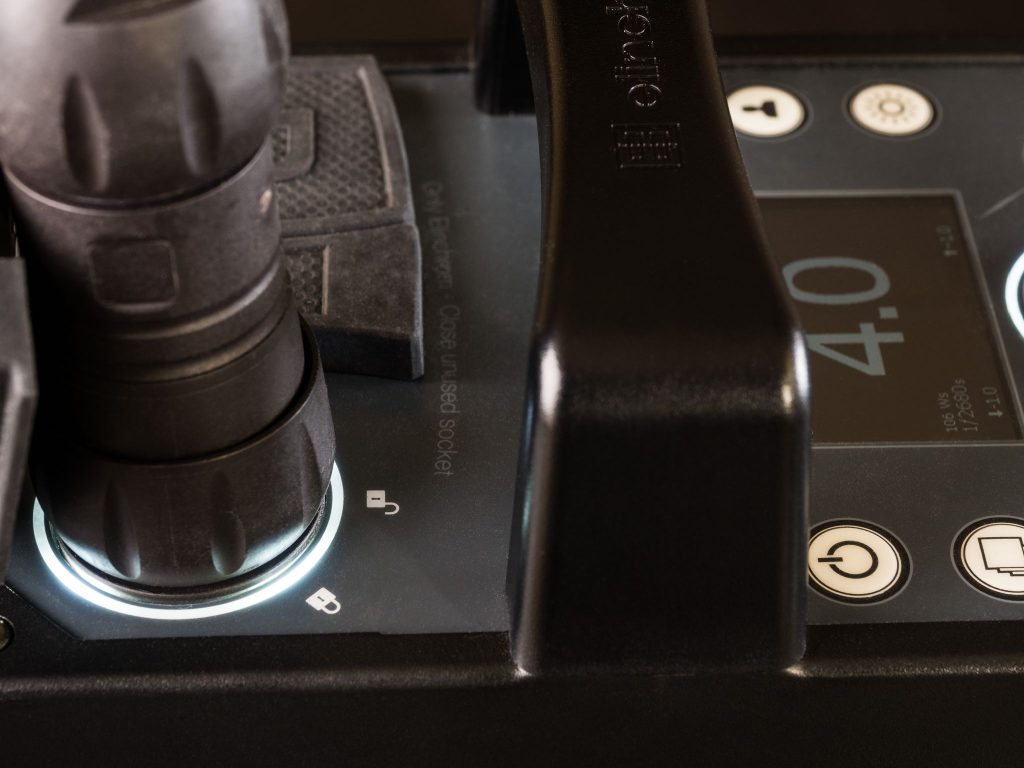
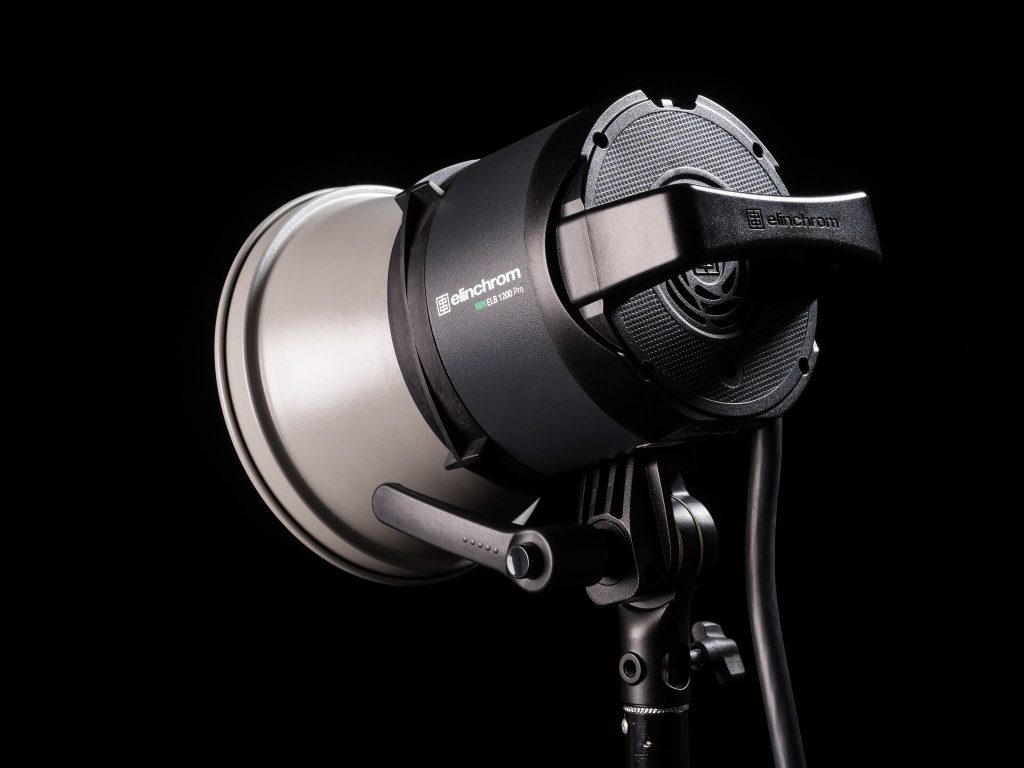
Attaching the heads is a lot quicker than on the ELB400 too. Push it home and a slight twist to lock. Dead easy. The connector is a lot chunkier, allowing much easier use when wearing gloves. An illuminated ring around the connector gives a visual indicator as to when a head is active.
A welcome factor was the weight. The pack, battery and head comes in around 6.5Kg, which is quite a saving compared to the 10Kg of the equivalent Ranger RX.
In Use
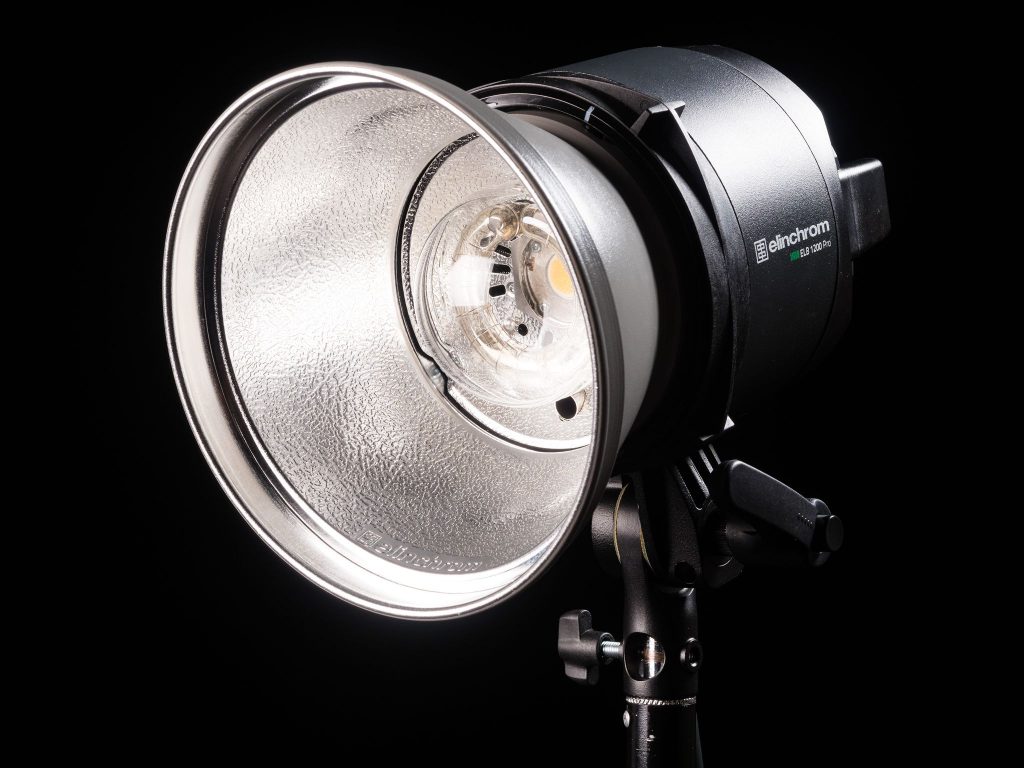
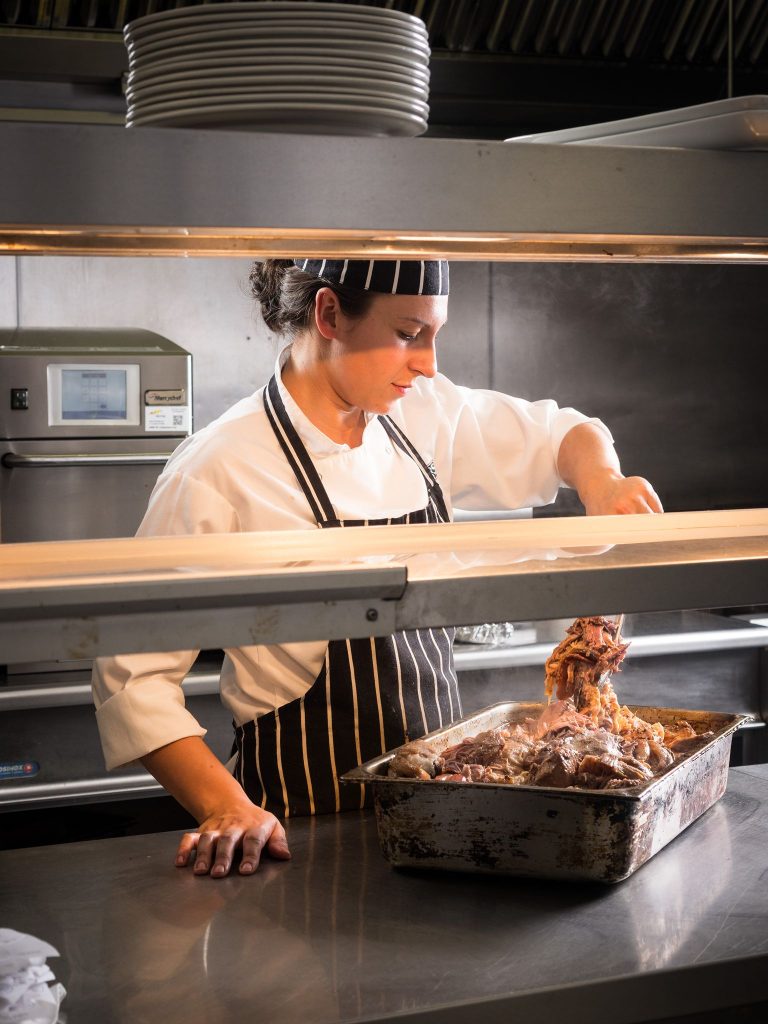
My first shoot was food. Between you and me, I was a little concerned about using the ELB1200 for food. And the main reason was down to it’s headline feature, power. Food tends to necessitate close work, both with camera and lighting. One thing I was looking forward to, was using modifiers without having to resort to using the EL adaptor for the ELB400 heads. For the food photography, I used a Lastolite 90×90 EZybox as the keylight, and a 44cm gridded beauty dish as the accent light. The ELB1200 had an Action head connected to port A, and a Pro head connected to port B. I selected symmetrical output, with both heads usually set to around 2.0 to 3.0. The camera settings were generally 1/125th sec ISO200 and f5.6 or f6.3 (Olympus E-M1 mkII).
I found a symmetrical output very effective for the food shoot. Quite some time ago, I used a single battery box with asymmetrical output to two heads, and found it time consuming having to gauge output and move the lightstand to compensate. I quickly moved to using two separate battery packs, each with a single head. It was just so much easier to make adjustments. Using the ELB1200 in symmetrical output mode was a lot simpler than the old asymmetrical days.


The blog for the food shoot is here.
As is usual with food shoots, I was also asked to photograph the chefs at work. My main challenge was workspace, but that had nothing to do with the ELB1200, just the way the kitchen was laid out. I stayed with the same modifiers, but switched to asymmetrical output as the first test shot displayed too bright an accent area from the gridded beauty dish, and I was unable to move it further away and the key light was pretty much bang on, and no way to move it nearer. The drop from 50% to 33% on the B port was just about enough, allowing the highlight to be brought down a little more in post.

The blog entry for the workplace Chef portraits is here.
I then had a flurry of automotive shoots, and a single battery pack wasn’t going to be able to cover all the areas I needed, due to the length of the cables from pack to head. I settled on the ELB1200 for the key light, and an ELB400 for the fill. I generally only use two lights for vehicle work, although I take more, should I need them.
Both packs used a single head via the A outlet, and both heads were firing through 65° reflectors. A couple of the shoots were in strong sunlight, and the ELB1200 had headroom to spare. The ELB400 occasionally hit its ceiling output of 6.0, even as a fill light.
Occasionally, I needed to take in a wider view, which meant one of the lights needed to be further away to avoid fouling the frame. If it was the fill light that needed moving, I had to swap the ELB400 for the ELB1200, making use of the higher power for the reach.
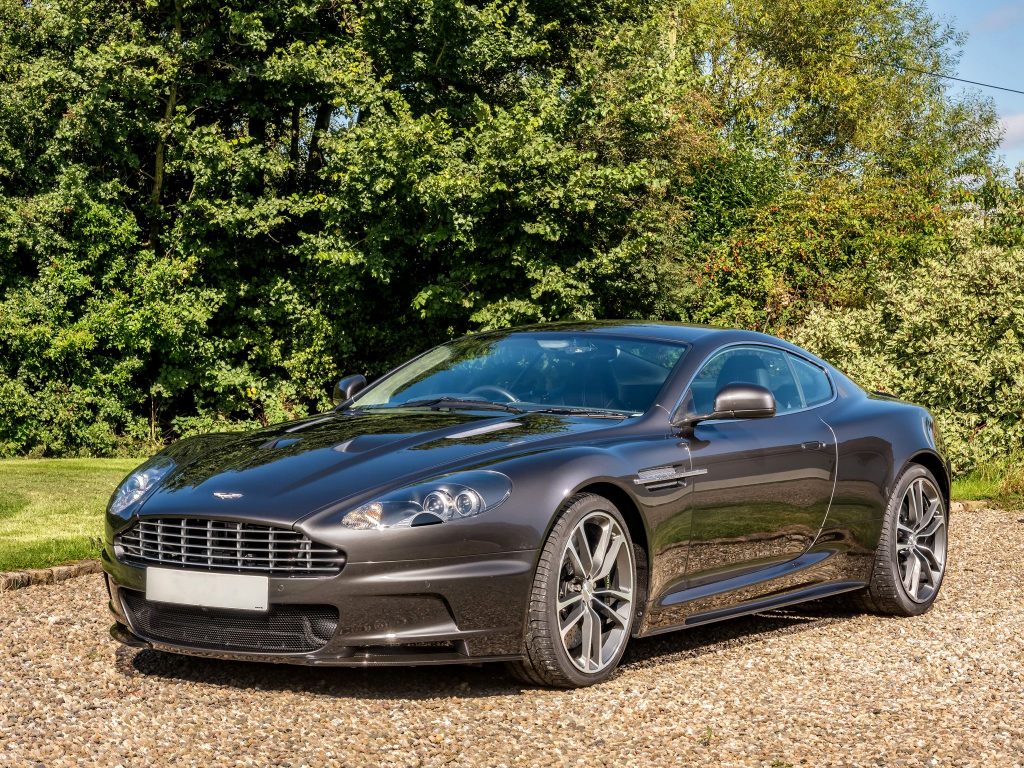
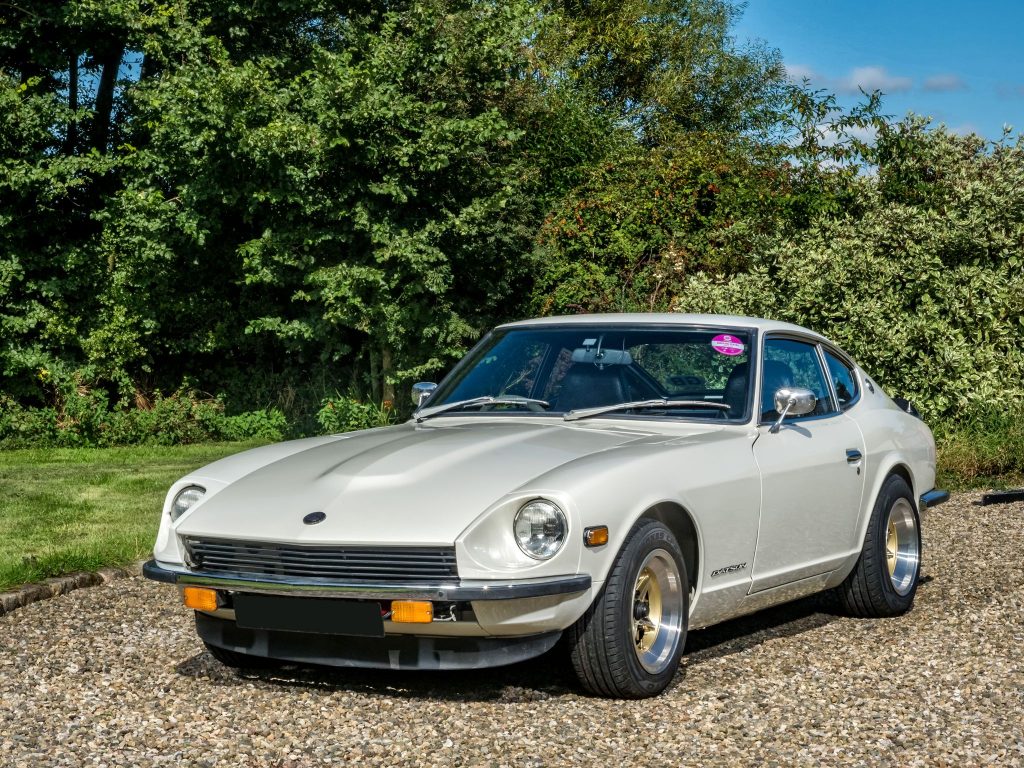
One of the automotive blogs can be found here.
Finally, a very quick location portrait session, basically to try a bit of high sync with the Pro head, allowing me to go wide open at f1.2. Initially, I used only the ELB1200 and Pro head, firing through a Rotalux 175cm Octa. I managed to push it to 1/2000th sec, but felt I wasn’t getting the best from the image. I needed an accent light, so added an ELB400 with a single HS head firing through a 65° reflector with a grid fitted. The difference was quite noticeable, and I’m not talking about the added accent light. The HS head on the ELB400 delivered a lot more recordable light at a much lower setting, than the ELB1200 Pro head delivered. Both heads were at a similar distance from our subject, with the ELB400 firing at an output of 3.0, whilst the ELB1200 with it’s Pro head was firing at an output of 5.0. I don’t doubt I was pushing the Pro head at that kind of shutter speed, but I’d love to get my hands on a HS head for the ELB1200, and really make it sing.
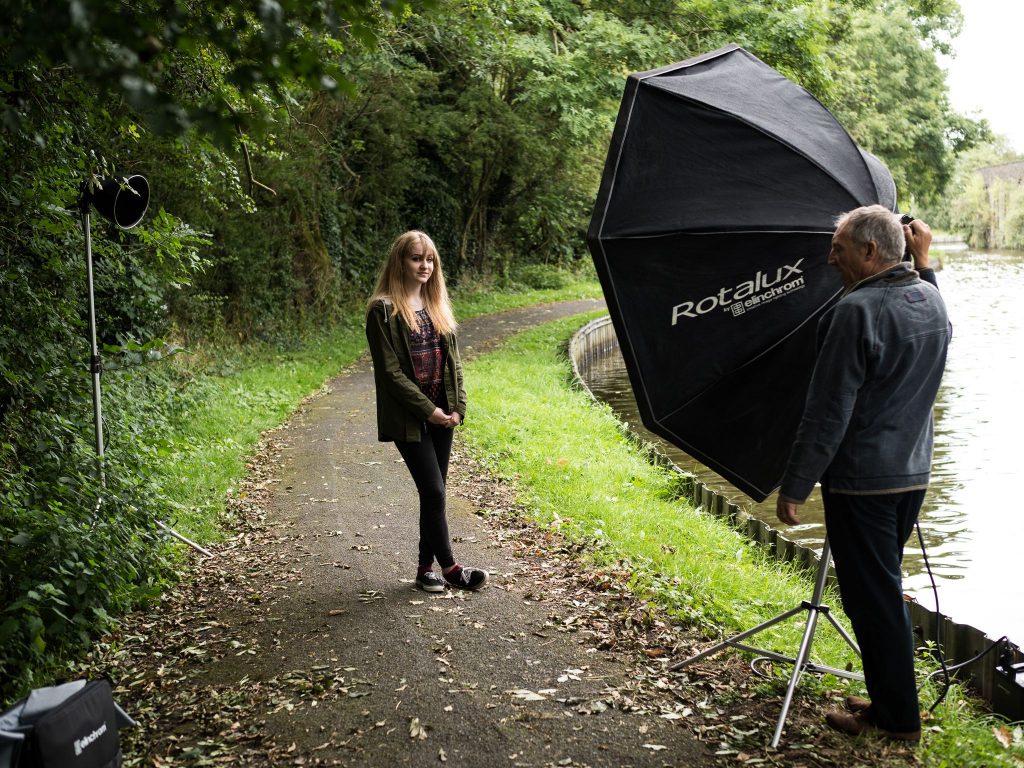
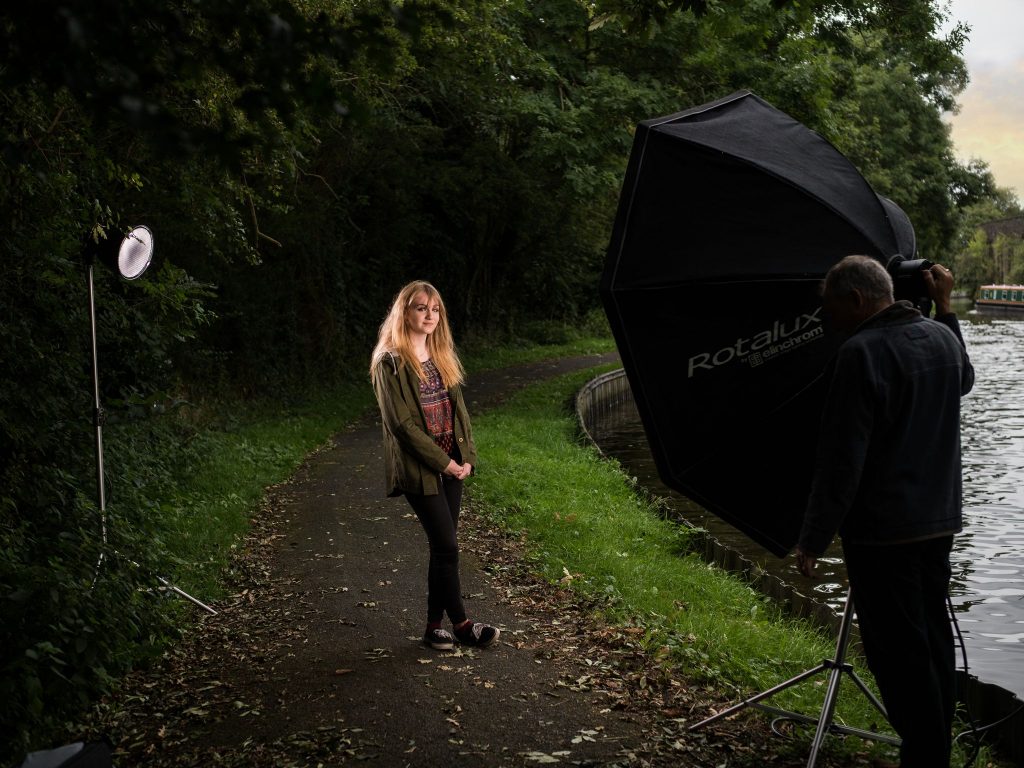

The blog for the location portrait can be found here.
There’s also a BTS video of the shoot, which can be found here.
Conclusion
I’ve been an ELB400 user for quite some time. I love the power to weight ratio and their compactness. The ELB1200 originally interested me because of the increased power, but that was about it.
However…
The available power is blatantly obvious, but it’s the subtle improvements that get under your skin. The quick adjust by full stops at the press of a button along with very quick fine adjustments with the spin of a dial. The choice of dark or light display, along with the standard or advanced information. The option for symmetrical or asymmetrical, and the ability to disable a head by a press of a button. The visual indicators around the cable connectors that let you know at a glance, which head is active. The LED modelling light that’s actually useful on location, because it’s equivalent to a 250w halogen bulb. Yep, it’s great for video too.
The fact the ELB1200 can inform you of the light duration at whatever setting your using, because it recognises which type of head is in use, takes a lot of the guesswork out of high-speed work.
And I didn’t realise just how useful the handle was until I went back to using the ELB400.
It’s funny. I kinda thought I might need the extra power. It turns out I really want all these extra refinements.
Something else that became apparent when I was using both the ELB1200 and the ELB400 together; when turning both units down in power, the ELB1200 auto-dumped a lot quicker, and was therefore ready to fire earlier.