The up front and honest bit :
First of all, just so we are completely transparent, I’m an Elinchrom Ambassador.
Secondly, I happen to be an Ambassador because I use Elinchrom, not the other way around.
Obviously, there are some perks to this, such as having the opportunity to use and test the latest equipment before its public release. As I use four ELB400 units for my location work, the new ELB500 announced earlier this year is of particular interest to me. My four ELB400s are used most days, with a variety of subject matter, and in varied conditions. And whilst I was quite confident I’d have no issues using the ELB500 in place of an ELB400, I wondered how much real difference this new unit would make. After all, I’d been perfectly happy with my current setup for over two years. No issues, no dramas and certainly no disappointments. And considering my investment in those four units, how much advantage would the ELB500 bring, and would it put my ELB400 relationship at risk?
Manufacturer Specs
-
500 Ws IGBT
-
Full Asymmetry
-
7 F-stops Adjustment
-
TTL
-
HSS
-
16.3 x 9.0 x 18.1 cm (LxWxH)
-
2.48 kg (unit + battery)
-
1.74 kg (without battery)
-
Flash Duration – Action: 1/20000s
-
Flash Duration – Normal: 1/3400s
-
Recycling Times – 0.05 – 2 seconds
-
OLED control display
First Impressions
When I get any new kit, whether for use or review, the first job is to familiarise myself with its controls and menu system. For a review, that’s kinda obvious anyway. But for use on a job, it becomes a little more critical. Besides not wanting to look like a complete spoon in front of a client, time spent fiddling erodes confidence. Not to mention it can stop you getting the best out of the kit. The ELB500 was subjected to the usual exploration, although it all seemed very familiar.
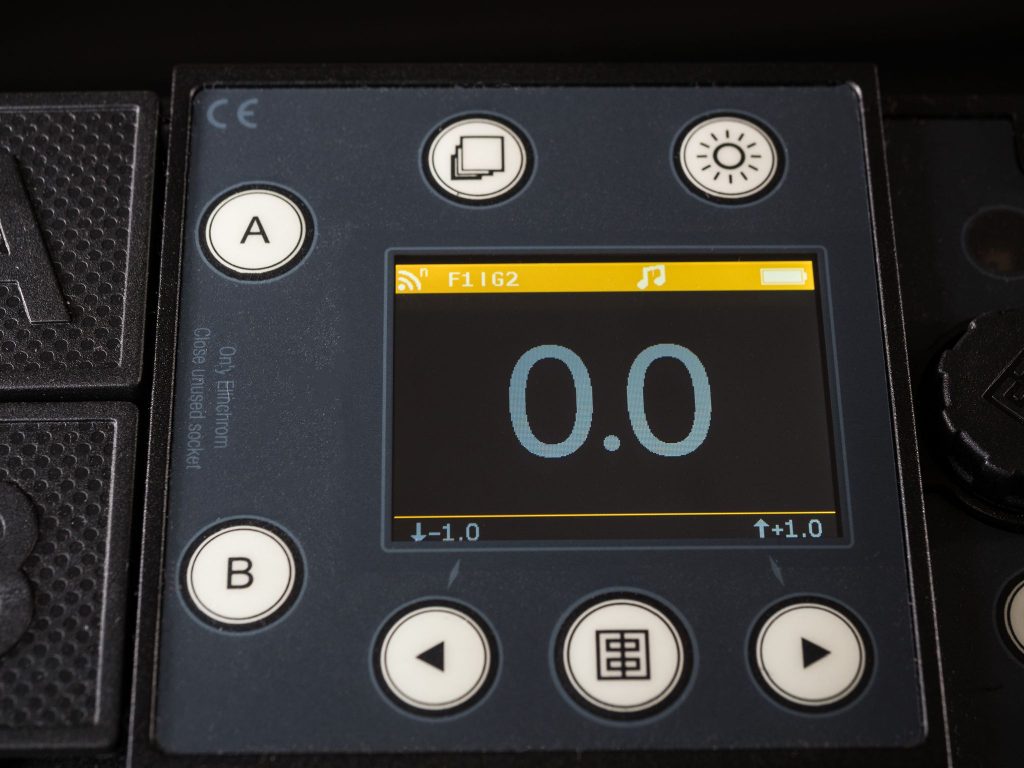
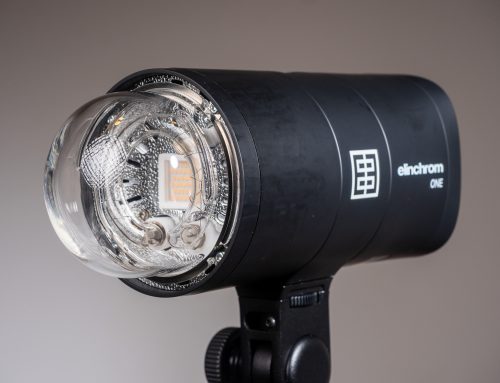
The display is much bigger than the ELB400, and similar to the one I encountered on the ELB1200
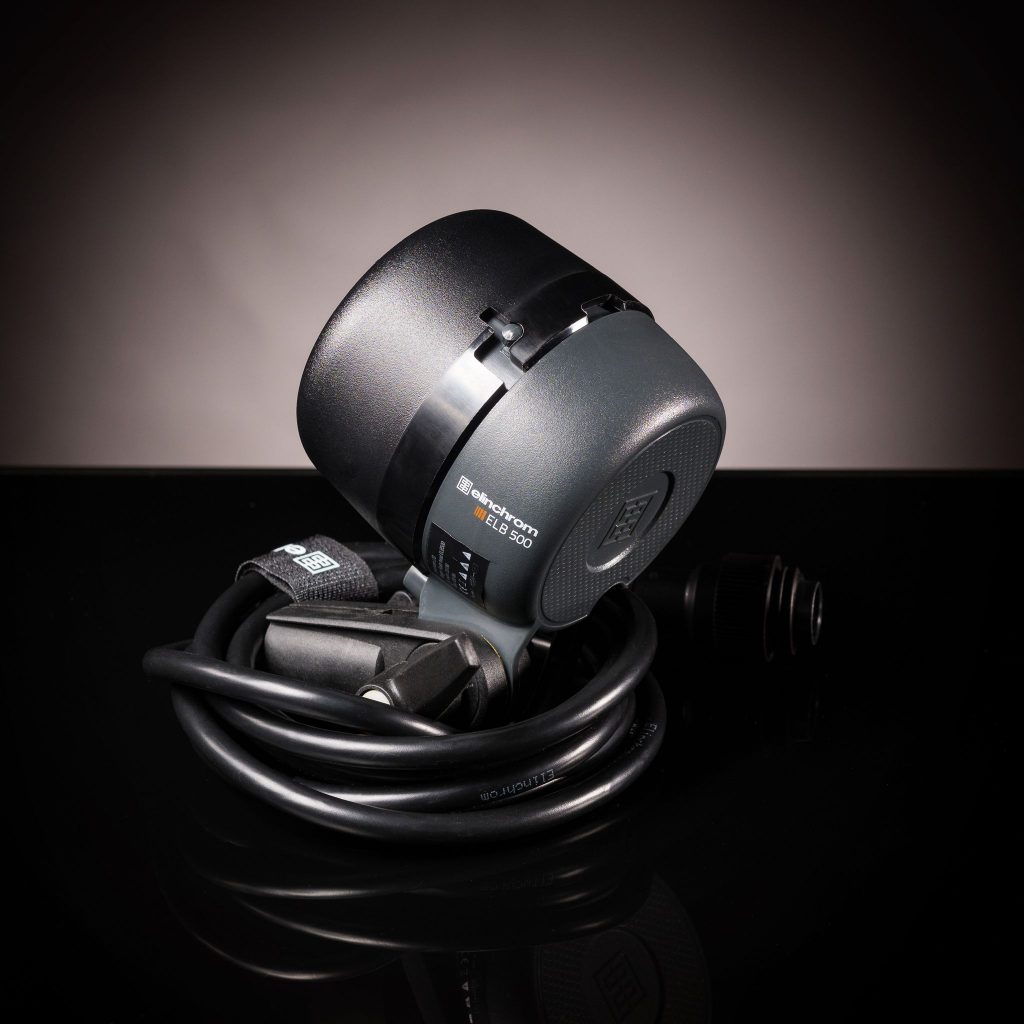
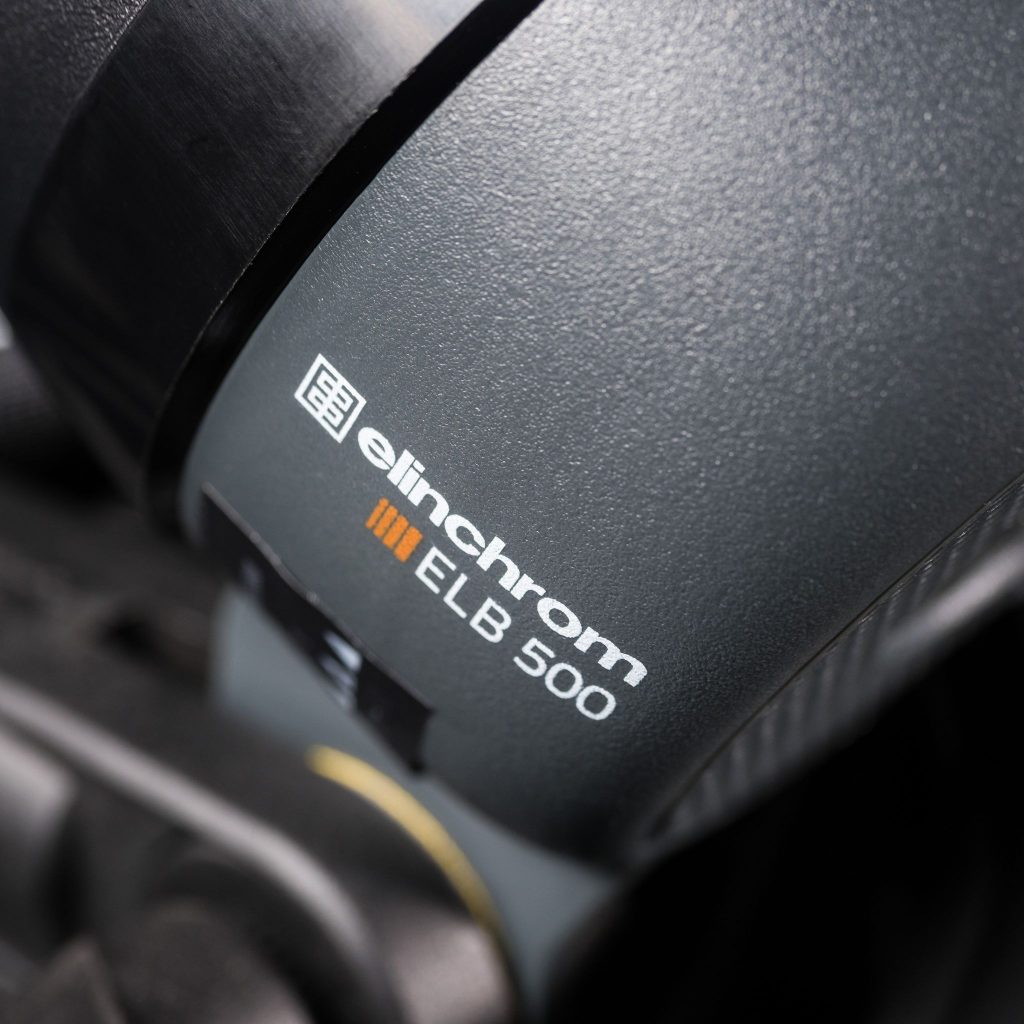
Talking of heads, the new ELB500 head is different to its predecessors. It has a less angular look and feel to its edges, and it also has a light textured finished. Now it may not seem much, but this is a welcome feature to someone who often shoots in wet conditions. On a couple of occasions, I’ve been seen to juggle an ELB400 head that has shot out of my hand as I’ve tried to maintain a tight grip on it.
The new heads also feature a fixed cable, as opposed to the separate cable on the ELB400. It’s supplied with one of those rather nice, Elinchrom branded cable tidies. One less connection to make when setting up, which is okay by me. This also means if you have two heads connected, you can turn a head on or off, and not have to physically unplug it, as you did with the ELB400.
The modelling light has been improved over the earlier heads. It’s much brighter and also dimmable.
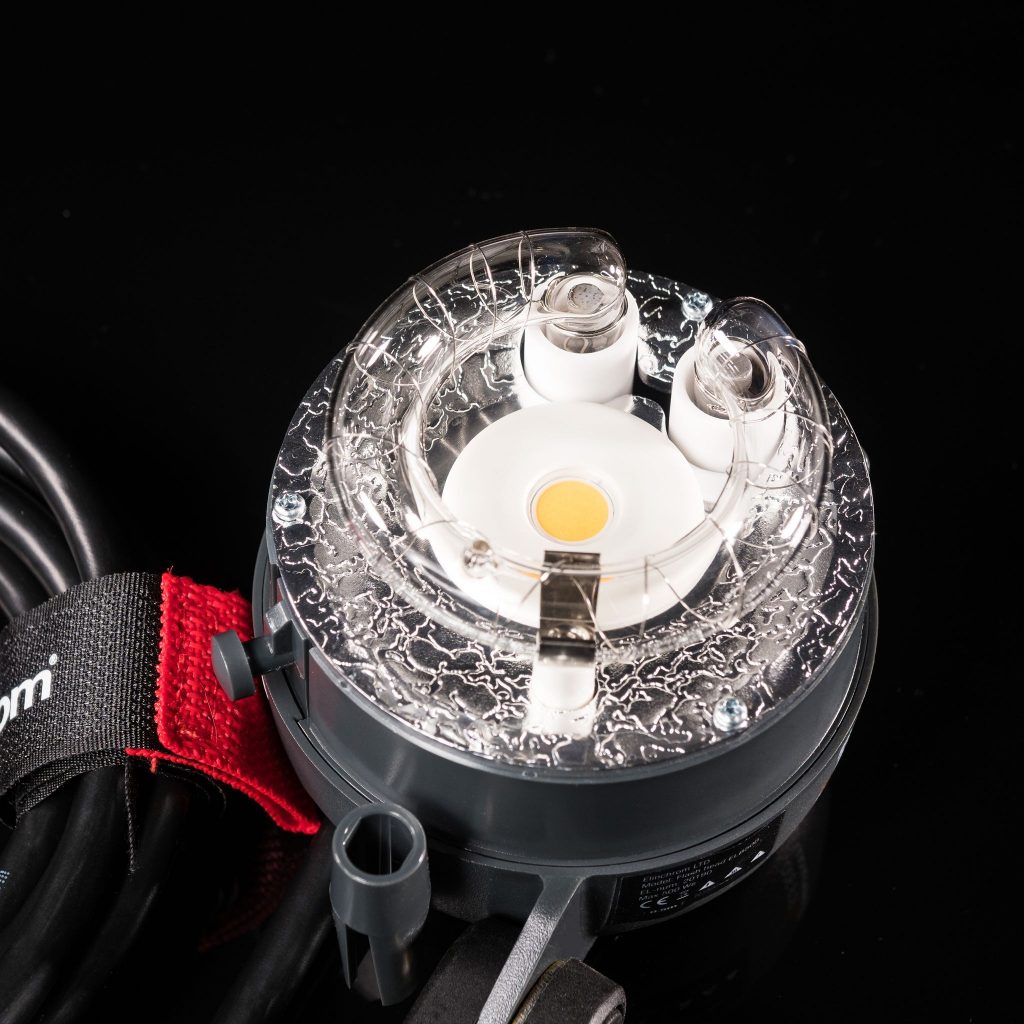
And the head options for the ELB500? Just one.
Whereas the ELB400 had three head options; Action, Pro and HS. The one ELB500 head covers all requirements. To match the ELB400 Action head, the ELB500 offers an action mode, selected from the unit’s menu. The ELB400 Action head offered a shortest light duration of 1/5,700th sec via port B. The ELB500 offers 1/20,000th sec through either, or both heads at minimum output.
When comparing the ELB400 HS heads, the ELB500 uses HSS for shutter speeds beyond the xsynch speed. This bit intrigued me, as I have frequently used the ELB400 with HS heads for a number of jobs, and loved the available power when doing so. Mid afternoon in Texas was a piece of cake!

The HSS v HS intrigued me, and I wondered how they would compare. This would be the first test I would want to carry out as soon as I’d done my initial inspection.
Incidentally, anyone thinking about interchanging heads with the older ELB400 or Quadra heads, don’t! The ELB500 will display an error if you connect any of the older heads, and won’t fire. The ELB400 will fire with the ELB500 head, but results aren’t predictable, and Elinchrom state it shouldn’t be done. Your warranty won’t cover any damage if something silly happens. The voltage of the packs and heads are different.
The head port covers on the unit are an improvement over the ELB400. They are now a larger rubber cover, which simply pops back on a hinge, allowing the heads to be connected.
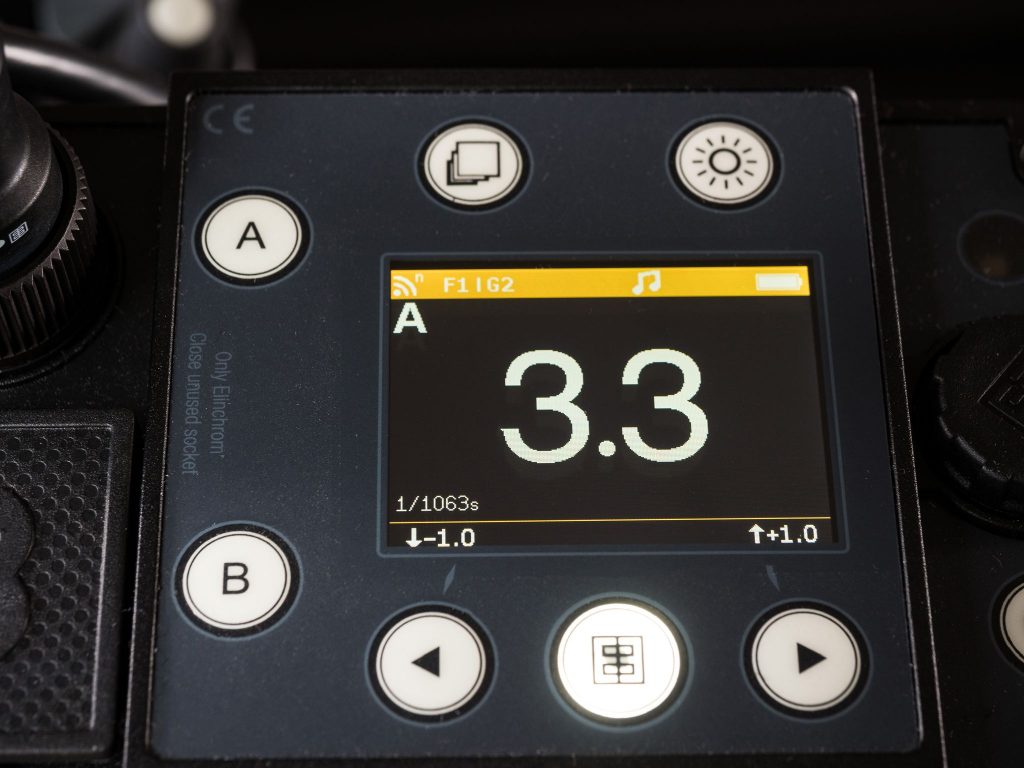
Once a head has been activated by selecting the appropriate button, the display changes, and includes the flash duration for the selected power output.
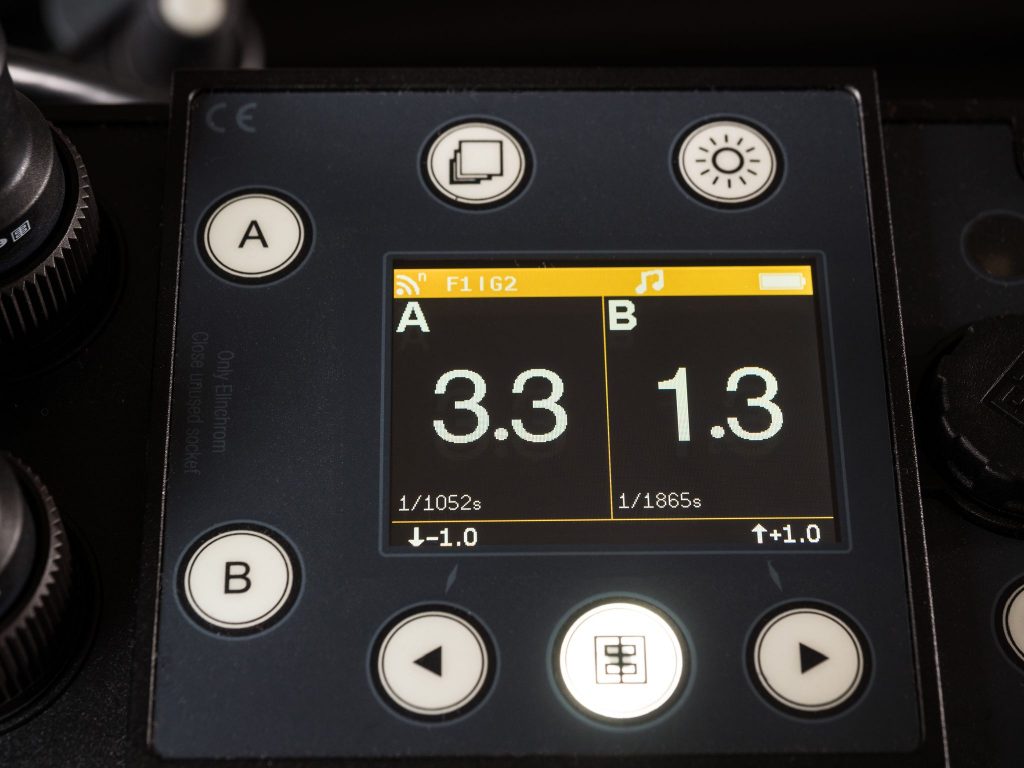
Selecting a second head causes the display to split, showing the information for each head.
With the ELB400, the power was changed in 1/10th increments, by a press of a button. On the ELB500, the buttons now increase or decrease the power by a full stop, and 1/10th adjustments can be made by a twist of the dial. This method of adjustment was first seen on the ELB1200, and I found it a real improvement, making it much quicker and more accurate. I’m really pleased it’s been incorporated into the ELB500.
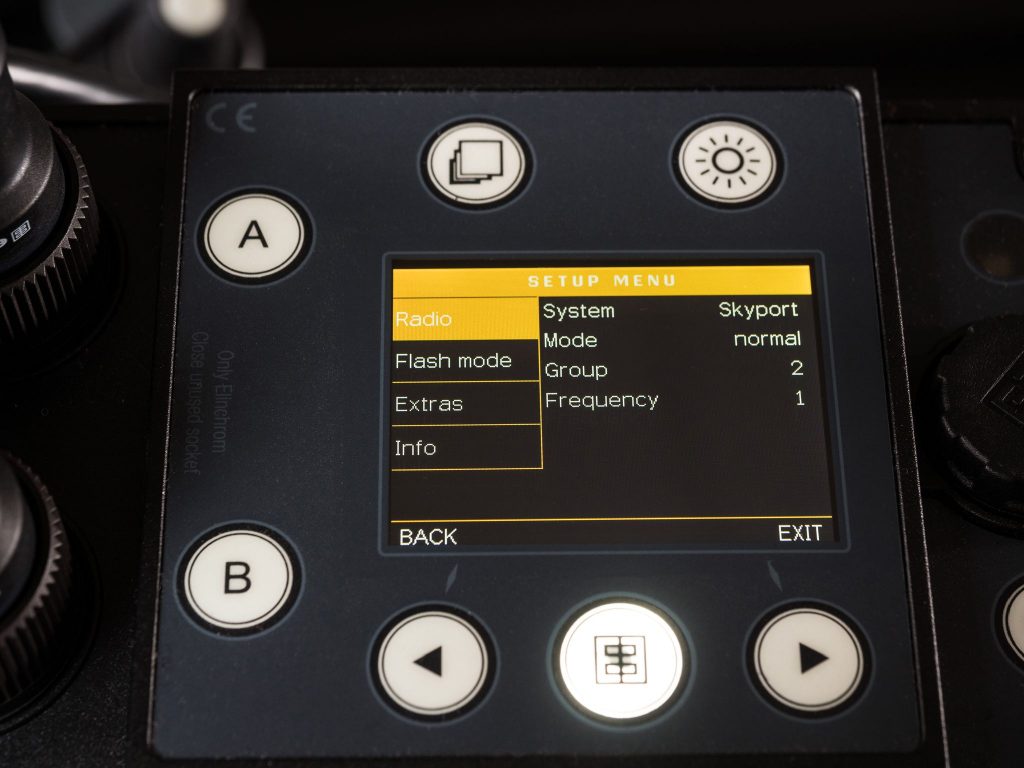
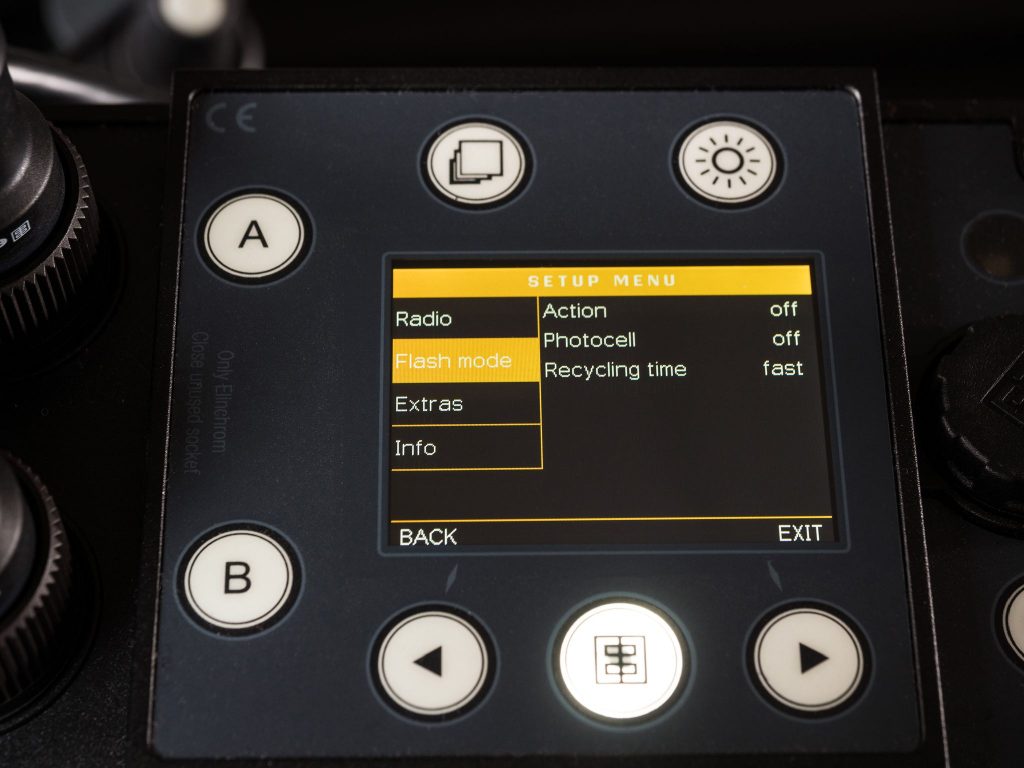
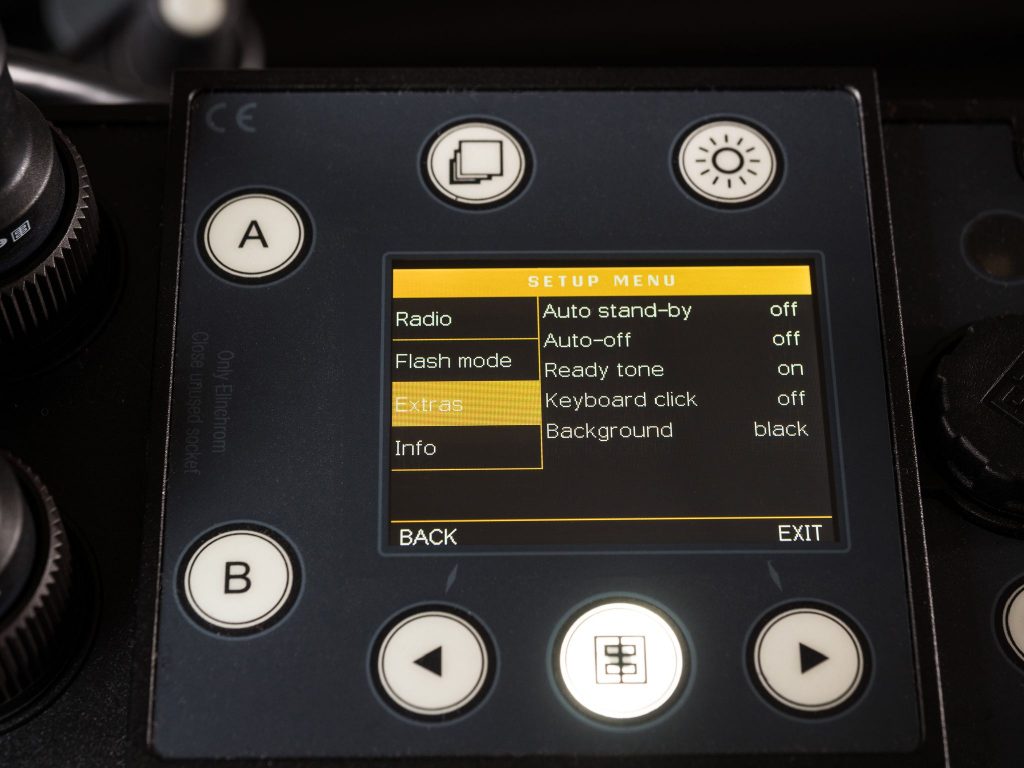
The menu system has been tinkered with too. The navigation is now done with the dial. Spinning to navigate the menu items, and a push of the dial to select the item. Very quick in operation.
ELB500 vs. ELB400
So what are the differences?
Well, you can’t fail to spot the headline news regarding TTL. A first for Elinchrom, along with IGBT technology, bringing a swathe of advantages. Shorter flash durations, quicker recycling, better power management etc.
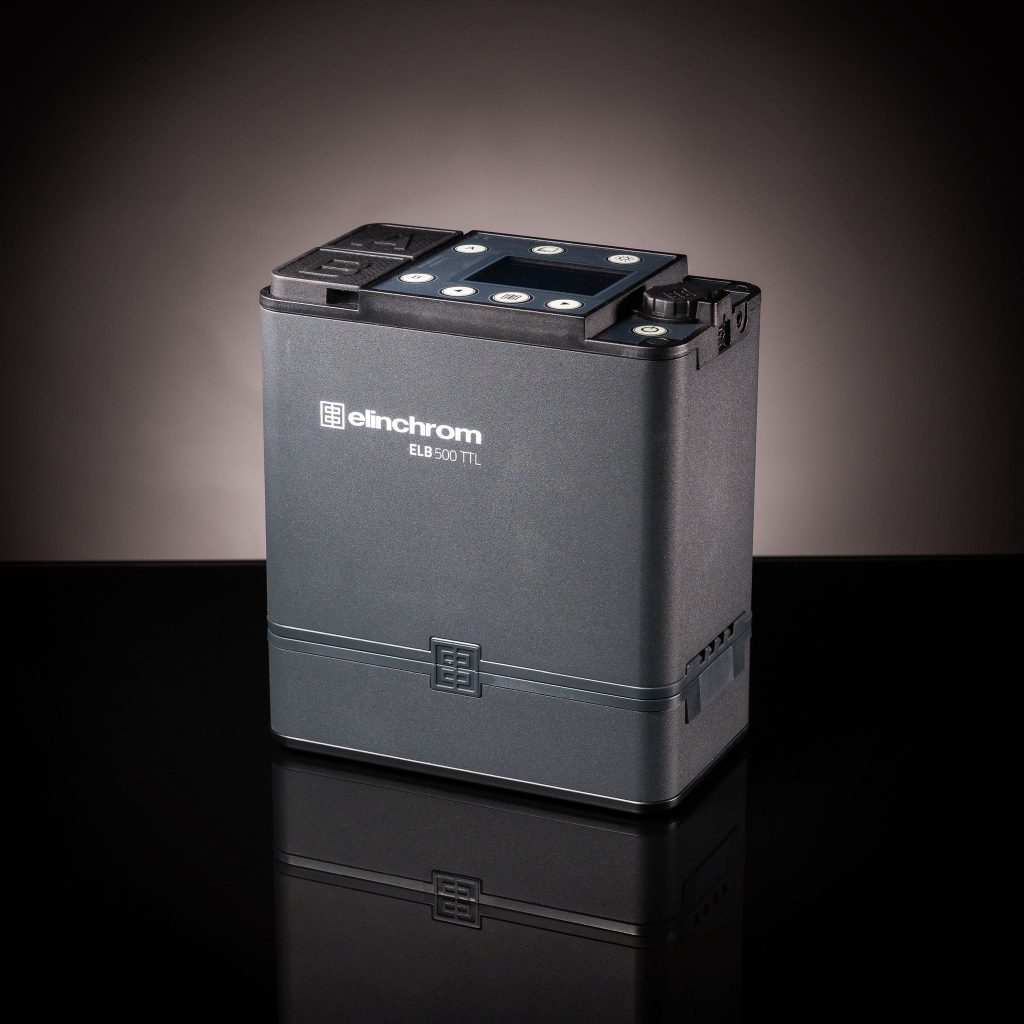
The ELB500 has a single head, which will do all that is required, whereas the ELB400 had three optional heads. Besides having to pack more gear, there was the cost implication too. The new head is attached to the power cord, which makes it quicker to deploy, but possibly bulkier to pack, depending on how you packed your ELB400 heads. The modelling light is much brighter, and now a proportional setting is also available. The ELB500 pack itself, is almost 2.5Kg with the battery, which is heavier than the ELB400s weight of about 2Kg. On the plus side, the new battery charges much quicker, and now has “active” charging, meaning the pack can be used and charged at the same time. Talking of charging, the new charger for the ELB500 is much smaller too. A boon if you travel a lot, as it will occupy about half the space of the ELB400 charger.
The ELB400 has lugs to cater for a strap, allowing you to carry it with ease, or your assistant to do so. The ELB500 doesn’t have lugs, but does come with a “Snappy”, which is basically a tailored padded carry rig, allowing the attachment of a (much improved) strap. My ELB400 units were never carried, and the original straps are still in their plastic bags. So my first thought was to take the ELB500 out of the snappy, but I found it didn’t really interfere with the use of the ELB500. It also has a transparent panel that passes over the top of the unit, providing some protection from the elements if you’re out in the wet stuff. The snappy case also has a flap on the side, which reveals the socket for the charger.
The ELB400 is Asymmetrical in power output between the two ports. When used together, port A had 66% of the available power, and the B port had 33%. On their own, B port gave you 0.1 through to 4.4 output, Whilst the A port gave you 1.7 through to 6.0.
I found this to be generally fine, except on the occasions where you may have been shooting with high power on a single head, such as an automotive shoot, and then shooting the car interior, where you possibly needed a much lower output, and had to faff switching ports. To be honest, you tend to do it without really thinking, until you use the ELB500, where the power output for either port is the full range, 0.1 right through to 6.3.
The real boon is the full asymmetry of the two ports on the ELB500. Complete freedom of power allocation between them both. Again, you have no idea just how convenient it is, until you use it.
The ELB500 is rated at 400 full power pops, whereas the ELB400 is rated at 350. However, that’s only half the story, as the ELB500 manages the power far better, and the available number of flashes goes up, as you turn the power down. Up to an incredible 28,000 at minimum power.
Testing
The first thing to do was to check the output. The lightmeter was placed at a distance of 1m from the the head, firing through the standard 18cm reflector, and with the lightmeter set to an ISO of 200.
|
Power |
6.3 |
6 |
5 |
4 |
3 |
2 |
1 |
0.1 |
|
ELB500 & 18cm Reflector |
64-7 |
64-4 |
45-5 |
32-4 |
22-5 |
16-6 |
11-5 |
8.0-6 |
And how about the colour temperature?
A Minolta colour meter was placed 2m from the head. The head was attached to a 21cm reflector via the Q mount to EL adaptor.
Both the standard and action modes were tested.
|
Power |
6.3 |
3.3 |
1.3 |
0.1 |
|
Standard Mode |
5610 |
5750 |
5660 |
5560 |
|
Action Mode |
5600 |
5820 |
5882 |
5970 |
The action mode shows the expected drift towards a cooler temp as the power is turned down, although actually less than I expected.
Next, I wanted to try the TTL and HSS. The new Skyport Pro trigger, which incorporates the TTL functionality, was only available in Nikon, Canon and Sony flavours at the time of testing. My weapon of choice is Olympus, which kinda left me hanging. So, to get the TTL tested, I borrowed a D4 and had a play.

This was shot with the trigger set to TTL and using HSS at 1/8000th sec ISO200 and f8

The trigger allows you to switch from TTL to manual, which was done for this shot. Unlike some systems where the transition from TTL to manual is calculated, there’s nothing to calculate with the ELB500. Whilst the trigger is in TTL mode, the actual power output is displayed on the unit, so you can see exactly what is being selected and used by the TTL trigger. Switching to manual does nothing more then change the transmitter mode, leaving the power exactly where it was last used. I found this method of displaying the actual power output during TTL to be very reassuring, as I always felt as if I was cut out of the equation when using speedlights in TTL mode. In fact any of the TTL capable location lights left me guessing as to how much power output was actually in use, as their displays just indicated TTL, and whether or not you have dialled in any exposure compensation. The above image is after dropping from TTL to manual, but making no adjustments. Same camera settings.

Now, this is the interesting bit. This image uses the same camera settings of 1/8000th sec ISO200 and f8, and an ELB400 with HS head at full whack. And that got me thinking.
I’d spoken to The Flash Centre about the ELB500 and HSS, and asked about HS. The answer was a straight no. The ELB500 was designed to get the most out of HSS, and wouldn’t manage effective HS. Which is obvious if you think about it. HSS utilises IGBT, and physically cuts the flash output, whereas HS makes use of voltage controlled adjustment, which extends the light curve as you turn it down. Well, I couldn’t just leave it at that, and swapped to the Olympus E-M1 mkII and had a bit of a play.

ELB400 with HS head at full whack – 1/8000th sec ISO400 f11

ELB500 standard mode and full power – 1/8000th sec ISO400 f11
And it looks about half a stop brighter to me. Now, there’s a couple of things to bear in mind here. First, the mirrorless cameras tend to wring that little bit more out of HS than full frame cameras, as there isn’t the slight delay for the mirror to swing out of the way. This means it makes a little more use of the main body of the flash curve. After all, we are talking tail hacking here, although the Skyport HS system is more complex, providing adjustment to get the very most out of the available light curve using ODS with their HS heads.
Secondly, the ELB500 can only be used in this manner when firing at full power (hence the hack reference), otherwise the tail of the light curve is cut by the IGBT, and your shutter basically misses the light output. Whereas the ELB400 allows complete power adjustment when using HS, and is therefore more flexible than the ELB500 in this tail hack technique; The ELB500 is seamless when using HSS, as there’s no head change. For me, this means I can make use of the ELB500 in a rudimentary HS manner, until I can make use of HSS when the Olympus Skyport Pro is available. For you folks with Nikon, Canon and Sony, you aren’t remotely worried about HS, as you have HSS to play with.
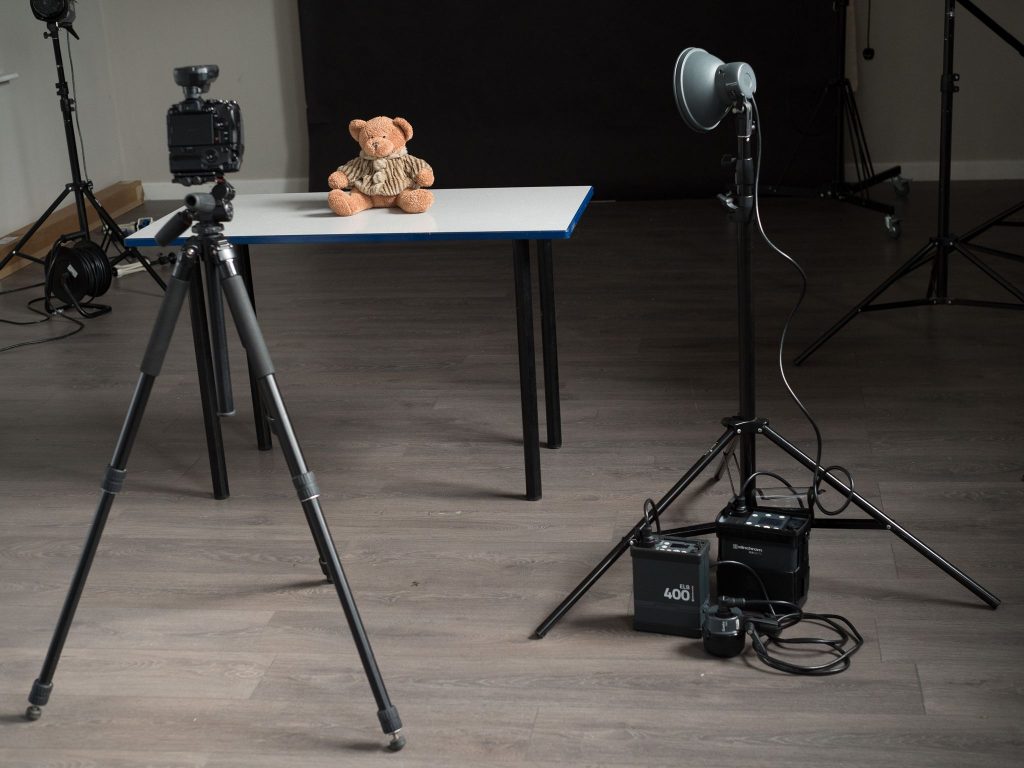
The setup for the HSS/HS test
In Use


My first client shoot with the ELB500 was fabrics on one of the coldest days of Winter. In a warehouse. With no ruddy heating. Meh!
Well, apart from being so damned cold, I learnt a number of things about the ELB500 campared to the ELB400.
First of all, when using the ELB400 and you accidentally twitch on the shutter release and take two quick successive images, you get a good image and an unlit image. You also get an angry buzz from the unit. With the ELB500, you get two good images. Anything less than 5.0 on the ELB500, and you’re instantly ready to go.
I shot all day, and ended up with over 500 images. All images were lit with an ELB400 with an Action head, firing at 2.0. And also an ELB500 firing at 2.6. At the close of day, the ELB400 was down to two bars on the battery indicator, and from previous experience, I would expect it to drop to one bar within another fifty or so shots.
The ELB500, which was used at a higher output, had barely moved on the battery indicator.
Something else I noticed, was the fact the ELB500 has a quieter ready tone than the ELB400, although I haven’t actually checked to see if I can turn it up.
Oh, and there is no waiting for the power to dump when turning the power down on the ELB500. Turning the power down on the ELB400, from full to 2.0 or below, seemed to take forever for the ready beep to sound.


I had the Miops Splash kit to review. Normally, speedlights are chosen for water splash capture, as they can be placed very close the water impact, and have a very short light duration when turned right down. The ELB500 was going to be an ideal choice, as I wanted my light sources to be further away, and I could still make use of an extremely low power setting. I used two heads, and the full asymmetric capability meant it felt like I was using two completely separate light sources. Unlike the ELB400, which has a 2 to 1 split, the ELB500 has no such restriction. Simply select the head by a quick push of the head button, and then adjust the output. Repeat for the second head. No longer do you have to juggle with the lightstand, moving the head back and fourth to match the required exposure, because you can’t turn it down without effecting the other head too.
The asynchronous feature is quite liberating.
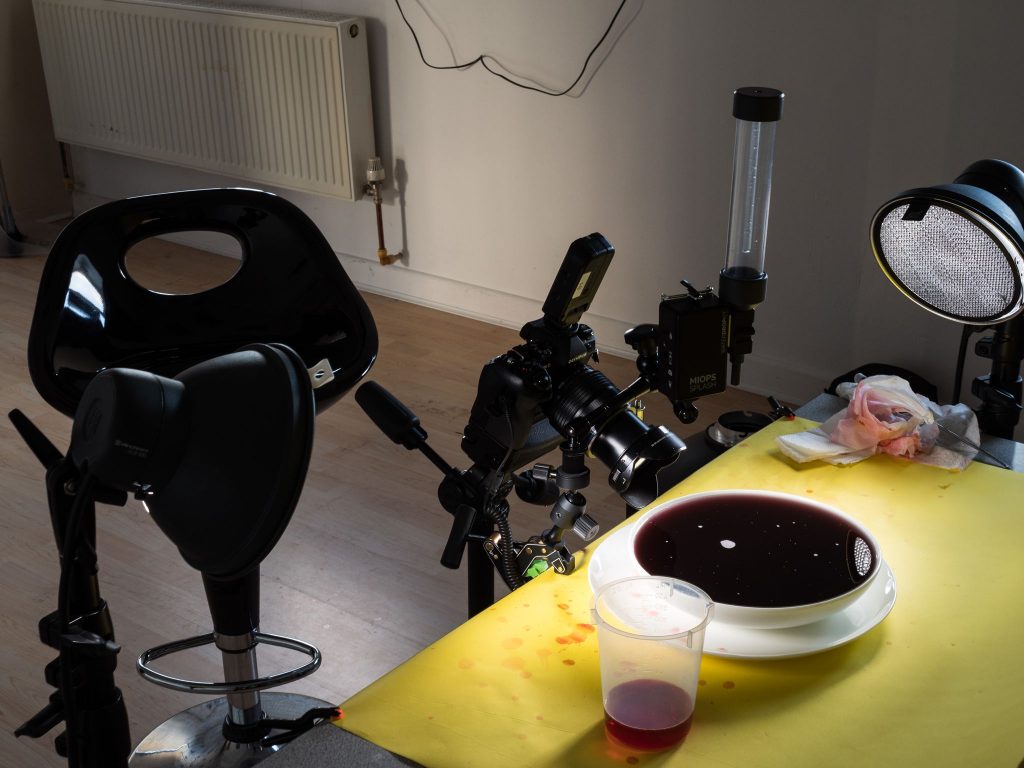
BTS for the water splash stuff.
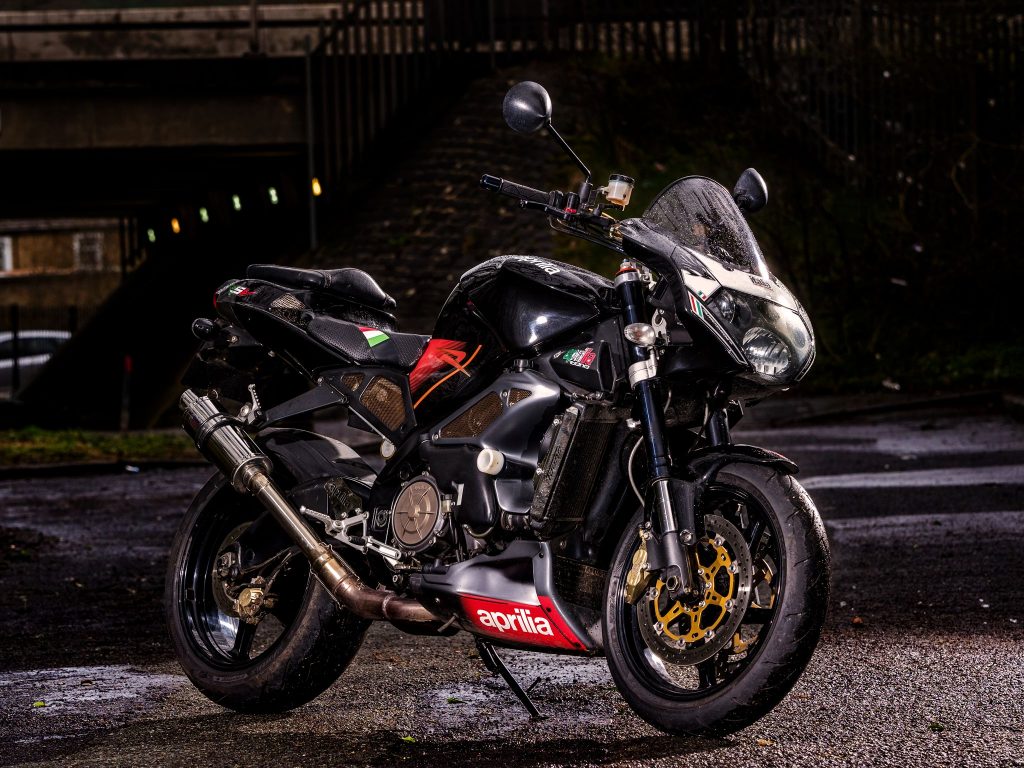
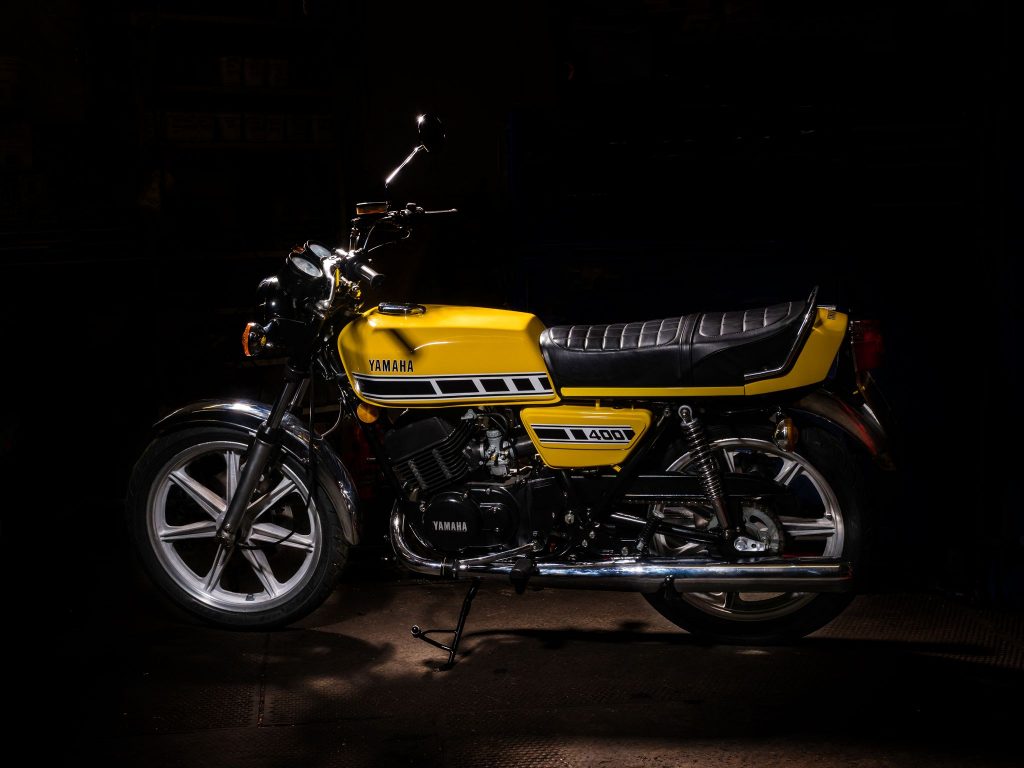
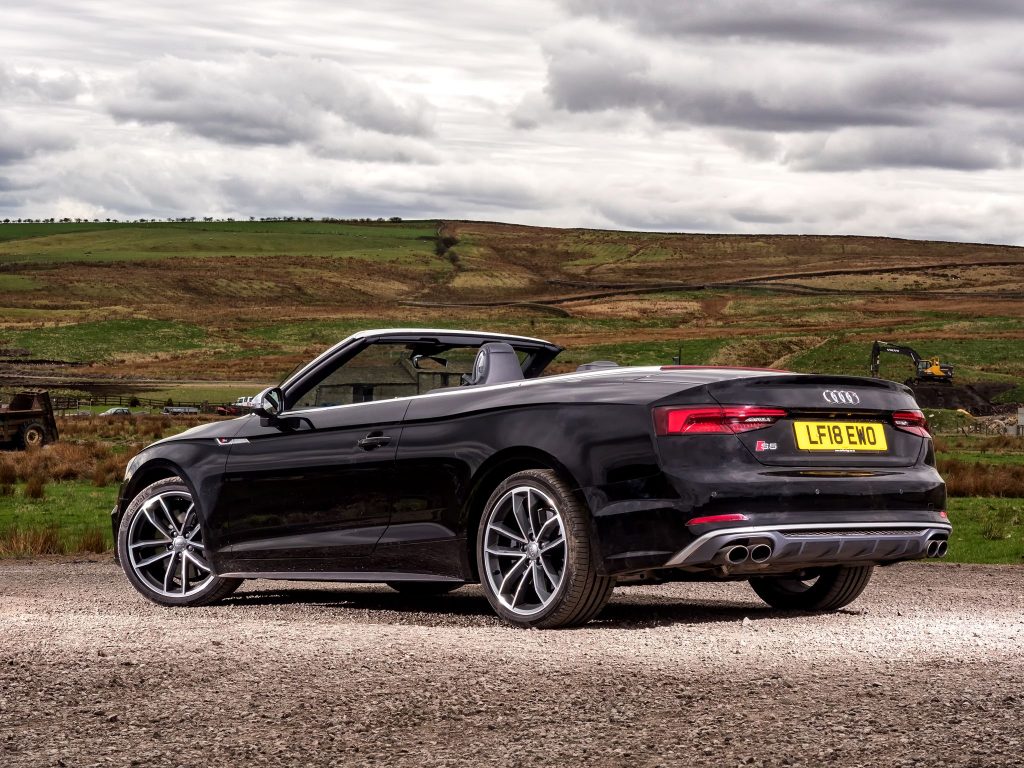
Then it was a motorcycle or two. The above was lit with an ELB500 frame left, and an ELB400 frame right. I also used a speedlight just to spot the underpan logo and radiator.
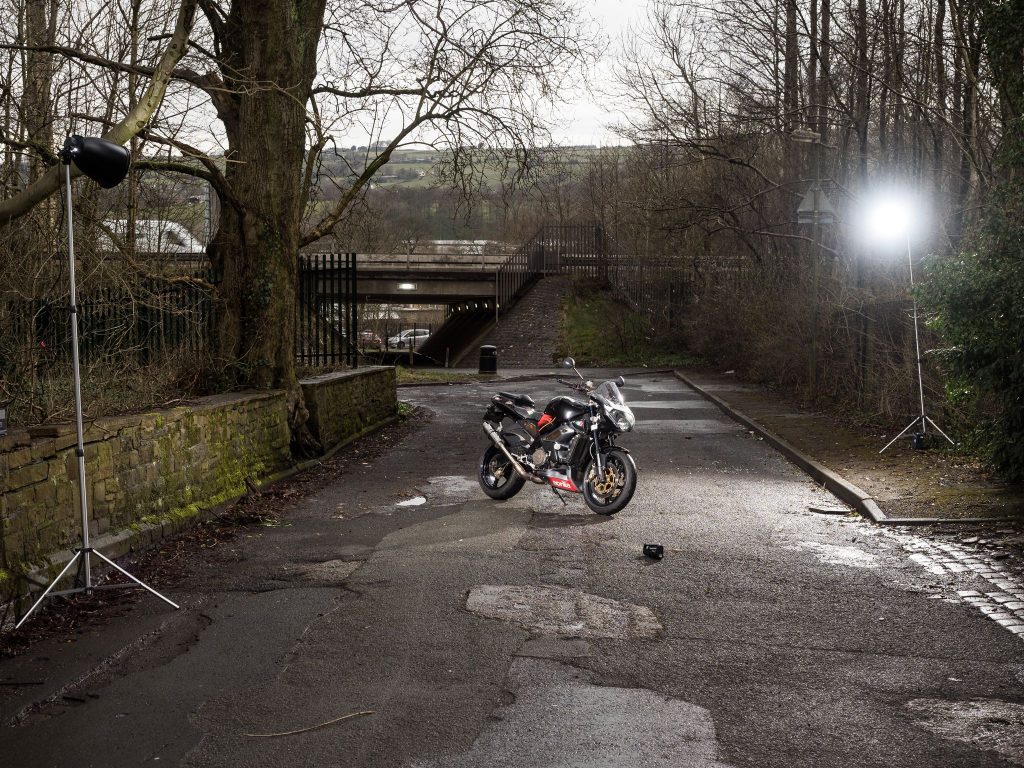
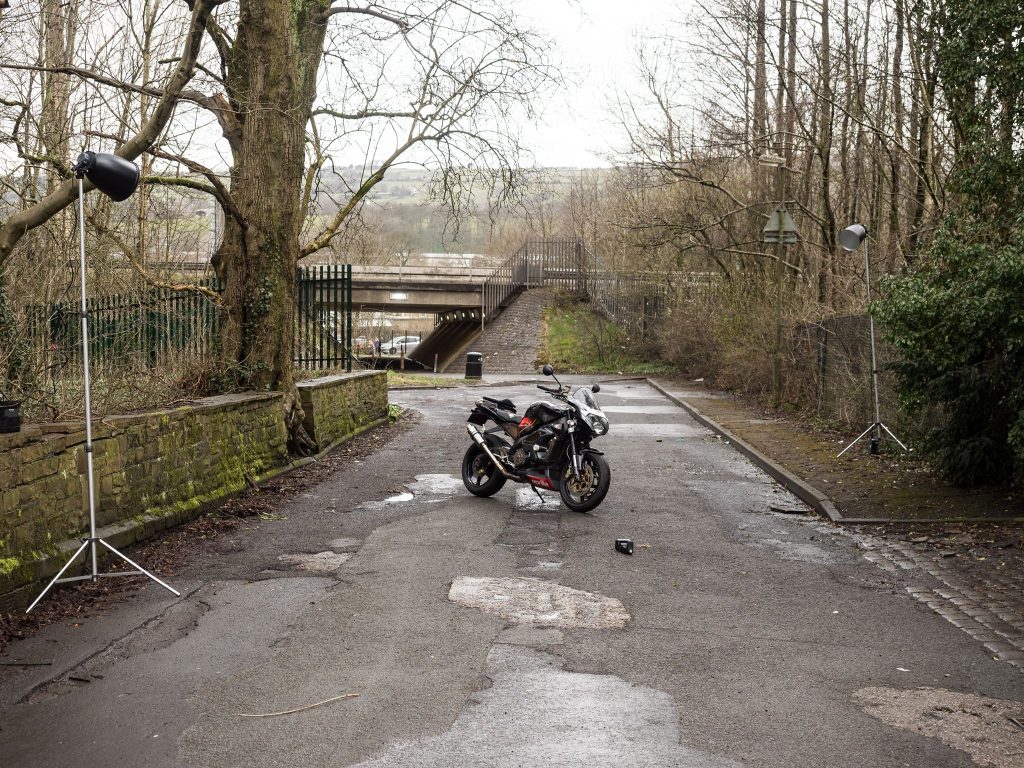
The BTS images, with and without lighting.
And an indoor shot of a classic. Again two units.
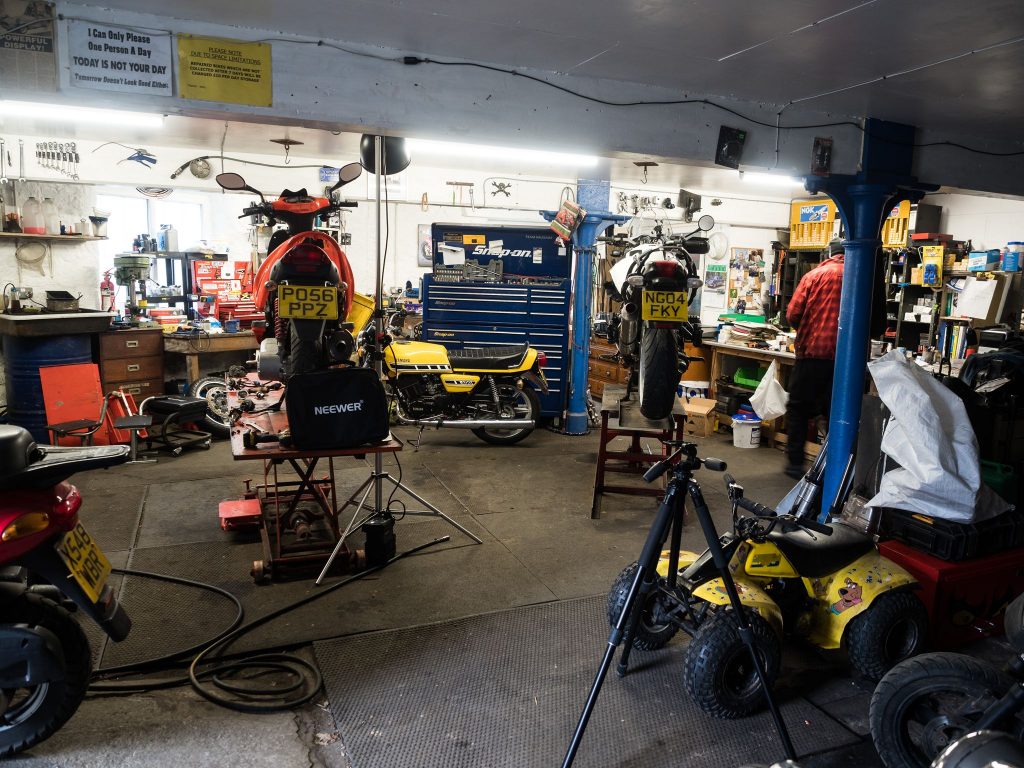
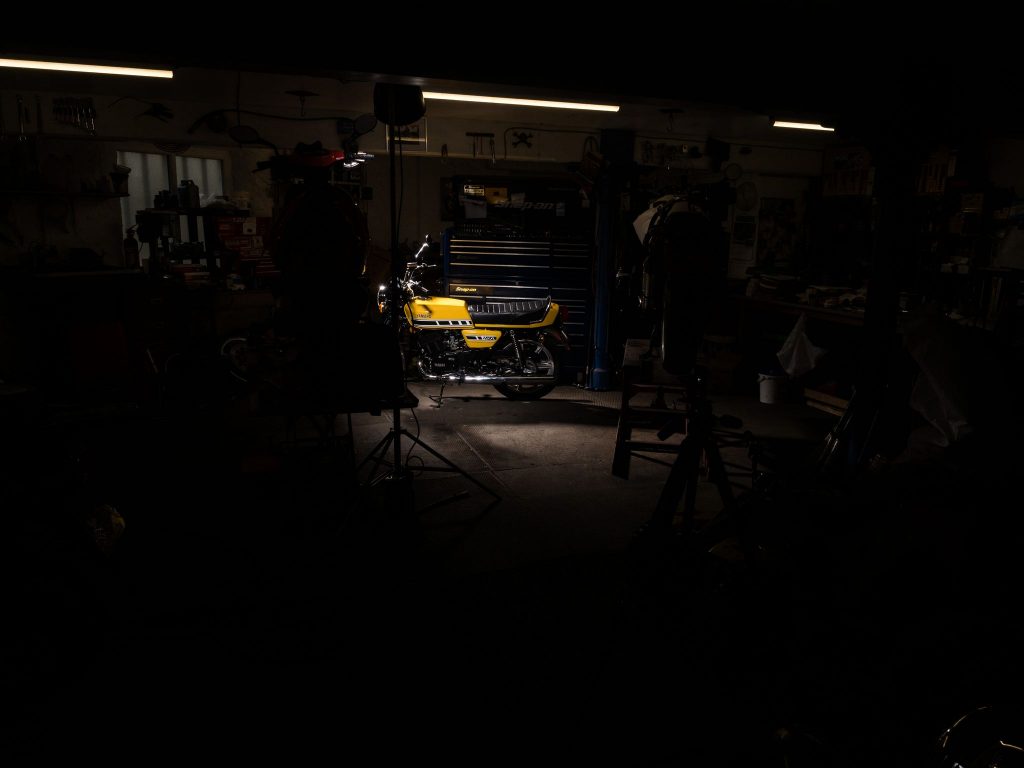
The BTS images show the working space and workshop lighting, which wasn’t turned off for the shoot. The second image shows the lighting in effect, and raised shutter speed to kill the ambient.
Some product work. This was just the ELB500, with two heads attached, and also making use of a silver reflector frame right.

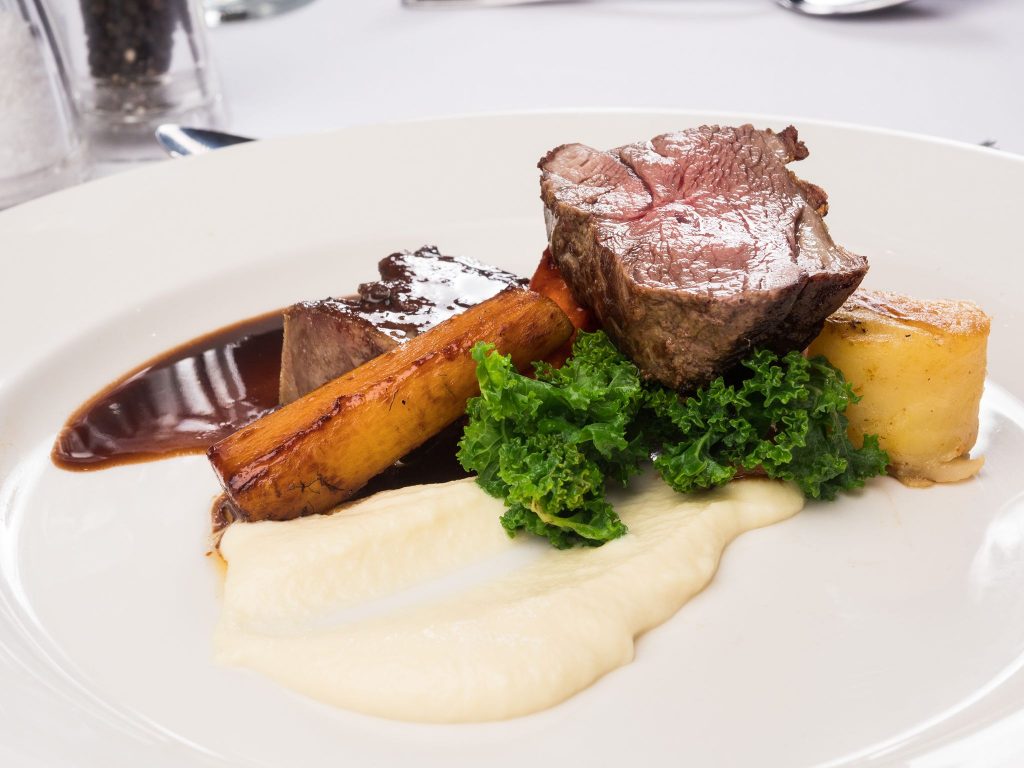
Food photography. I normally have to use three units, due to similar power settings needed for each head for the main and accent light. I would also need a third, in case I needed to capture steam etc. This time, I only needed the ELB500 and two heads for main and accent. Making for a much smaller volume of kit to take, and just easier to use. I still had an ELB400 set up and ready to go if I needed to capture steam.
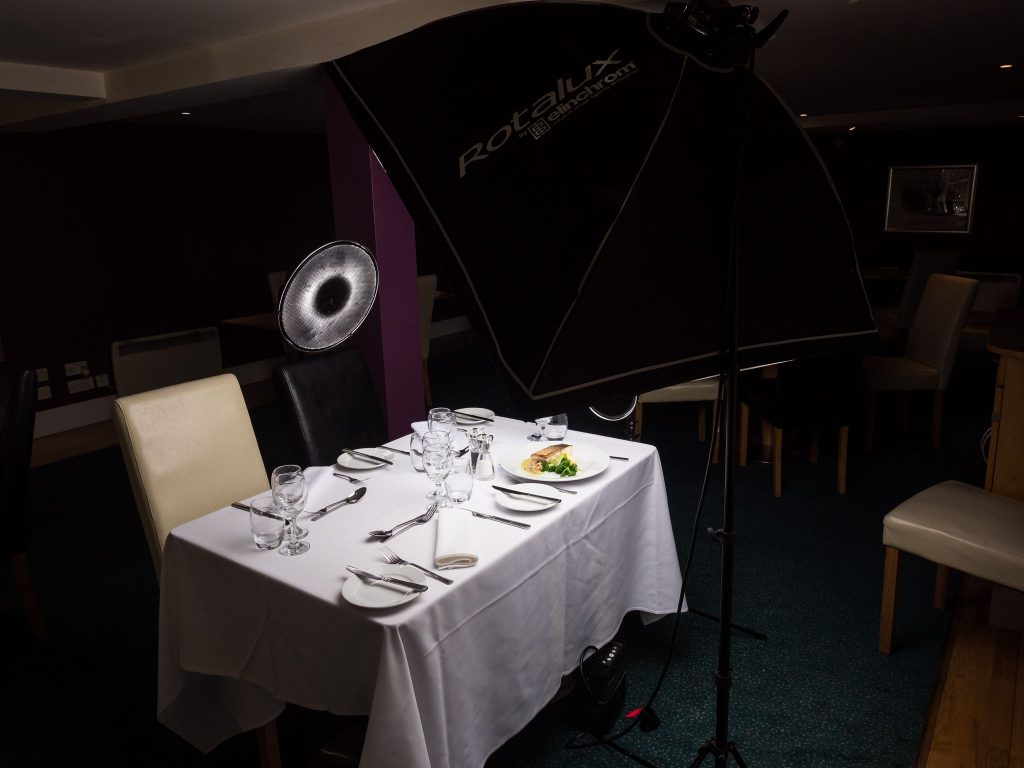
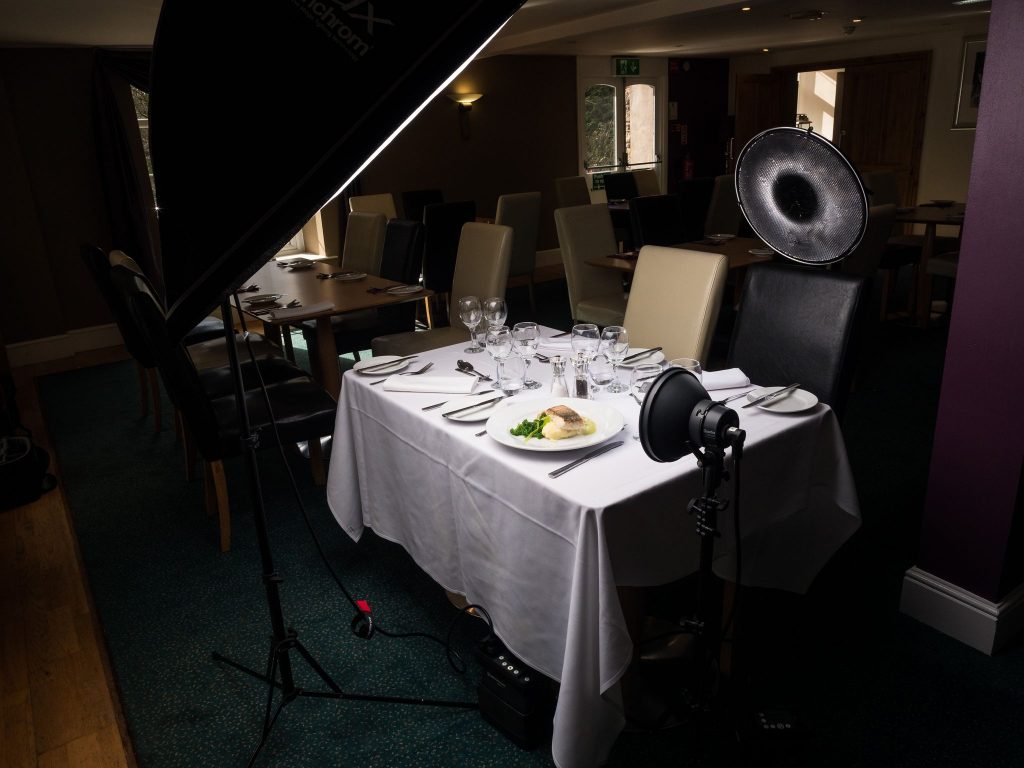

The last image is the ELB500 in use, showing the power distribution between the two heads. The B port is the key light, whilst the A port is the accent.

This is a roomset image for the headboard manufacturer. A single ELB500, firing through a Rotalux 197cm Octa. Again, firing constantly all day, with little impact on the battery reserve.
These were taken during the days I was drafting this review. Two ELB500 units, each with high intensity heads.
Yes, two units. After the first day shooting fabrics in that cold and draughty warehouse, I realised that, even without the available trigger for TTL with Olympus, the increased specs were just far too good not to replace my ELB400 units.
Conclusion
Well, I’ve already let slip I’ve changed over from my four ELB400 units to ELB500 units. All four of them.
The ultra fast recycling and the ability to shoot at a high burst rate, plus the ultra short flash durations were the first things to grab my attention. Not to mention the much better charge life and the single head that does everything, along with the better display and easier menu. No longer having to stand around waiting for the autodump tends to be a bit of a boon too.
To be honest, I struggle to recall all the advantage pertinent to my shooting styles and needs, but there’s a lot.
My biggest surprise? The price the ELB500 has been pitched at. It’s been priced to match the ELB400, before they reduced the ELB400 price. So, for the same price, you’re not only getting the technological advances and better power performance, you also get a single head that does the same, or better, than the Action and HS heads. So if you squint a bit, the ELB500 is actually cheaper than the ELB400 used to be with an Action head and an additional HS head.
Oh, and you also get the “Snappy” case included.
UPDATE July 30th 2018
The above review was originally written March 2018 for Lighting Rumours. At the time, the TTL functions were only available for Canon and Nikon (Yes, I know I mentioned Sony in the review. What can I say, I’m an arse!)
Fujifilm TTL Pro Skyport trigger is due for release in September.

I have read several reviews and some of them state, that the flash duration is quite long at full power – around 1/250s, which is simply not enough, if you would like to freeze a motion by flash duration. Also, some find it cca half a stop less powerful at 500Ws, than ELB400 is at 400Ws. For a wedding photographers, it might be a great unit indeed. We are owners of ELB400 and I am tempted to get ELB500 now 🙂
Hi Petr.
Flash duration at full whack in standard mode is definitely slow. But in action mode, I’ve never had a problem. It’s an incredible bit of kit, and the advantages when compared to the ELB400 are really quite astounding.
Much faster recycling, due to the IGBT, with the knock on of also mind blowing battery management.
Seriously, if you have any kind of reservations, rent one for a wedding. But be prepared to change all your ELB400 units, because you will simply want to.