Automotive Work With The Elinchrom One
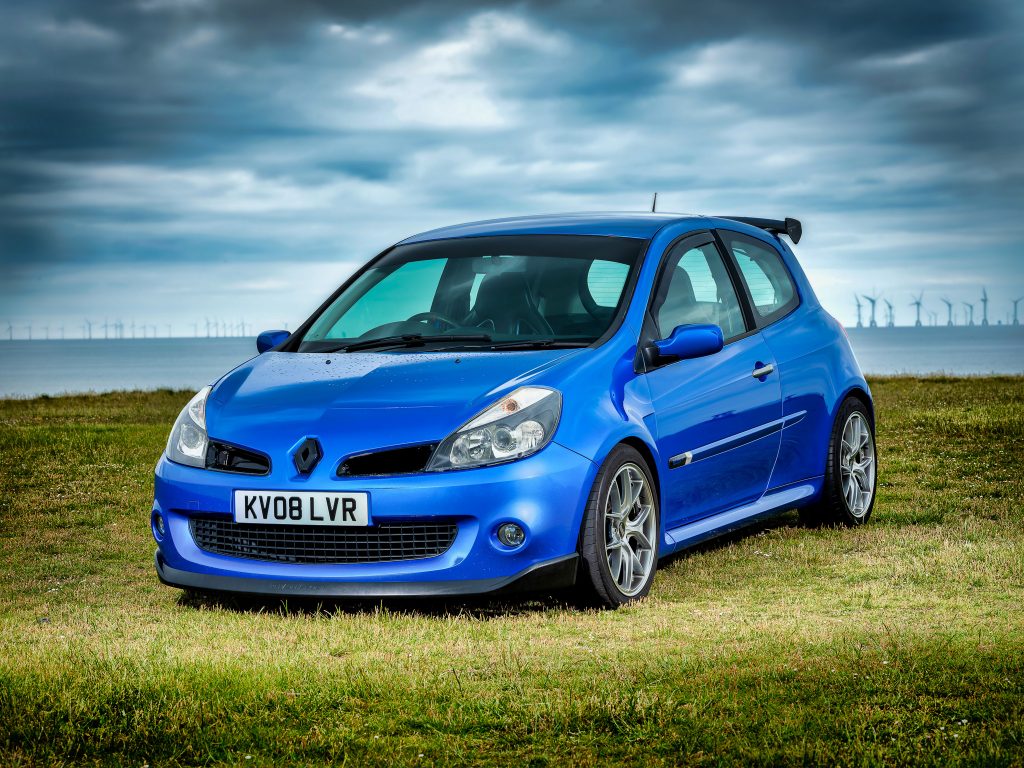
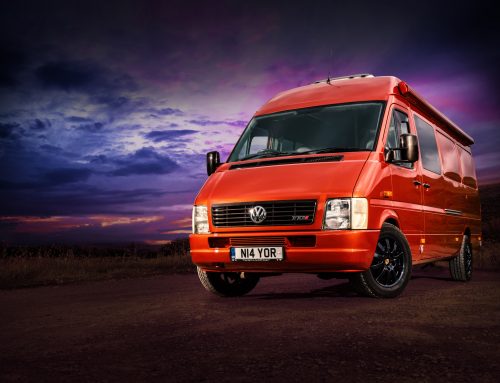
Following on from my food shoot with the Elinchrom Ones, I then had a car shoot arranged. Automotive work is a particular passion of mine, and it would certainly be an interesting test for the Elinchrom Ones. The above image is the finished bracketed image, but not the final image. And yes, I said bracketed image. I usually bracket my automotive work for an increased dynamic range.
Obviously, you can’t bracket using the traditional technique with differing shutter speeds, as it would only affect the ambient light, and not the flash lit areas of the image (the car). Using the aperture would certainly affect both the ambient and lit parts of the image, but the depth of field would be pretty funky!
I use the ISO, which affects the image as a whole, and doesn’t create the noise you might think you would get at ISO800, as a lot of the noise is mitigated in the blending process. I tend to do the initial blending in Lightroom, as it creates a nice neutral conversion. I then manually blend anything I feel needs a little extra in Photoshop. Anyway, less waffle, and let’s see how we got on with the Elinchrom One, and I’ll take you through the process.
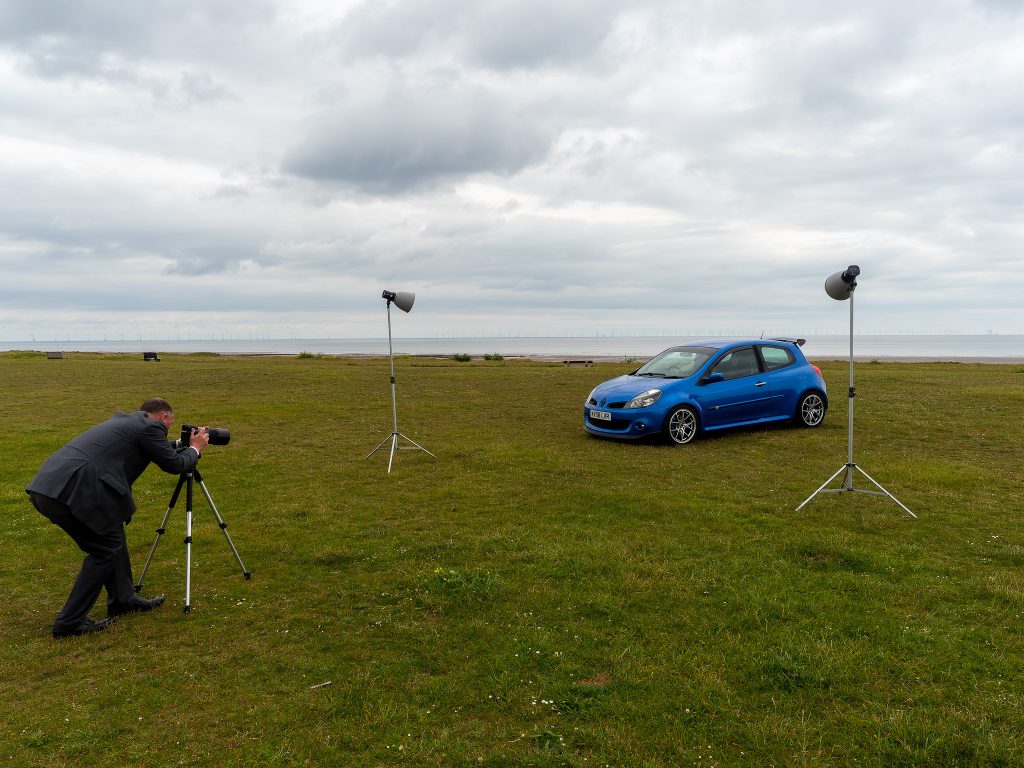
You can thank Helen (long suffering Mrs ? she made me type that) for the BTS shots, as I’m absolutely useless at remembering them. This image shows the placement of each light, relative to the camera and car. The guy in the suit is just some randomer!
You will notice frame left, the Elinchrom One is just short of two meters high, firing through a 26cm reflector. It’s positioned high and directed straight towards the front of the car, so as to help reduce the liability of light reflected back towards the camera. The output was set to maximum at 4.3 (Equivalent to 131Ws).
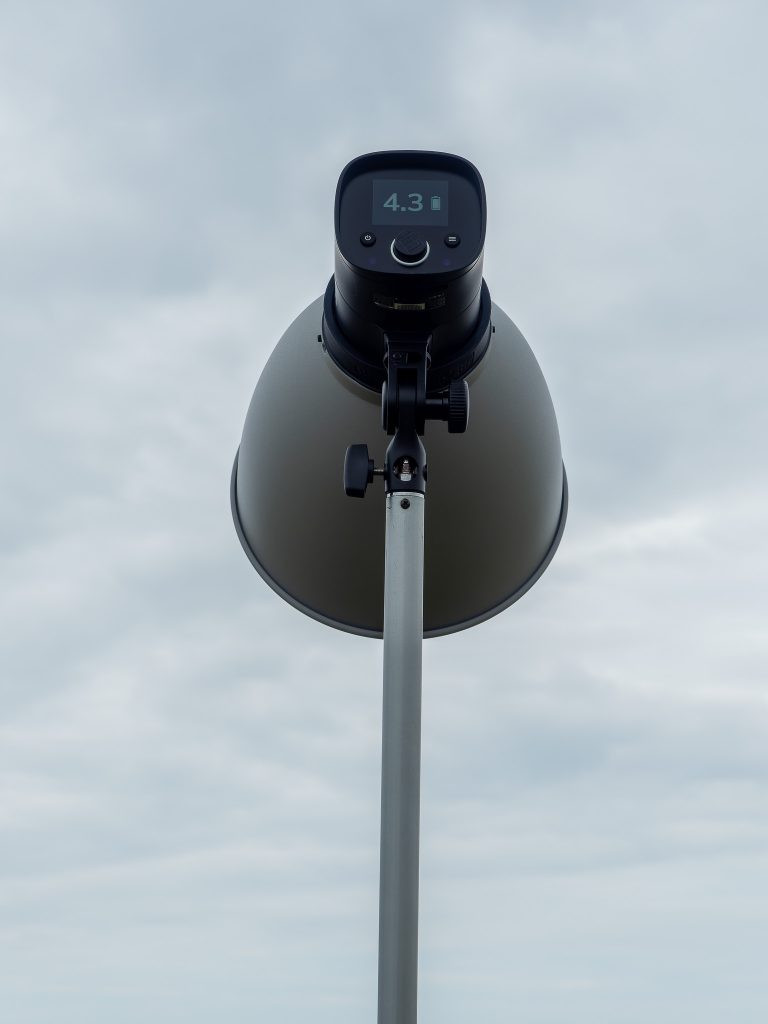
The head frame right is at the same height, and makes use of another 26cm reflector at the same output (4.3). This gave me a good average exposure at 1/125th sec f11 and ISO200
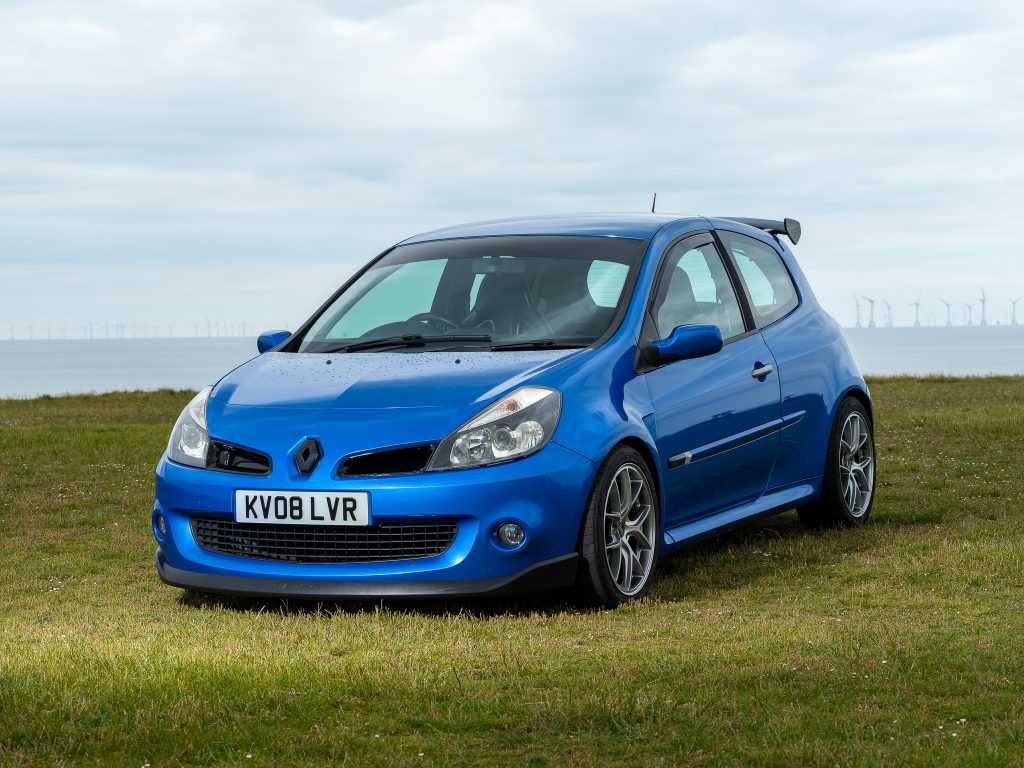
This is the “standard” exposure image. It’s a vanilla conversion to jpeg from the raw file, without any editing. I then took four further exposures at ISO50, ISO100, ISO40 and ISO800. This gave me the five exposures I needed for my final blended image.
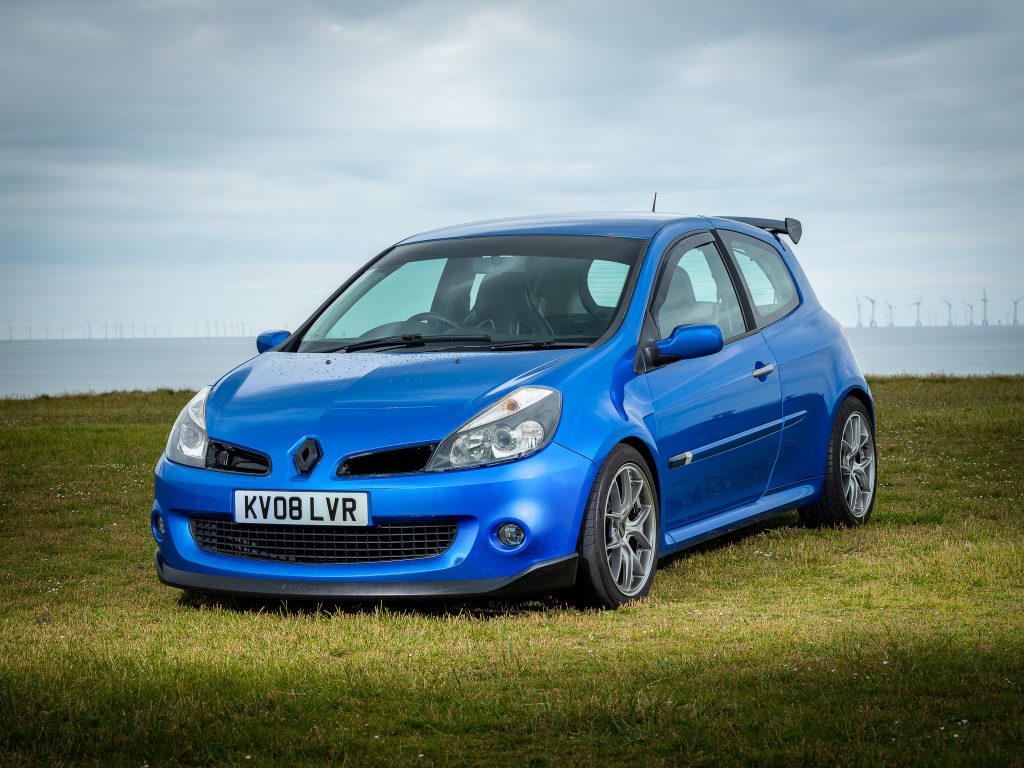
This is the exported blended image from Lightroom, showing more detail to the sky and car etc. And to get from this image to the image at the top of this article, I made use of DxO’s Nik Tools to emphasise the contrast and texture within the sky and grass, and that’s pretty much it.
But, at the start, I did say that the first image was the finished blended image, but not the final image. As with a lot of photographers, the camera is used as a tool on the way to creating the image they have in mind. At the time I shot the Clio, I was thinking of a more alluring image. Something with a bit more atmosphere than I had on the day.
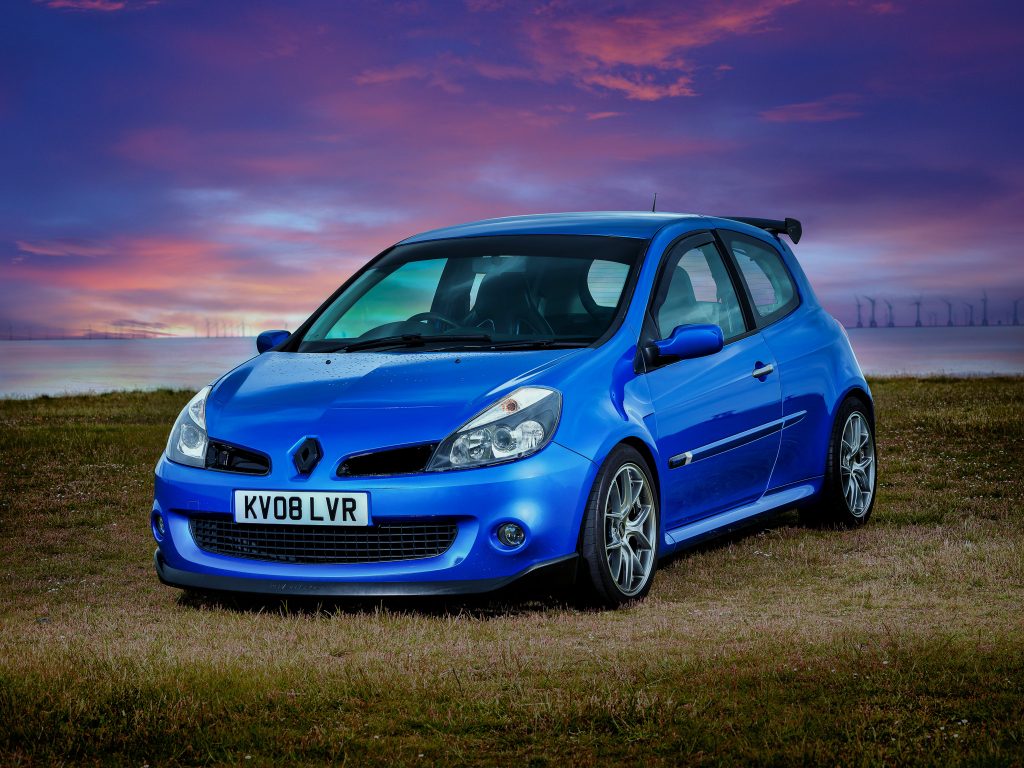
A new sky and a subtle tonal change to the image to match, and we now have what I believe to be the finished image I was working towards.
The Elinchrom Ones operated flawlessly, and I was made up with the images. The results could be repeated time and time again…
The displays were very easy to spot in a location setting, which is less irksome than having to walk over to your ELB500 battery to read the top plate, and find you can’t, because the sky is brightly reflected on the top display. Being cordless, also meant lightstsands could be raised to maximum, rather than being restricted by the length of the cable between the head and the battery.
However………
These images were taken on an overcast day, and the heads were at maximum. How on earth would they cope on a sunny day?
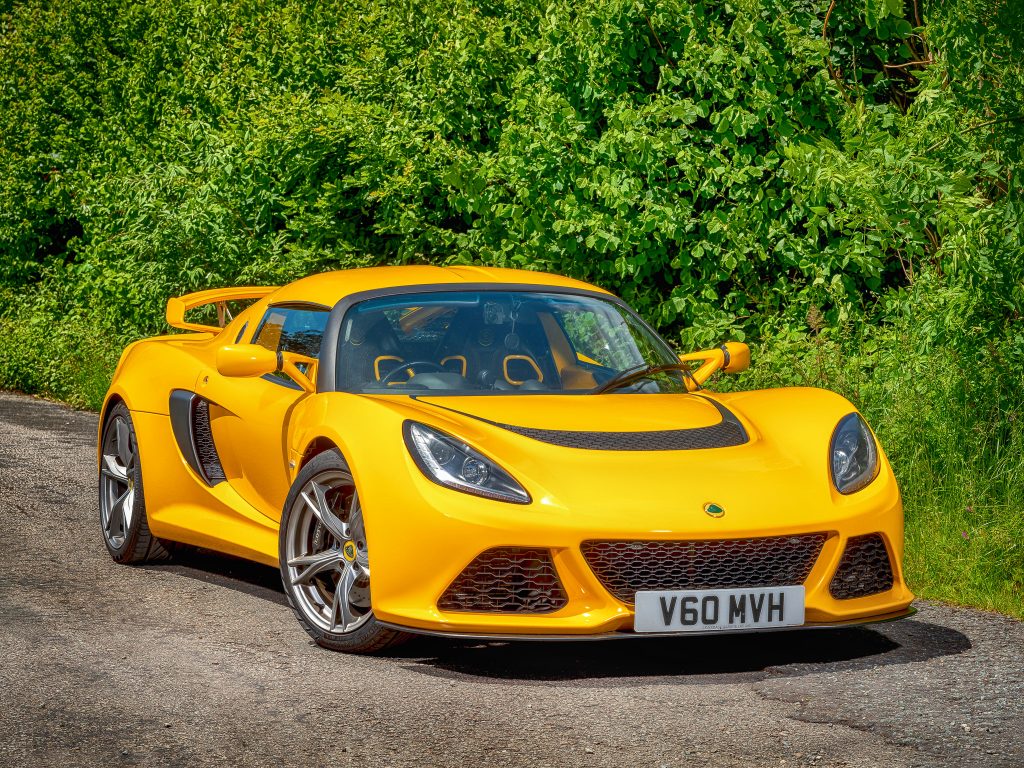
They cope very well, apparently.
In the behind the scenes image of the Clio, you can see the lights are fairly well distanced from the car. With the Lotus, I placed them barely out of frame, in a bid to squeeze as much out of them as possible. Also, this is a single image, rather than a bracketed sequence. Not that it makes a hoot of difference to the light output. The choice was made due to movement in the leaves behind the car, as it was quite breezy, and the movement would cause ghosting in the blended image.
Both heads were again at maximum 4.3 (131Ws) and firing through 26cm reflectors. They were a little lower at around 1.5m due to the fact the Lotus is a lower car. Similar positioning with one straight on towards the bonnet, and the second frame left, firing towards the door of the car.
Camera settings were 1/125th sec f16 ISO200
I’ll hold my hand up. I did not expect to get as good a result with the Lotus, because I doubted the Elinchrom One would cope with the bright sunlight. And if I were to be brutally honest, I don’t think I could use them with a lorry on a sunny day, purely because of the distance I’d have to light the vehicle from, to avoid fouling the frame.
Hmmmm. Mind you, I do like a challenge. I wonder…………
The Elinchrom Ones came from The Flash Centre.
