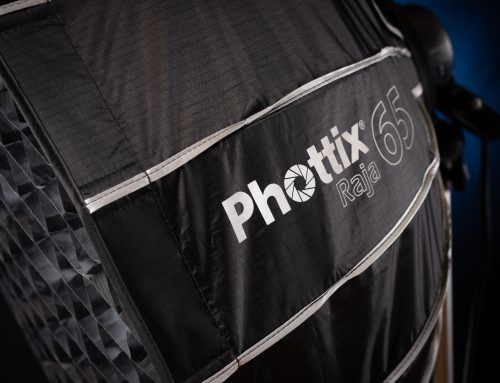
Review Phottix Raja 105 Hexabox
I have previously reviewed the Phottix Raja 30x140cm Stripbox. An incredibly well made and extremely high quality modifier. The stripbox was my first encounter with the Phottix range of modifiers, and a bit of a lightbulb moment (Look Mum, I made a pun!).
My next purchase was the Phottix Raja 105cm Hexabox. Up until this point, my go-to softbox for location shoots, especially food etc, was a nondescript 80x80cm folding softbox with a grid available. It would take either a studio head speedring adaptor, or a speedlight adaptor, and it served me well for something like seven years. Erm.. Okay, I replaced it with an identical model after the original got bent out of shape. But we don’t talk about that.
Anyway, my criteria was ease of deployment, compact when packed and of course, quality of light output. Yes, I know 105 is a bigger number than 80×80, but I didn’t know about the Phottix Raja 65cm Hexabox version when I browsed The Flash Centre site, and got a little giddy when I saw the 105, twitched a bit, and realised I had bought it. I also didn’t have the courage to then buy the 65.
Explaining one purchase to Helen was possibly doable. Two? Well, I’d rather not.
First Impressions
The first thing is the case, which is identical in quality to the case for the Phottix Stripbox. Very tough nylon outer skin. Double walled with a padded layer and an excellent zip. The contents are identified along one side very clearly, letting me quickly find it amongst a pile of similar cases. The strap runs the full length of the case, and is adjustable, along with a plastic pouch with some printed bumf about the modifier. Why mention the printed bumf? I mean, surely most folk would just pull it off and chuck it. Well, as I found with the stripbox, this label is actually worth more than the paper it’s printed on. It carries the specifications regarding light loss when the softbox is used in various configurations, with or without the diffusion panels and grid. The details are further down.
Opening the case, and pulling the modifier out takes a small amount of effort. The case is a tailored fit, and it does fit well. Normally, when pulling a modifier from a snug fitting case, you find the outer skin slides down the support rods, or if you’re a real penny pincher, you find the skin slides right off the rods on the cheapest modifiers. And then starts the fun game of re-skinning a modifier whilst being stared at by the client, the model, the old lady with her shopping basket and her dog.
No, I never bought any of those, honest.
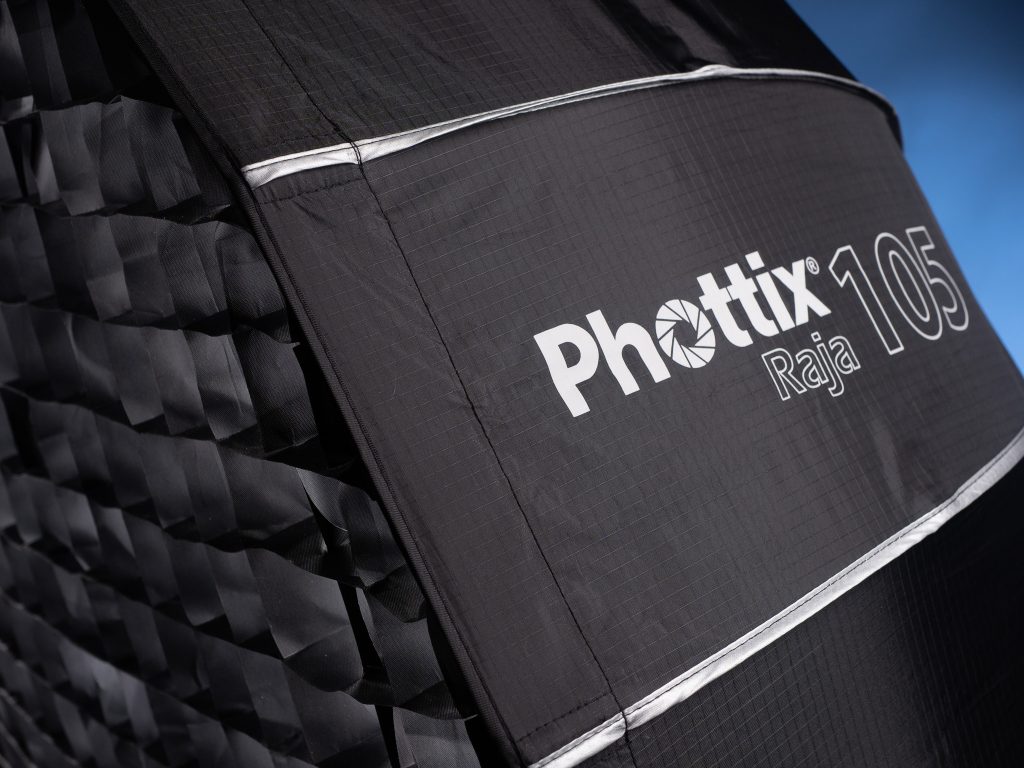
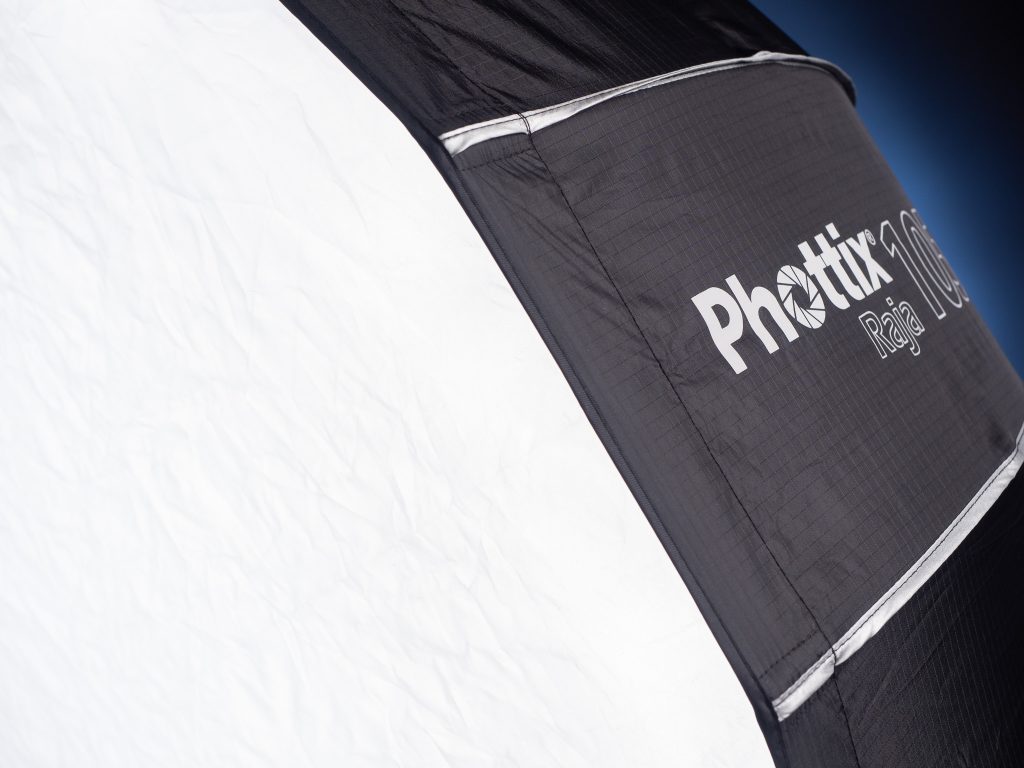
So, the Phottix Raja 105 skin is skin tight, so to speak. It fastens very snugly around the speedring, and doesn’t allow any movement along the support rods, no matter how tightly it’s packed. The rods run along the seams between each of the sixteen panels. On the outside, the seams are reinforced and covered with a contrasting mid grey material.
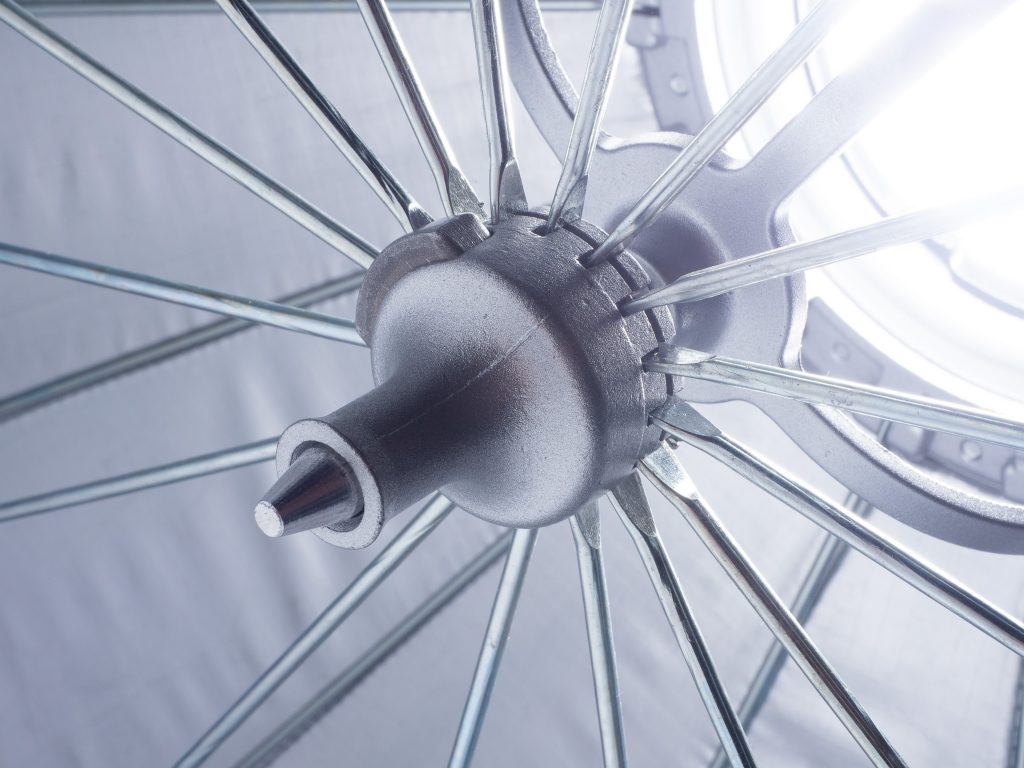

Erecting the softbox is straightforward. Most are familiar with the umbrella style of popup mechanisms. You push down, and it locks. Push in the metal blade, and it unlocks. Except on the umbrella type mechanisms, you have to grip the shaft correctly, so you can push down and take the tension off the mechanism to release it. I for one, have managed to nip the skin between thumb and forefinger a half dozen times over the years. The Phottix mechanism is an updated version, and it works beautifully. Instead of the slim tube with a spring loaded blade as the locking mechanism, Phottix have a large circular collar, making it much easier to handle, and more substantial when having to put a lot more of your weight behind it on some of the bigger mods. It locks without issue, but the beauty is in the release. With the original style of mechanism, you had to take the tension off and then release the mechanism, and only if you had your hand in the right orientation. With the Phottix, you can reach in blind, find the collar and squeeze the large button. Squeezing the collar as a whole will also do the trick, and it releases with a satisfying pop.
The inner surface of the skin is a smooth, high quality and extremely reflective silver, making it very light efficient.
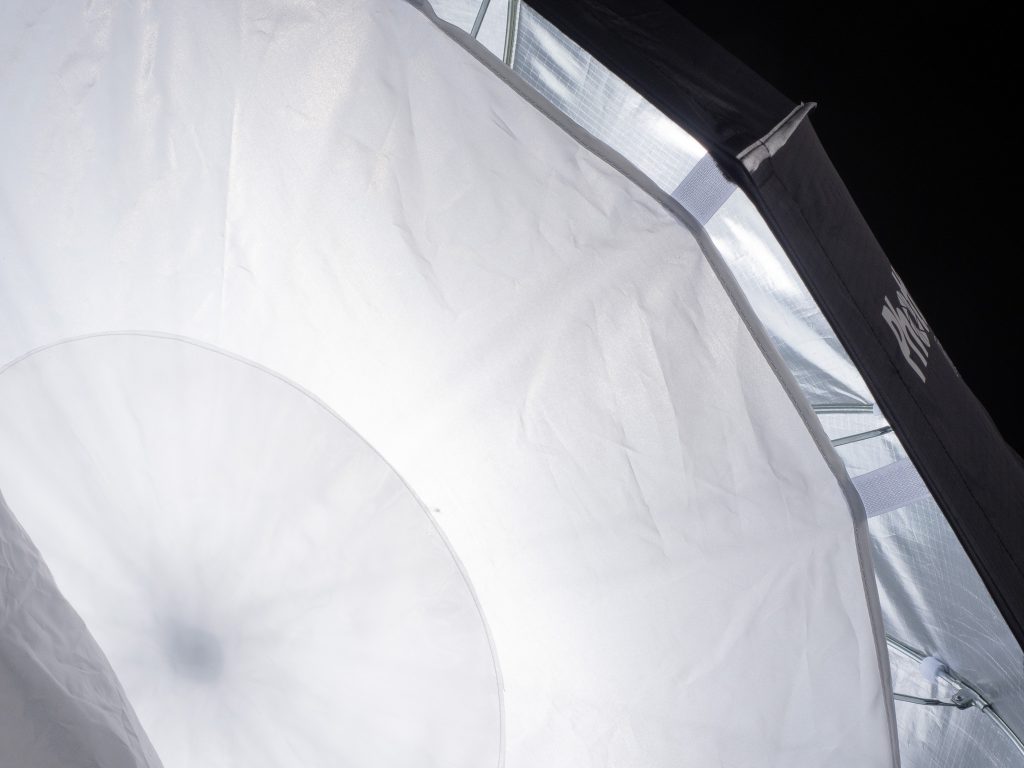
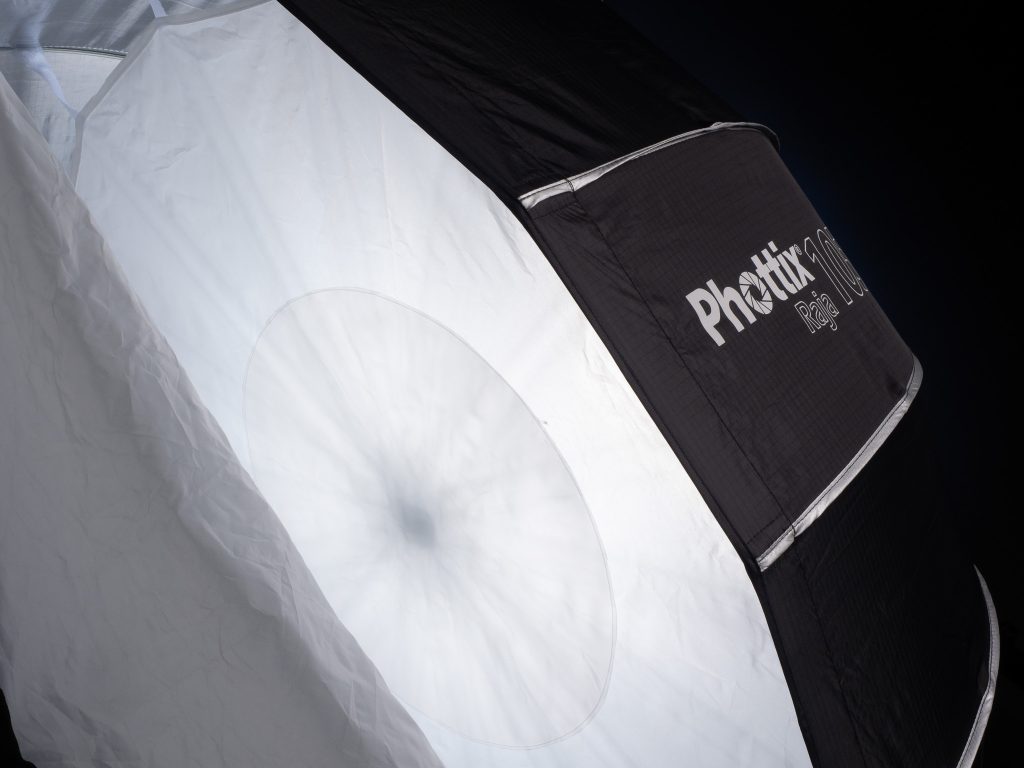
The inner diffusion panel is a nice fit, secured in place by good quality hook and loop strips, and the edge is nicely reinforced and taped. The centre of the panel has a large circular double panel, reducing the possibility of a lighting hotspot.
The outer diffusion panel is a dead fit. I’ve found some cheaper mods tend to be rather haphazard with regards to the fit of their diffusion panels. Sometimes the panels are too large, which is a pain when you end up with a gathering of material at one corner. Or worse, the panel is too small, and you have a couple of gaping areas around the edge of the panel. The Phottix is a dead fit. No gaps, sags or complaints. A front diffusion panel that fits exactly, also adds to the rigidity of the box, and the 105 is no exception.
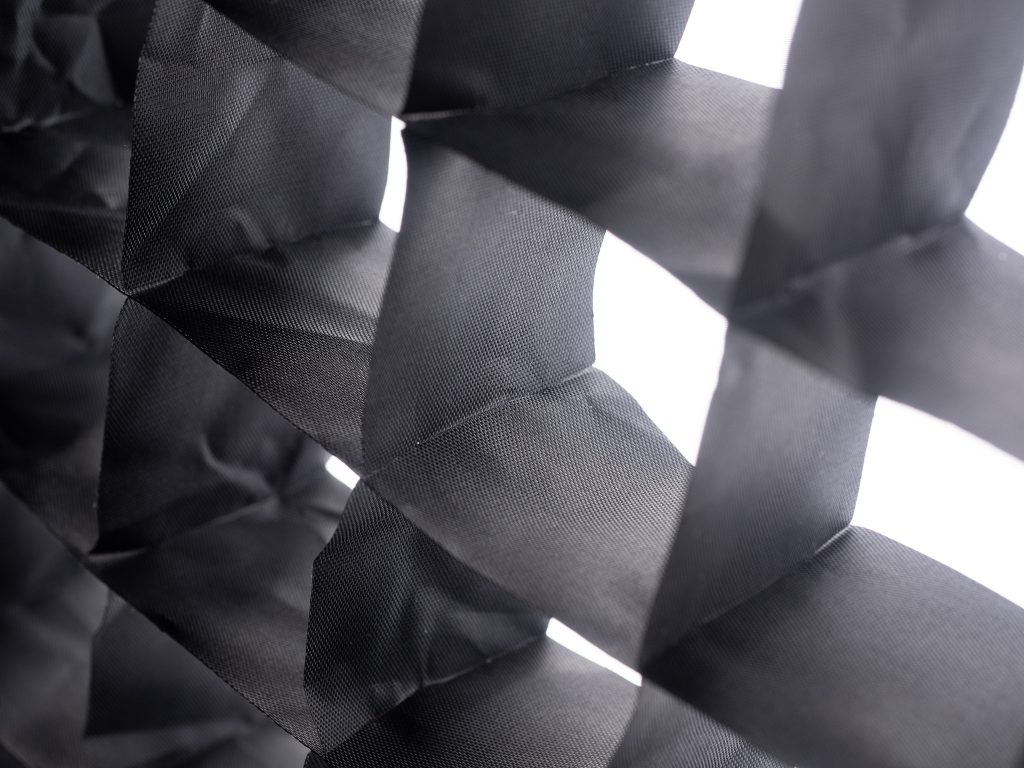
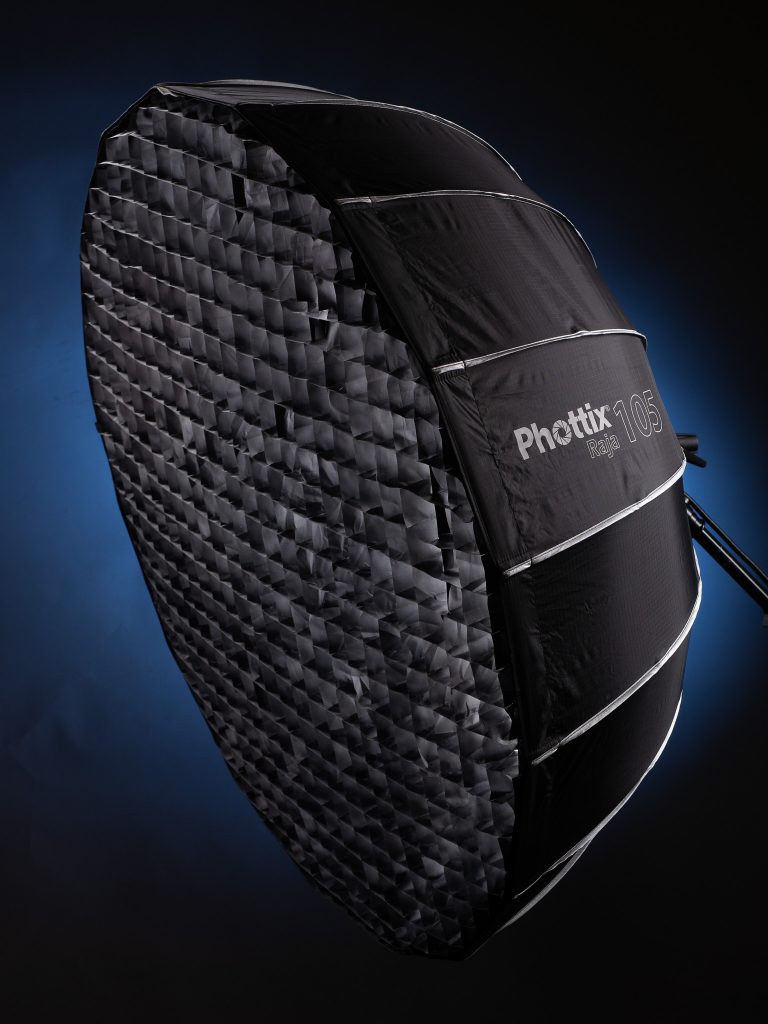
The last item to fit is the honeycomb. First of all, the material is more substantial than a lot I’ve seen. Ever so slightly thicker, and no sign of errant nylon threads anywhere. It’s textured and feels quite tough. The outer edge has the loop material which fixes it very firmly to the front of the softbox. Once fitted, flipping the box over and lifting it up, you won’t find any sagging of the honeycomb. Pretty good for a 105.
In Use
I mentioned earlier, my go-to softbox for a lot of my location work, was the 80×80 folder, especially with food. So lets look at it in a restaurant shoot. My first food shoot with the Phottix 105 was for the Crest Hotel Group in Shropshire, and this is where I noticed my first drawback with the 105. The softbox is very shallow, and this is it’s strength with its light efficiency. But, the shallow back also means it can’t be tilted down too well when placed on a light stand. Now, when I shoot food, my keylight is placed almost directly over the plate or dish, and angled down. By overhead, I mean the lightstand is placed pretty close to the table, and then the softbox angles down towards the plate. The Phottix 105 doesn’t allow this, as it fouls very quickly on the lightstand upright. I used a small mobile boom to replace the lightstand, and the issue was resolved. The bonus here is the fact the boom arm also allowed me to move the key light exactly where I need it, and also allowed full mobility of the softbox itself. I hadn’t realised just how much a standard lightstand kinda dictated the position and angle of my keylight. Freedom! (Shouted with a Scot’s accent).
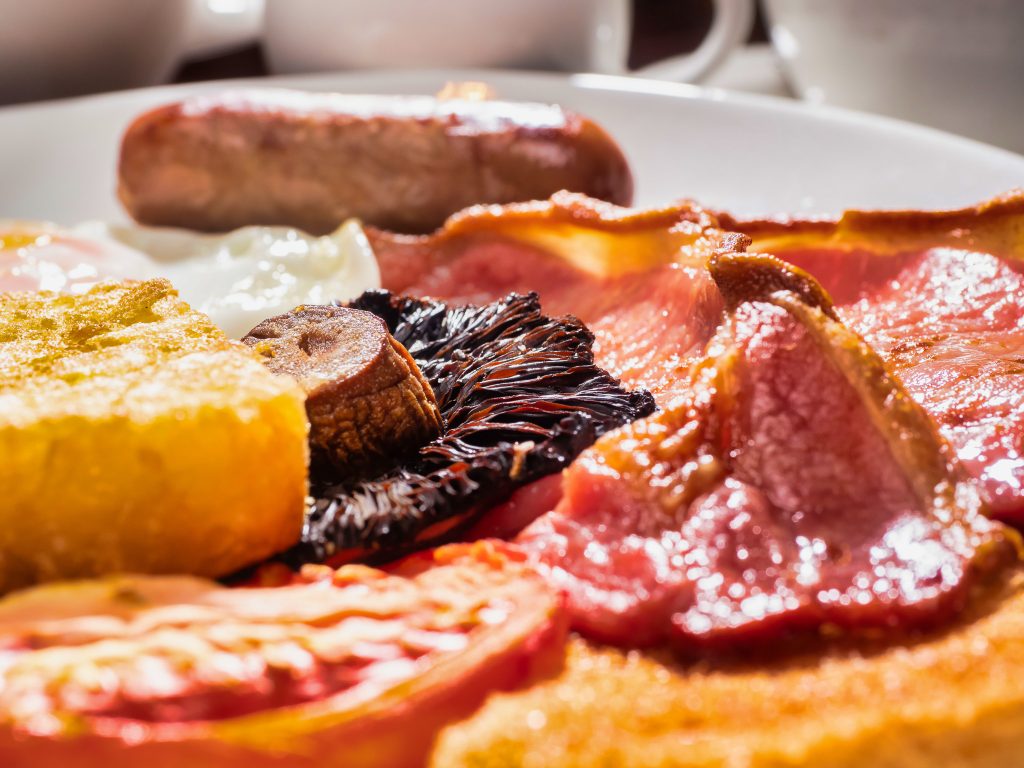
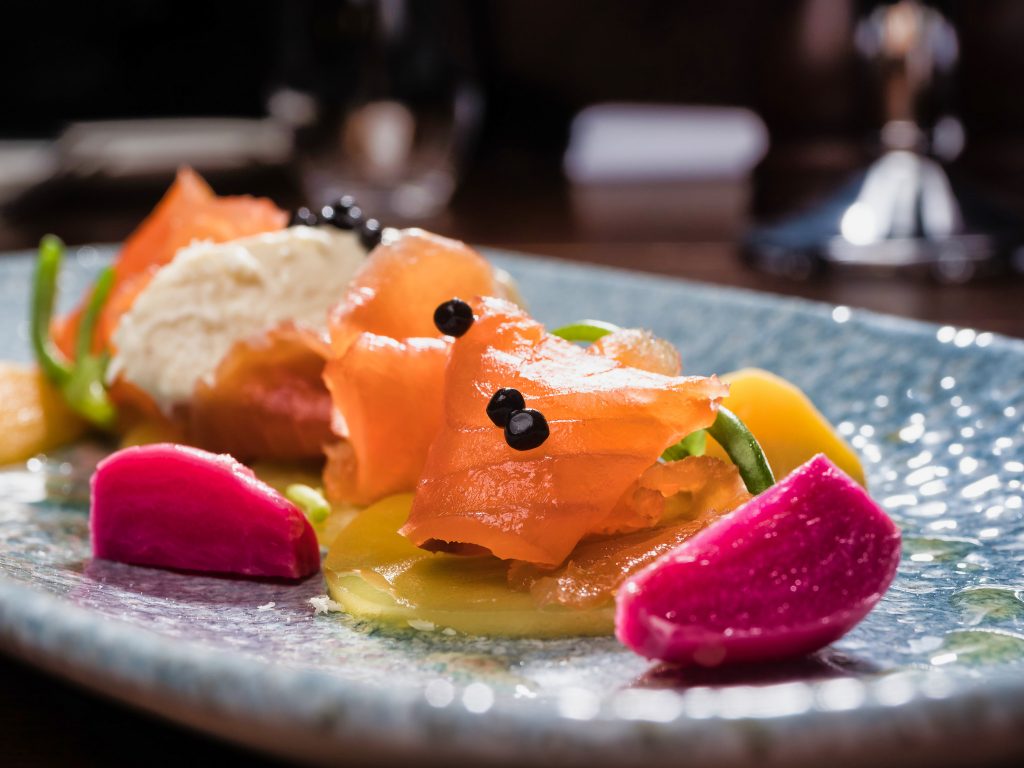
The larger size of the 105, compared to my previous 80×80, gave a really nice fill to my food images. The coverage was larger, reducing the contrast a little in the image, and giving a softer appearance to the light. This allowed me to use my accent lights to greater effect when picking out the detail. A definite hit for my food stuff.

So, how about location headshots. I traipsed into Manchester after a two hour drive, only to find I couldn’t park at the office building due to an issue with the gate. I had to lug all the kit from an adjacent carpark in the rain, and set up as quickly as possible, as they were all due to go out for a business lunch they failed to mention.
Note : apparently, “business lunch” is Mancunian for Christmas party.
Note 2 : I wasn’t invited.
Anyway, it meant the amount of time we had arranged to shoot the headshots had just been halved, and there were a few more staff added to the brief. Meh!
I was using two Phottix stripboxes, and the Phottix 105 as key. The lights were up and ready, in conjunction with Elinchrom ELB500s very quickly, and ready to go in fifteen minutes. (A sweaty photographer is not an attractive sight). I was in and out in an hour, all done, and very sweaty. The very quick deployment of all three modifiers is a huge boon, as is their packing. I don’t remove the honeycombs or diffusion panels. The collar gets popped, the box is squeeze shut, and the lot is fed into the case and zipped home. And it takes about as long to pack one of these, as it’s taken you to read about it. Done!
Oh, and a word of advice. Quote for the job, not by the hour.

Meet Tarquin. One of our characters from a recent lighting workshop held at The Flash Centre in London. Phottix stripboxes for accents, and a 105 as the key light, with emphasis on his upper body, and nice feathering towards his feet.
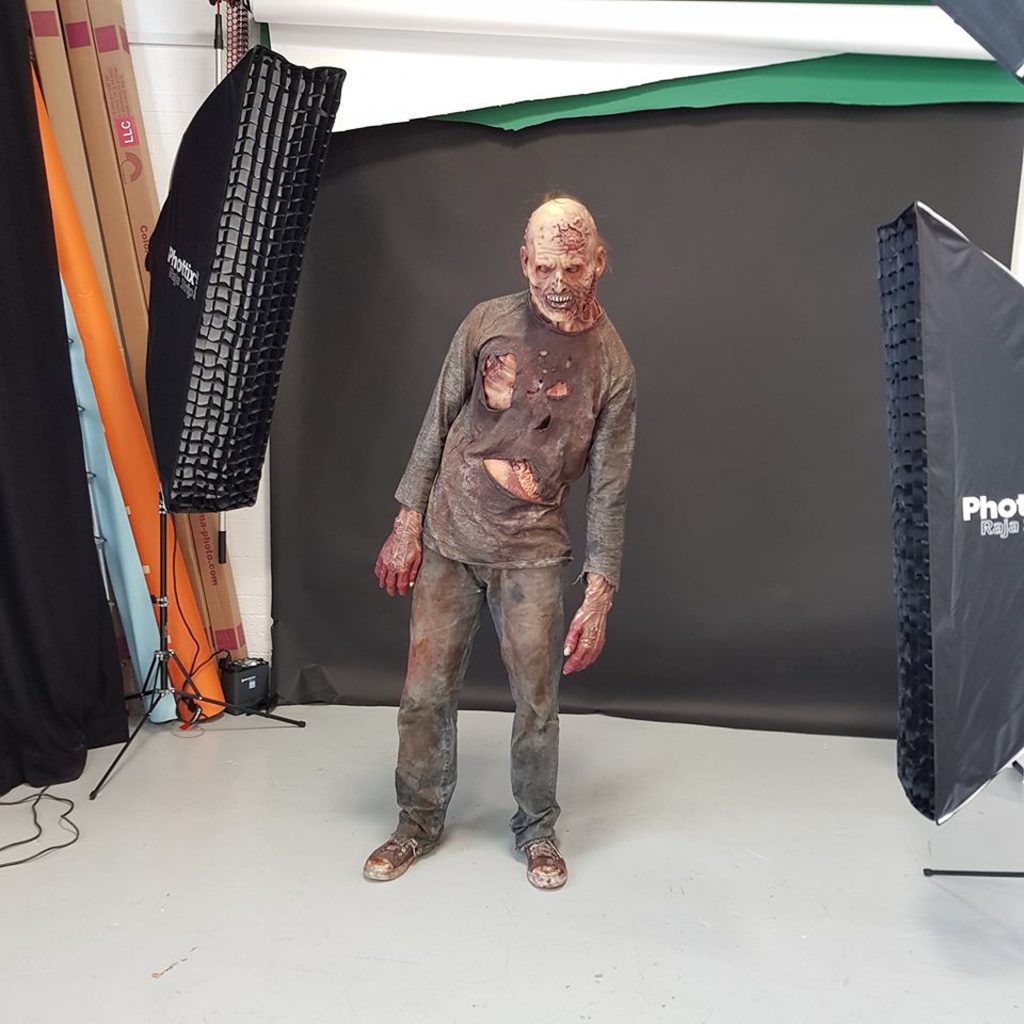
Obligatory BTS
In the studio, I find the collapsible type of modifiers are far easier to store, and I’ve gradually moved away from what I would describe as traditional studio modifiers. The Phottix 105 has become invaluable with product shoots. Not just for the smaller stuff, but larger items are managed really well if the honeycomb isn’t required. The light efficiency is quite noticeable in the studio, probably because it’s such a controlled environment, and experience tells us what we would need to dial in for a particular subject, at a particular distance for a particular aperture. The Phottix 105 consistently needed less power output from the heads. Not a great deal less, but I noticed it.
Talking of which, here is the data I promised you.
Light loss in stops
Inner diffuser only -0.3
Inner and outer diffuser only -1.3
Grid only -0.1
1x diffuser and grid -0.4
2x diffusers and grid -2
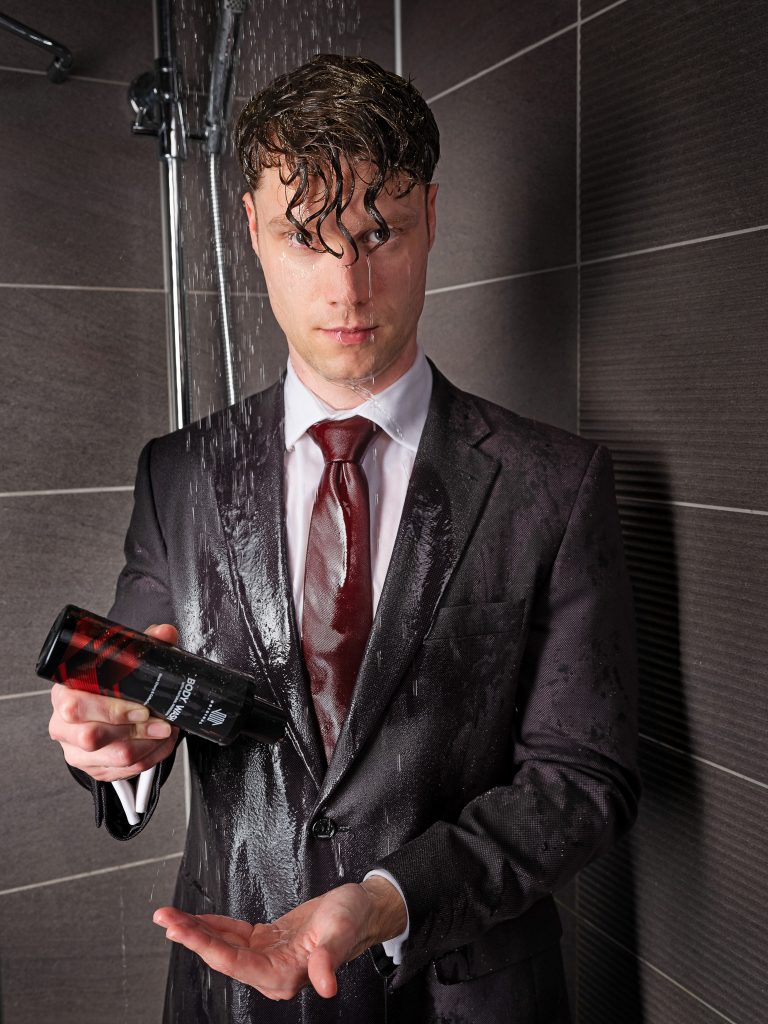
Okay, this was an odd one. I was to shoot a guy in a suit, in a shower (huh?).
This was for Vir Original, who make prestigious grooming products for men. Their tag line is “The suit beneath your suit”. Anyway, this was part of a much larger marketing campaign. The same couldn’t be said of the bathroom. It was bijou.
I could get a stripbox frame left, providing the accent, but the keylight needed to be frame right and high. The space was almost non existent, and the Phottix 105 slotted in just nicely. Although tight, the efficiency of the Phottix design provided a lot of light which I couldn’t have gained otherwise. Without the Phottix 105, I’d have had to resort to something like a 44cm beauty dish, which would have slotted into the area fine, but even with a diffusion sock, wouldn’t have been as soft. Both Phottix softboxes were utilised with the honeycombs in pace, so the light could be well controlled and avoid confusing reflections and light bounces from the shower glass on two sides.
Conclusion
I originally bought the 105 because my usual location key box was getting a little tired. The new Phottix Raja stripboxes had proven their worth so quickly, the Phottix Raja range was the first place I looked. The 105 has met my expectations and more. The build quality is right up there with the likes of Elinchrom, the light efficiency is excellent and the deployment and packing is extremely quick. This particular size is a little larger than my usual box for food photography, but I’m quite taken with the light characteristics it brings. It’s absolutely ideal for portraits and headshots, and if you ever need to work in a bathroom, this is your box.
I have to admit, I’ve caught myself on a couple of occasions looking at the Phottix Raja 65cm Hexabox on The Flash Centre website. Do I actually need it? No, not really. The 105 is a perfect balance of size and application. But, you know, on the other hand….
I have to say, the bite of the Phottix bug is real. You get a shedload for your money, and not just the tangible stuff, such as quality of workmanship. But be warned, you will reassess what you are getting from your other modifiers, and compare them with the Phottix range. Luckily, I’m quite disciplined. I haven’t bought the 65cm Hexabox.
Any ideas on how I explain the arrival of a Phottix Raja 150cm to Helen?
Incidentally, Phottix boxxes came from The Flash Centre.