The 60 cm Sundisc from Approach Studios is touted as an “ultra portable softbox reflector”, and it was this tagline that caught my eye when I spotted the kickstarter campaign in June 2017.
Hmmm, it looked pretty portable and compact in their promo video, and it kinda got me hooked. I decided I would give it a punt during the first couple of seconds of the video. Not really sure what happened between that moment and placing my pledge, because I managed to talk myself into going for the twin pack. I consoled myself by telling my wife the minimum order was two. * cough *
We’ll skip the bit where I waited, although I will say the updates from the team were regular and very informative. Kudos! And then a grey plastic wrapped pack arrived. Erm…. isn’t that a little small for two softboxes? I held my breath as I opened the pack.
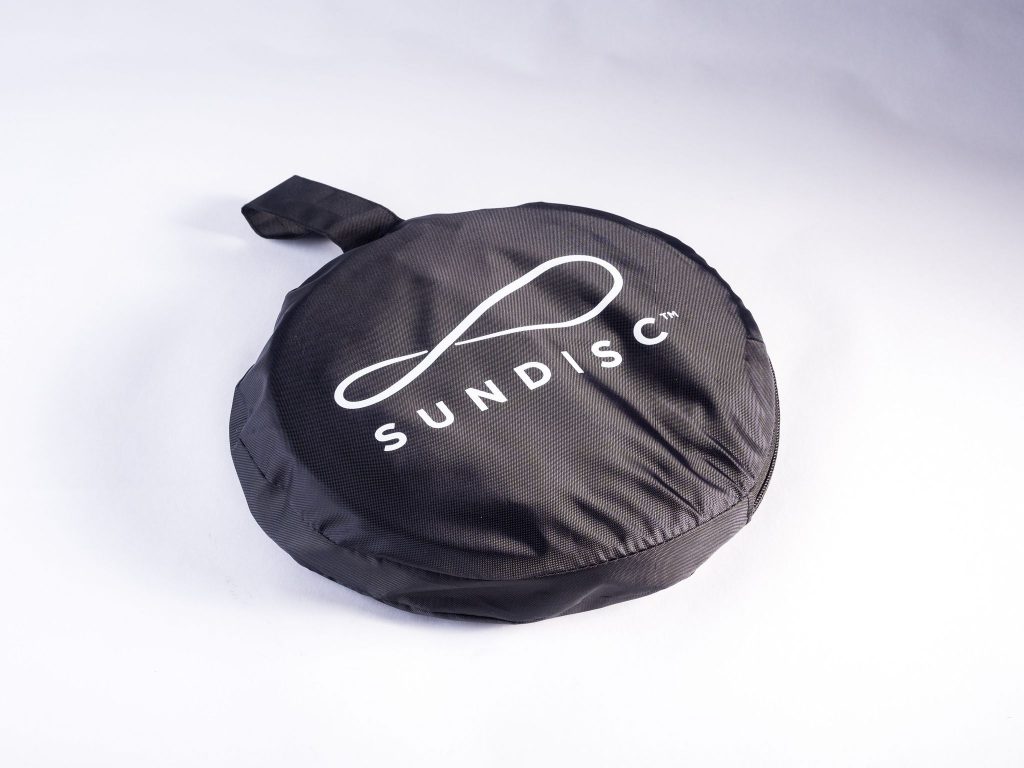
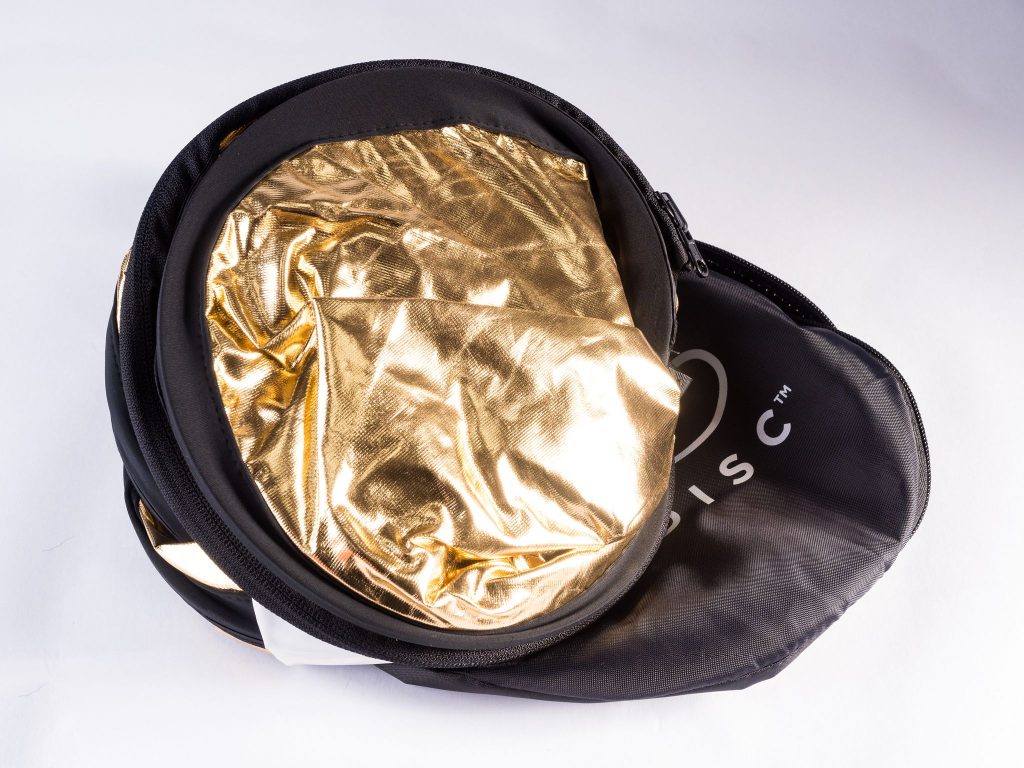
Nope, definitely two, although one pictured above. They are each similar in size to a folded 22” reflector disc, which is around 9” in diameter when packed. It immediately struck me that I can replace the 22” reflector I cart everywhere in my camera bag for food photography, and I’ll always have a softbox available without taking up additional space in my kit bag.
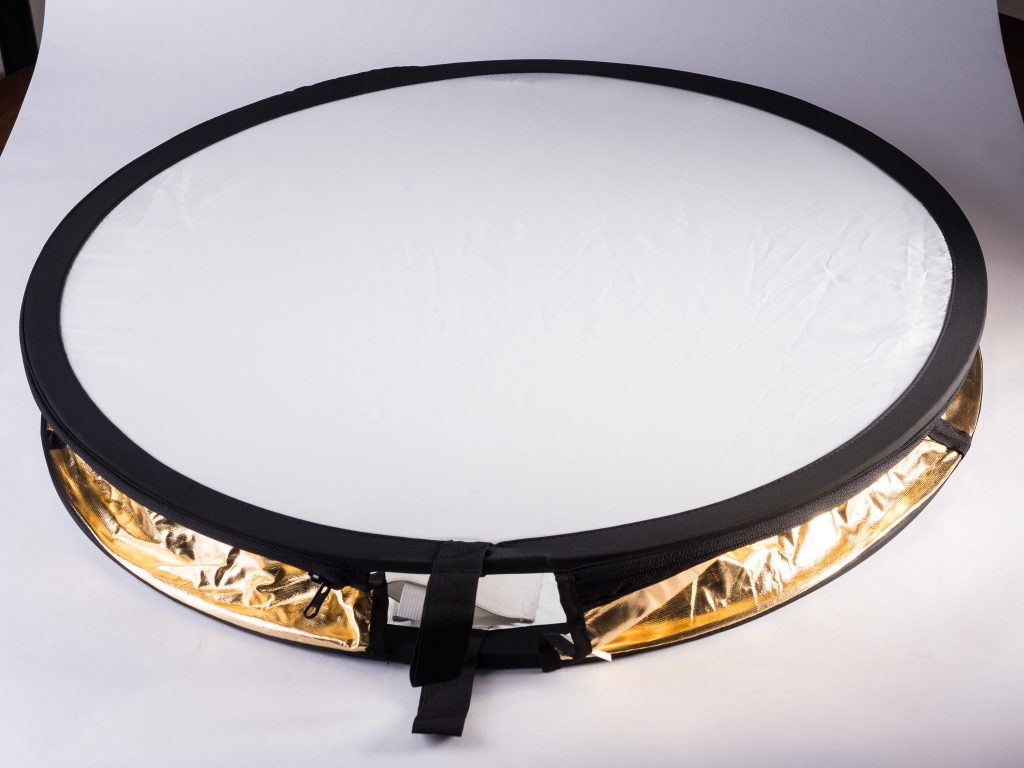
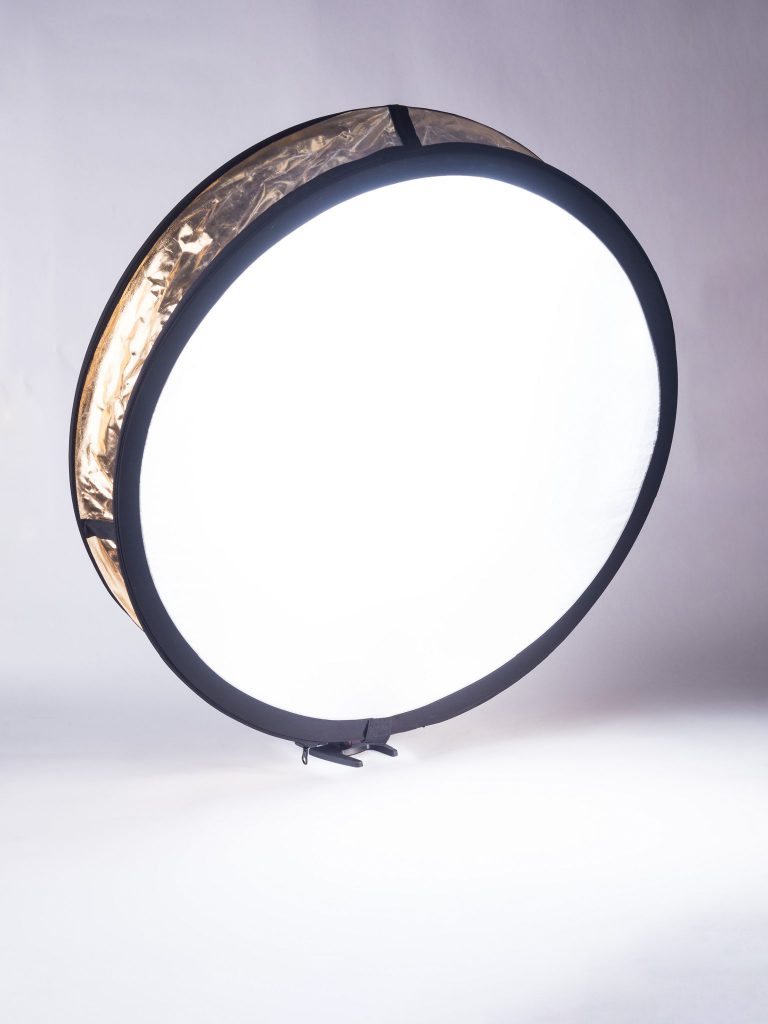
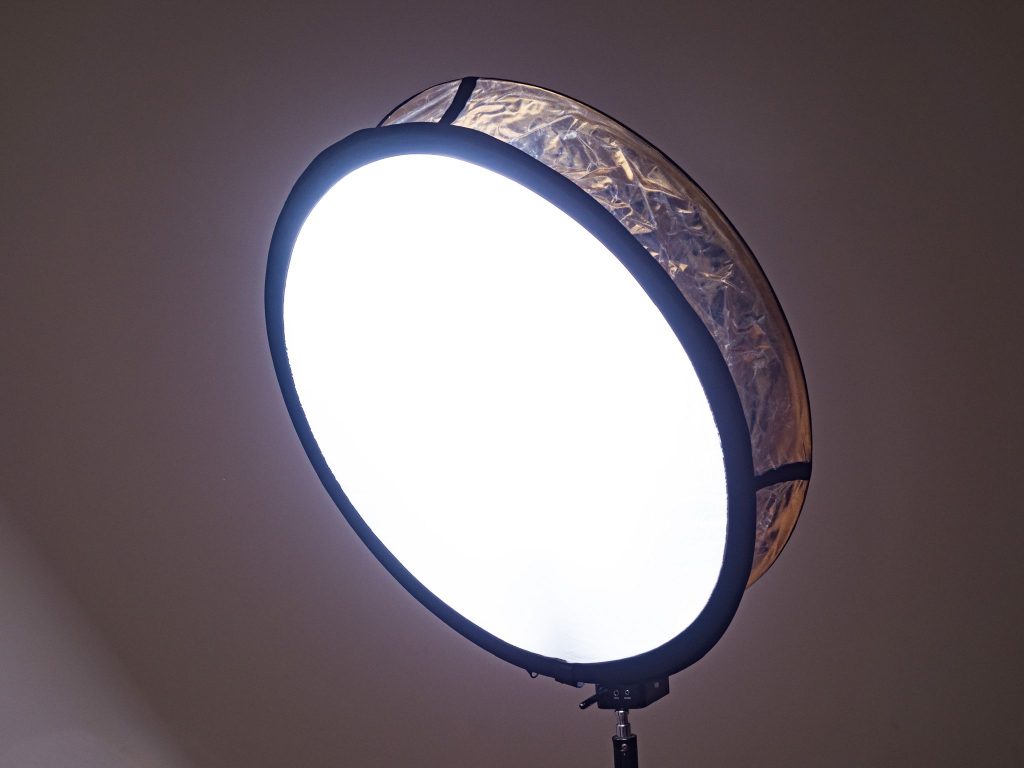
And once I’d unfolded the first Sundisc, the quality of the reflective material was obvious. It was much superior to the silver and gold reflector it would replace. The panel has a zip that almost fully encircles it, allowing it to be turned inside out to switch from a silver internal surface, to gold.
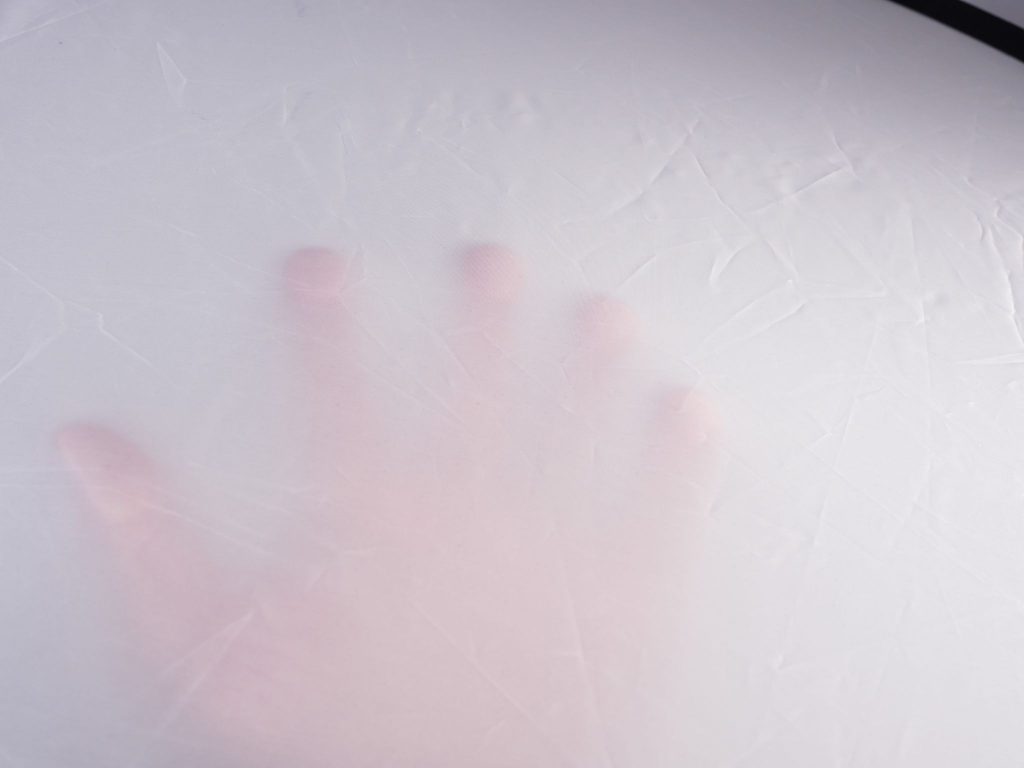
The quality of materials extends to the YKK branded zip. I’ve seen good quality zips let down by poor stitching previously, so it tends to be something I look for. Nothing to be found, it’s all extremely good quality work. Which brings me to the diffusion panel. It’s funny how running your hand behind a diffusion panel kinda gives you an idea as to what you will get from a unit. I’ve had some boxes with rough fabric diffusion panels, and unable to see any indication as to where my hand is. Consequently, they ate light far more than they should have done. The panel on the Sundisc on the other hand, is silky smooth with a reassuring amount of translucency.
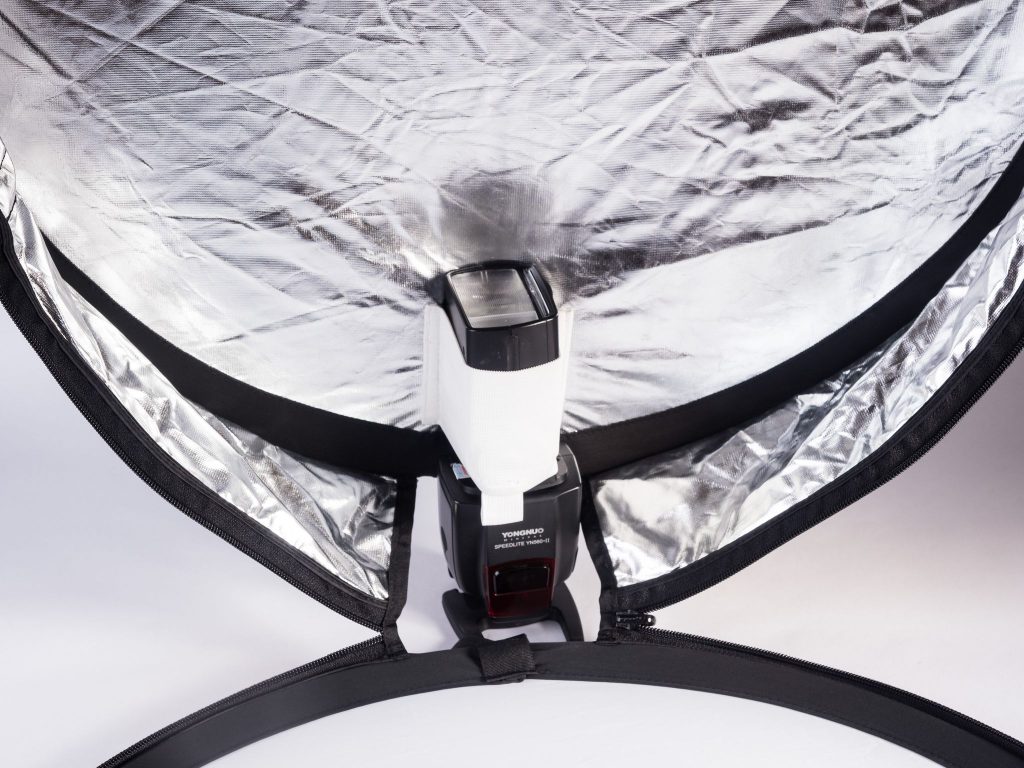
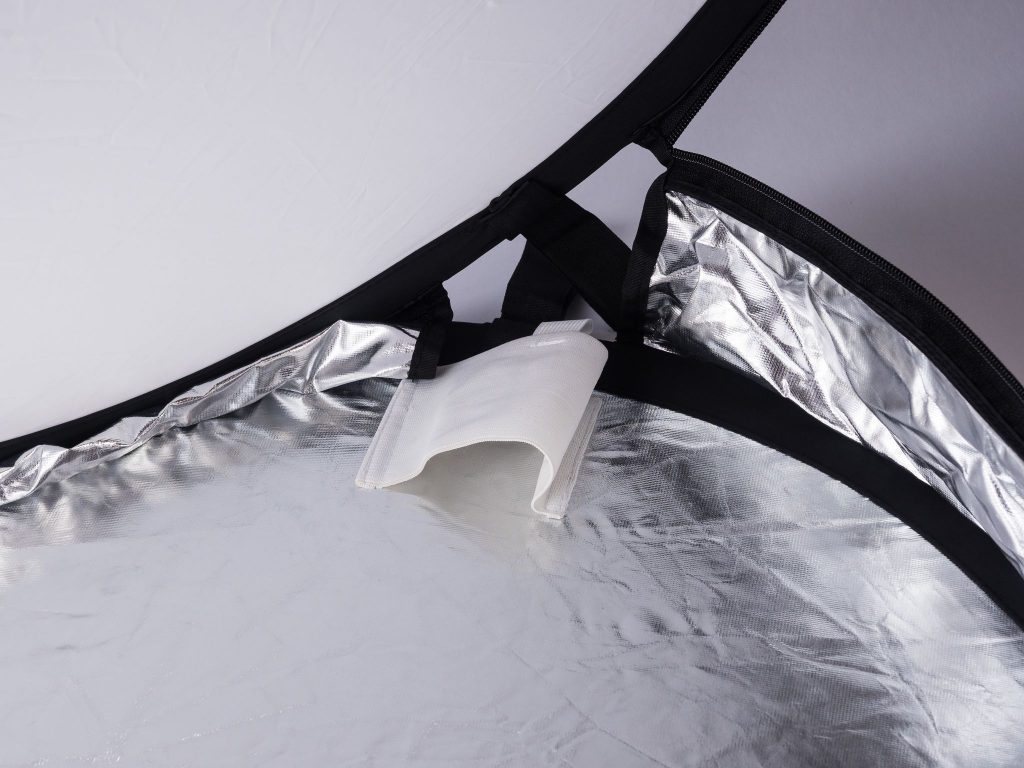
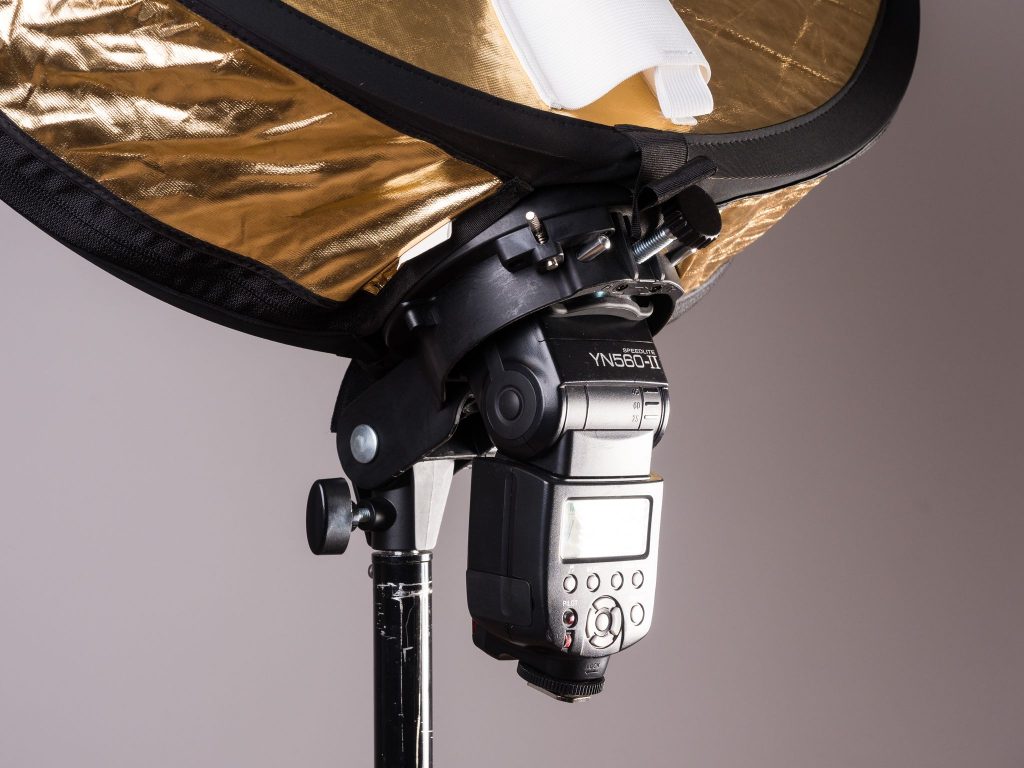
Inserting the speedlight isn’t hard work, although the elastic sleeve is certainly reassuringly tight. The above image has the zip undone to show the seating of the speedlight head. You will notice I’ve turned the head by 90°. Originally, I had the head at standard upright position, but found the locking mechanism on my speedlight didn’t particularly like the weight of the Sundisc, and constantly capitulated, letting the Sundisc swing forward to a horizontal position. Considering the Sundisc weighs little more than four feathers and three frozen peas, I’m of the conclusion my speedlight kinda sucks. Anyway, it was easier to wring the speedlight’s neck, than go dig out another speedlight. That said, I’d likely stick with this configuration anyway, as there was no movement at all, even if the speedlight were mounted on a stand adaptor, and tipped to a horizontal angle.
The access hole for the speedlight is quite generous, and this is the ace up the sleeve. The hole is the exact size to accommodate one of those speedlight brackets used with folding softboxes. Now, those brackets vary in price and quality, right from the pressed steel jobs found “free” inside cereal packets, through to the still cheap, nylon rock solid adaptors made famous by Godox. This is a far more stable system for attaching the Sundisc, and allows the speedlight to hang lower down, giving full access to the buttons and panel for adjustment.
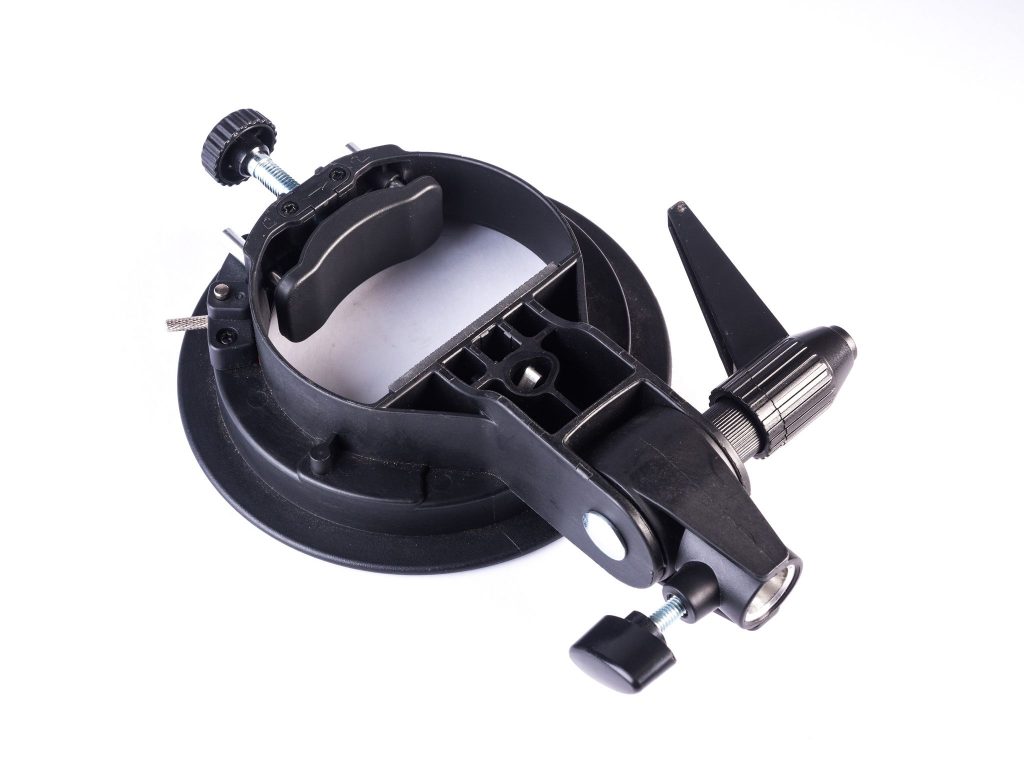
Of course, if you are using a speedlight with remotely adjustable settings via the transmitter, then having the controls partially obstructed by the Sundisc panel isn’t an issue. Personally, I found the positive locking of the adaptor, and the firm grip of the Sundisc to the adaptor to be very reassuring. Plus, I have a real mix of speedlights, with some having remote adjustment, and some purely manual “set ‘n’ forget”. (The forget bit applies to me, as I often forget what I set it to, and have to go back to check!).
In Use
Okay, I couldn’t wait to try them out, and cajoled a fellow photographer, Damien McGlade, into playing patsy. I set the two panels in a simple cross-light setup. Both speedlights were at 1/8th output.
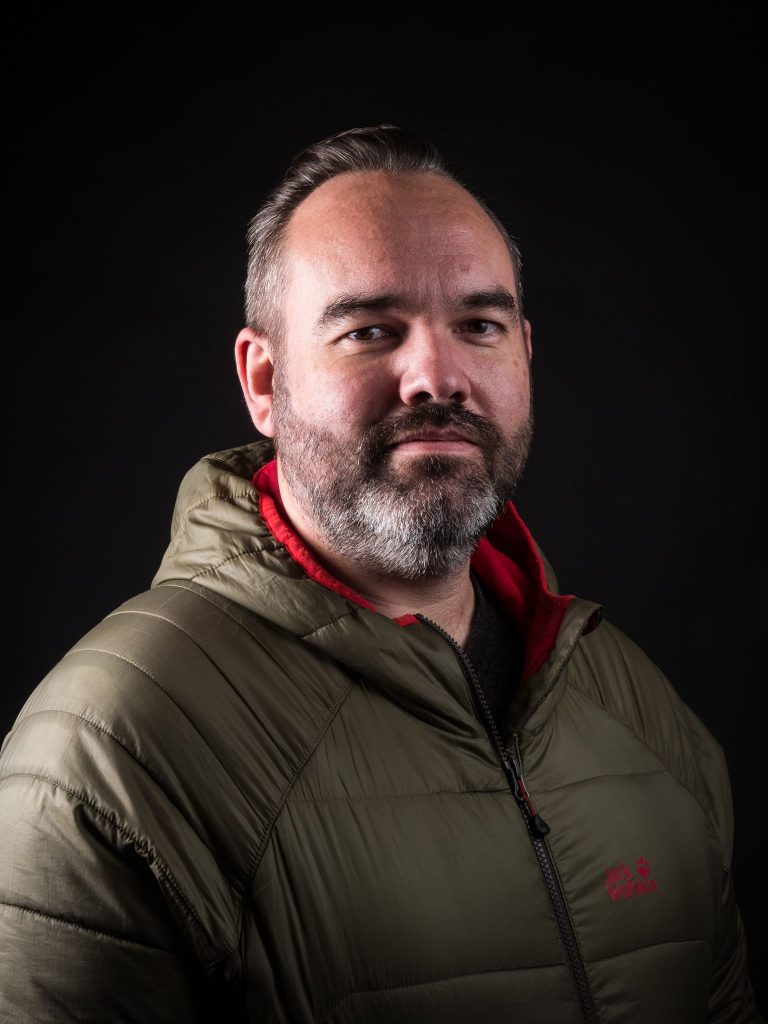
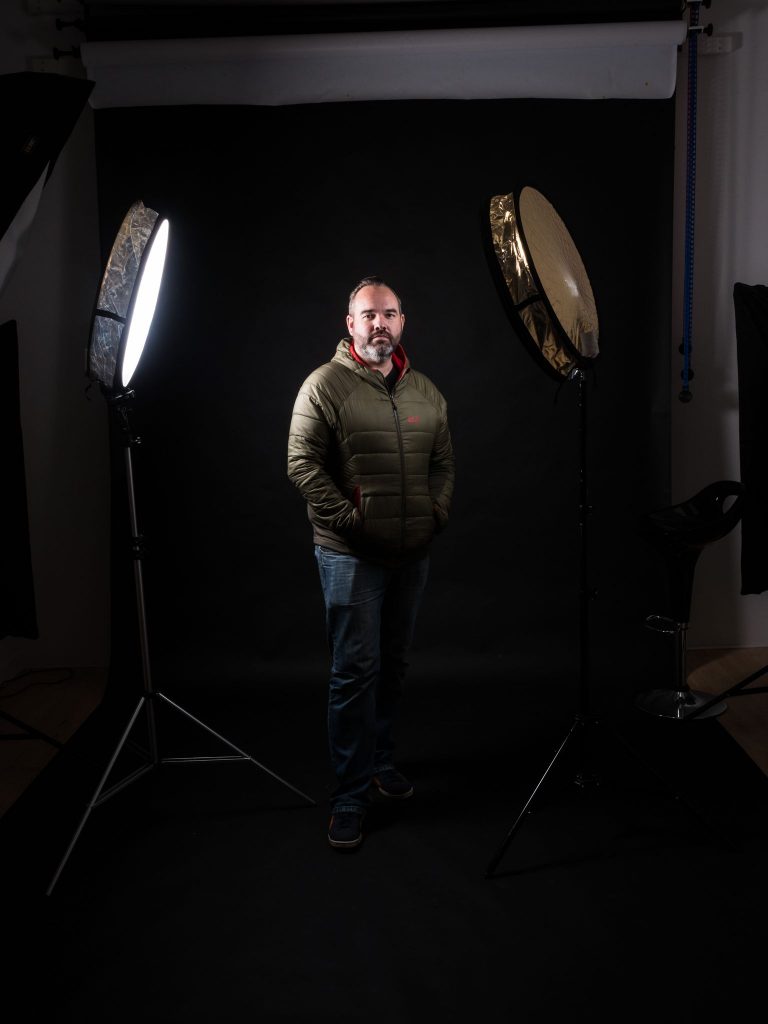
Olympus E-M1 mkII 1/125th sec ISO200 12-40mmf2.8 @ f13
I really like the diffusion of the light, and it certainly seems softer than other 60cm speedlight softboxes I’ve used. I’m assuming that’s down to the fact the speedlight isn’t directed at the subject, as it fires across the Sundisc, with the interior bouncing the light effectively before exiting through the front diffusion panel. It certainly seems to punch above its weight when compared to other 60cm folding softboxes.
Bearing in mind, I bought these because I was inquisitive to find out how well they work, I’ve since taken them along to client shoots, and they’ve settled in with my other equipment really nicely.
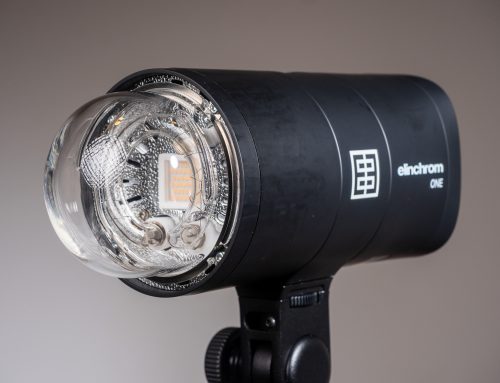
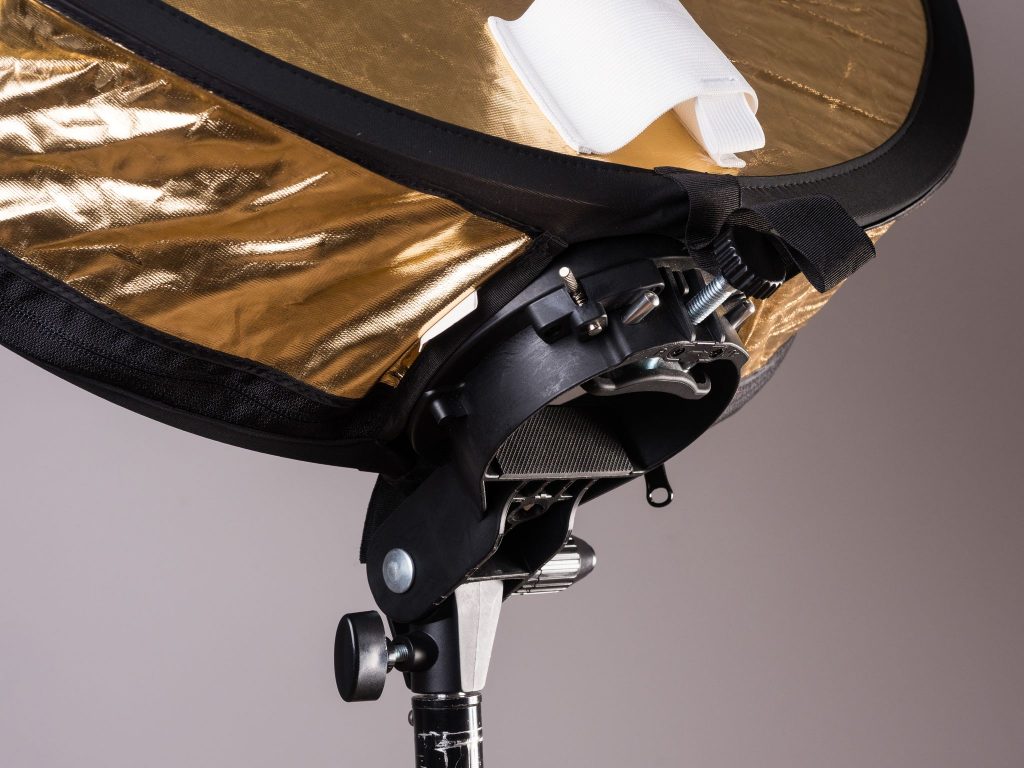
To be honest, speedlights are not my weapon of choice, as I use Elinchrom ELB400 units for almost all my location work. Whilst on a client shoot, I found myself staring at the back end of a folding 80x80cm softbox, idly wishing I could have used a Sundisc with the ELB400. At that point, it dawned on me that the 80x80cm softbox was anchored to the EL adaptor I was using on the ELB400 head, by a, Elinchrom speedring for folding softboxes. The same can be found in various fittings, such as “S” fit and others.

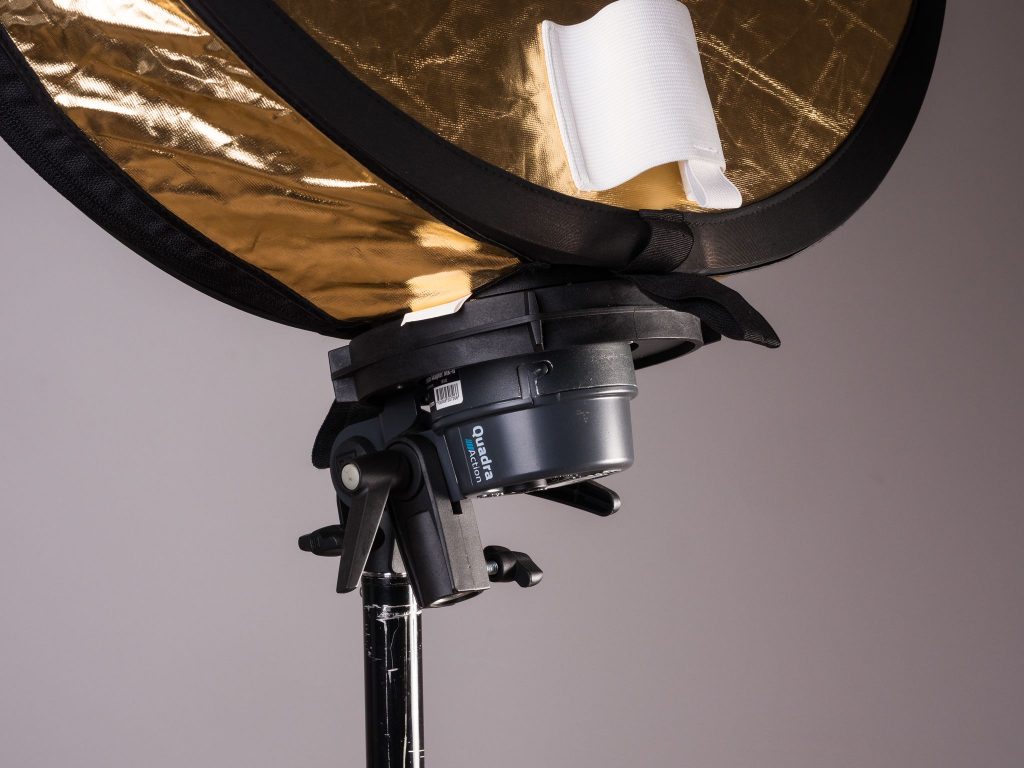
This means the Sundisc can be used with location kits and studio heads. The above images show an ELB400 Action head in place, and of course, this opens up a much wider range of application. For this reason, I have one Sundisc permanently in my camera bag, and the second one is permanently in my location lighting case.
Considering I bought these because I thought they may be worth a punt, I’ve found them to be an excellent investment.