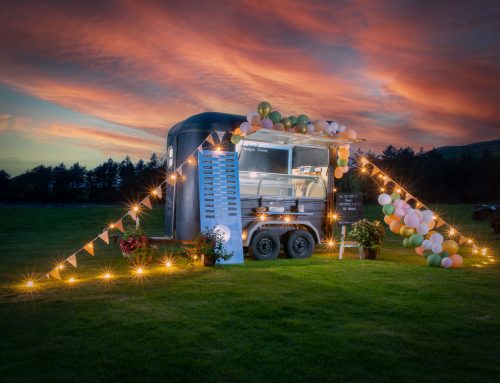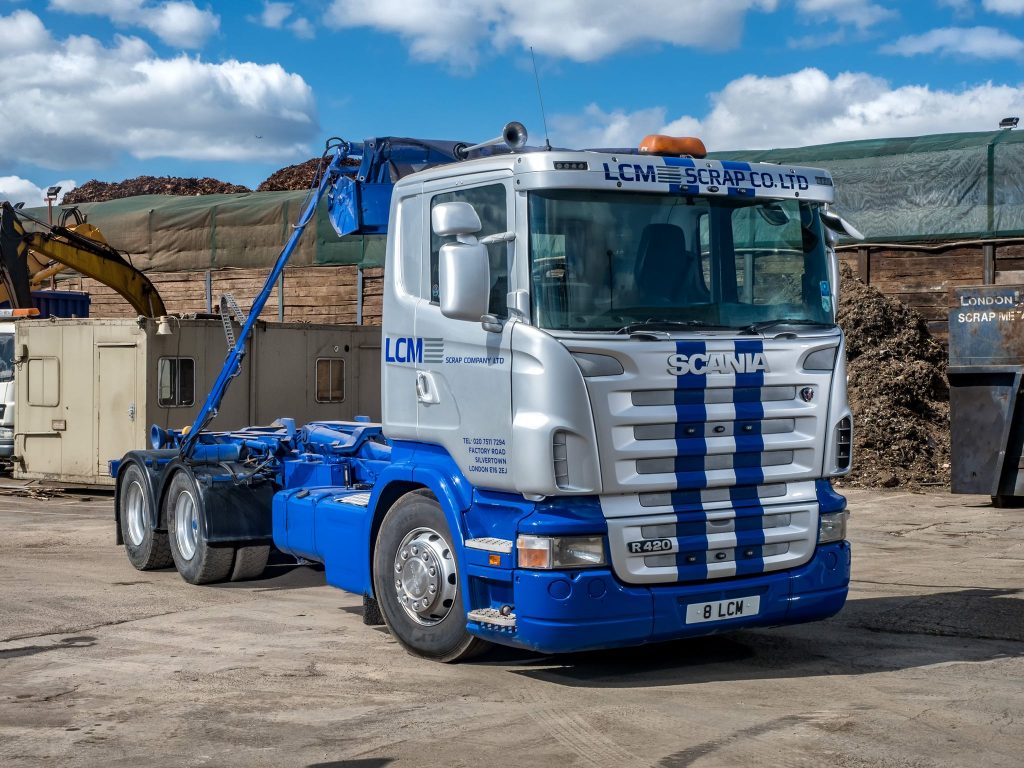
This Scania truck is part of a collection of trucks and wagons belonging to a company, based in London, near the City Airport. I was there to create a portfolio of images for use in their PR and marketing, but also for their new website, currently being developed by D & M Creative.
I’d pretty much shot most of the images indicated in the brief by the time I had gotten around to taking a look at a couple of their vehicles. I was aware I had little time to shoot this, as it was due to go out on a delivery within minutes. My main issue was the weather. Yes, it was sunny, which is great. Unfortunately, the clouds were passing quite quickly, which meant the sun was frequently in and out of view, and the light levels were up and down like a yo yo. Actually, to be fair, as I set it for the first of the bracketed images, the sun came out from behind a fairly large cloud, and stayed visible long enough to get my required three bracketed images. However, I wasn’t quite as lucky with the second vehicle below. I definitely lost hair over that one!
Yes, I did say bracketed. Wondering how you bracket a lit shot? Read on…
Lets start with the ambient. I needed to know where my base exposure was, so I could add light to reduce the depth of the shadow, which in turn would help give a more natural appearance to the blended frames. I did a couple of test images, and found 1/250th sec at ISO200 and f14 gave a good rendition of the scene. Nothing lost in the blacks, and no blown hightlights.
I placed an ELB400 with an HS head to my left. It was firing at ½ power (power level set to 5) through a high intensity reflector. It was angled to throw light along the side and length of the truck, and raised to the maximum height of the lightstand at 7.5 feet. This would fill some of the shadows created by the sun which was frame left. You can see where it’s lifted the shadows and blacks in the likes of the rear tyres, drivers footstep, the shadow of the main cab above the front wheel etc.
I then placed a second ELB400 with an HS head frame right. It was firing through a high intensity reflector at a height of 7 feet, and placed to fill the front of the cab. I had to do a couple of test shots to ensure the lightsource wasn’t reflected in the glass. I originally had the light stand at 7.5 feet, the same as the first. However, I could plainly see the circular highlight in the windscreen, just above the wiper blade. By dropping the height of the lightstand by six inches, the reflection dropped below the edge of the screen. If you look carefully, you can just see the brighter area emanating from below the wiper blade, where the reflected light source is hidden by the body moulding of the cab. Output was set to 4.
Once I was happy with the base exposure, I then did three exposures. One at ISO64, one at ISO200 and one at ISO400.
If I were to bracket on shutter speed, it would only affect the ambient light. Bracketing on aperture would just be weird, affecting not only the depth of field, but also the additional flash lighting.
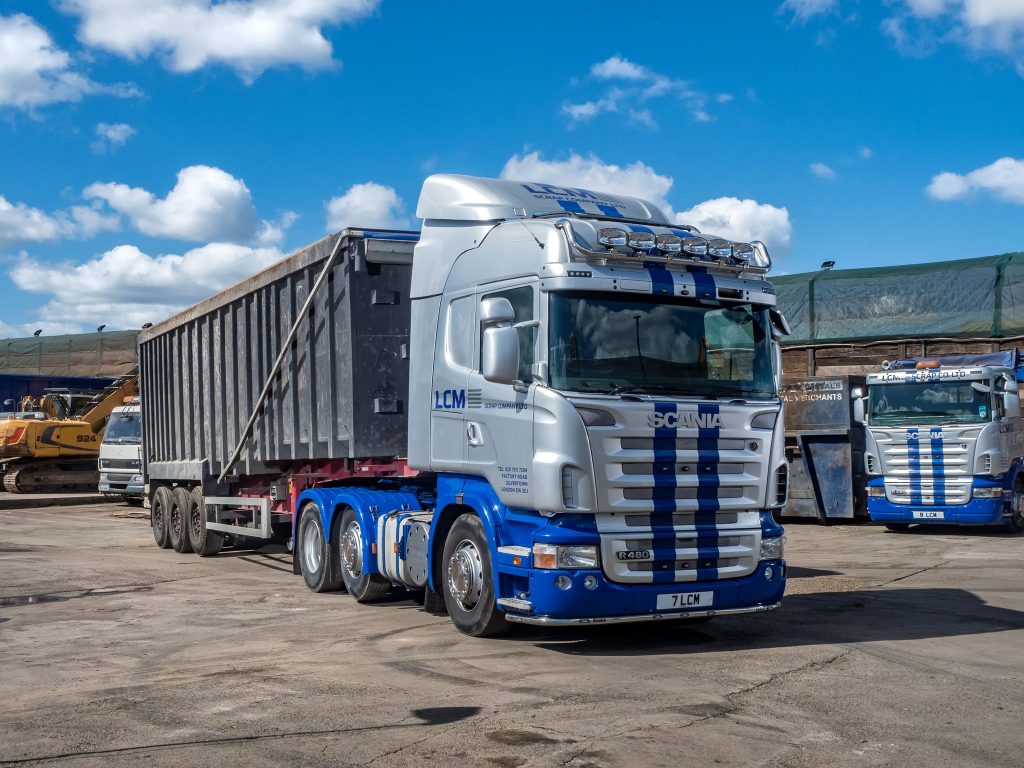
This second truck was shot in exactly the same manner, although it took a lot more faffing. The sun was in and out like a ruddy yo yo, and every time I started my bracketing sequence, the sun would disappear after the 1st or 2nd frame, so I would have to start again.
The light frame left needed to move forward slightly, and angle it’s targetted area further along the length to even out the light. The frame right light was pretty much unchanged, other than being moved to account for the fact the cab wasn’t in exactly the same place.
Very straightforward and easy to do. Well, if you don’t count the faffing and swearing caused by intermittent sunlight. I have to say, automotive, or vehicle photography, is something I partiularly enjoy. Big or small, it’s all good fun.
Lighting courses are available via Focal Point