This was an interesting project. Very small, highly detailed and meticulously painted miniatures from the Games Workshop range. The images were to be used to promote the painting and build skills, and showing the detail was paramount.
Lighting tiny objects is subject to the same general needs as any other object. We want to show it’s shape, form and texture. Which means carefully using key and accent lighting to develop the image as we see fit. The biggest fly in the ointment is trying to scale down the light sources to match the subject. In this instance, it wasn’t really an issue, as speedlights are quite possibly the ideal size for these models, although the smallest models may have an issue. A bare speedlight will still give a low contrast (soft) light on a small item, due to the perceived size of the source in relation to the model.
To create a harder light, you could do one of two things.
A) Move the speedlight further away. Although this means it’s more difficult to control exactly where the light affects the model, and is likely to just flood the scenario.
B) Mask off the front of the speedlight, creating a small aperture for the light to come through.
I chose to mask as required, which was just card and masking tape.
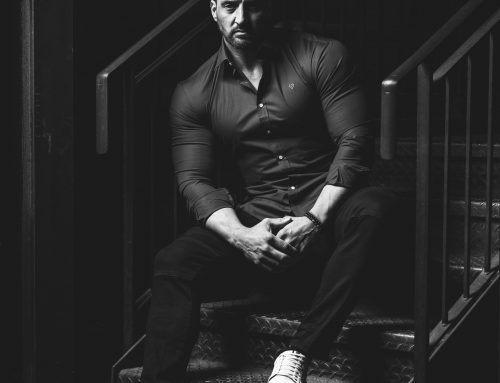
The above image was lit with three speedlights. The brand isn’t important, as they were just three manual capable speedlights I dug out of a drawer, and would be triggered by a radio setup.
Lets start with the keylight. The speedlight was set to fire at 1/64th through a small reflector with a diffuser panel (*cough* Lumiquest Ultrasoft *cough*). The speedlight was simply placed on one of those little plastic speedlight foot thingies immediate frame left, and with the added height of the reflector, made it pretty much ideal.
Frame right, but much deeper into the scene, I placed a bare speedlight to give texture along the tail and in particular, bring the highest rider out of the shadows. This was firing at 1/128th.
A third bare speedlight was placed frame left and further back. This was used to accent the model’s shoulder plating and give separation to the top erm.. stuff!
Olympus OM-D E-M1 mkII 1/125th sec ISO200 12-40mm f8

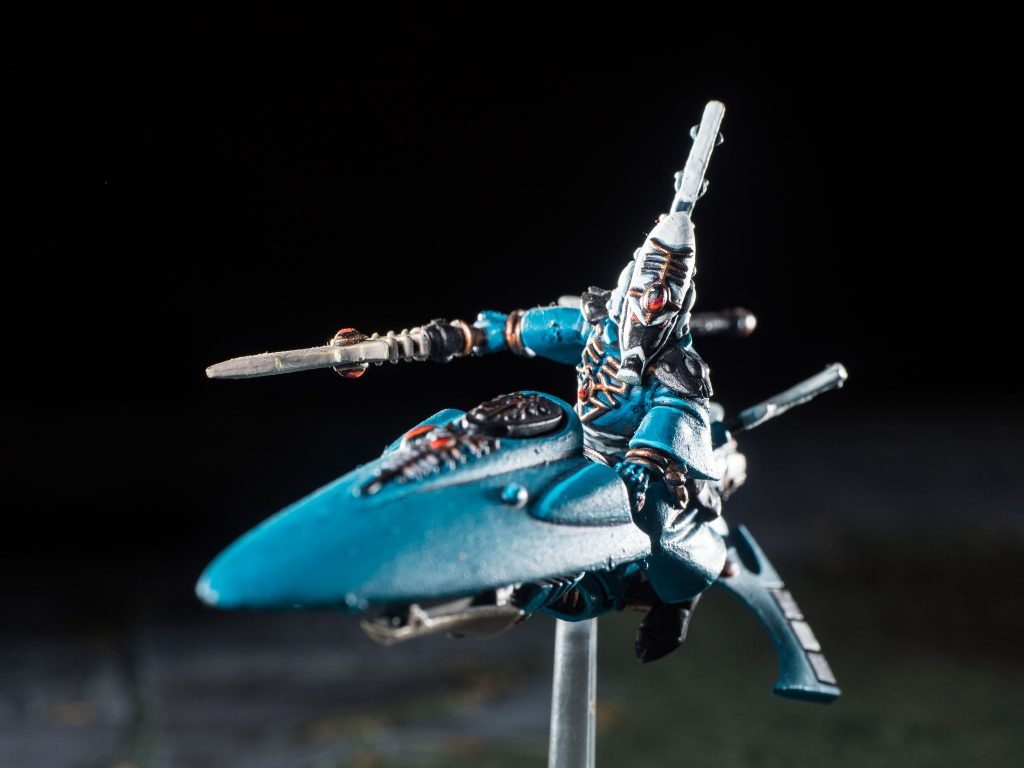
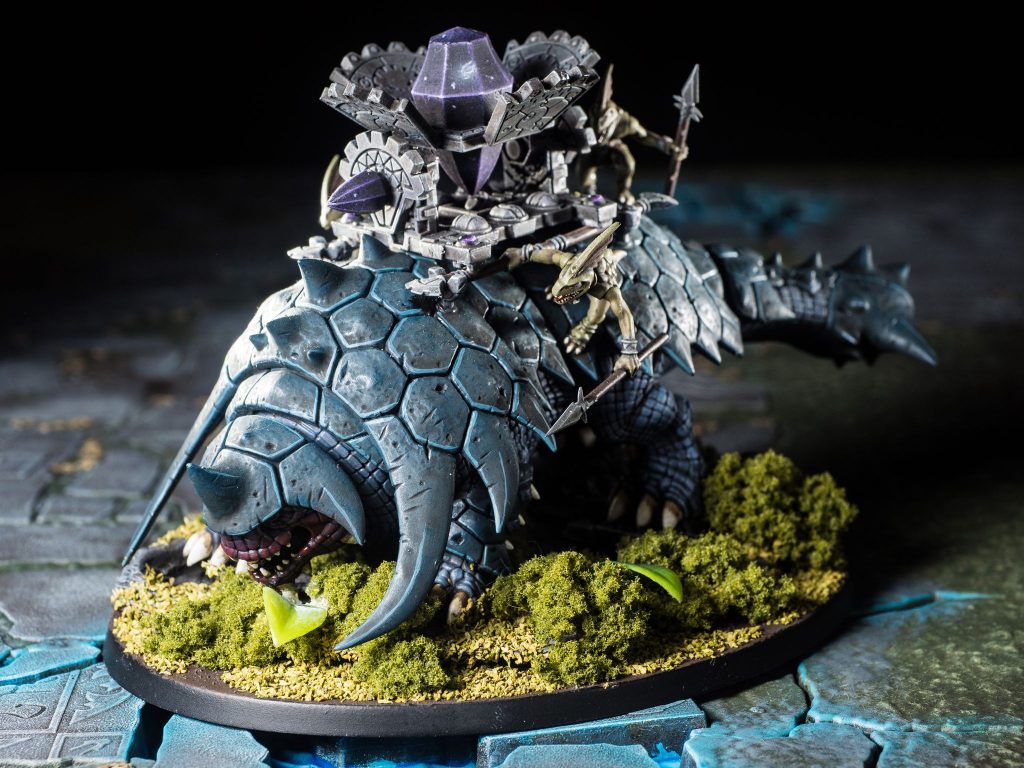
The above two images have a very similar setup to the first image, but the frame left accent light has been moved further out, making it not quite as bright, with the softer key light immediate frame left, and the accent light deeper into the scene, frame right. All light outputs remain the same.
Olympus OM-D E-M1 mkII 1/125th sec ISO200 12-40mm f10 for the top image, and f8 for the craft.
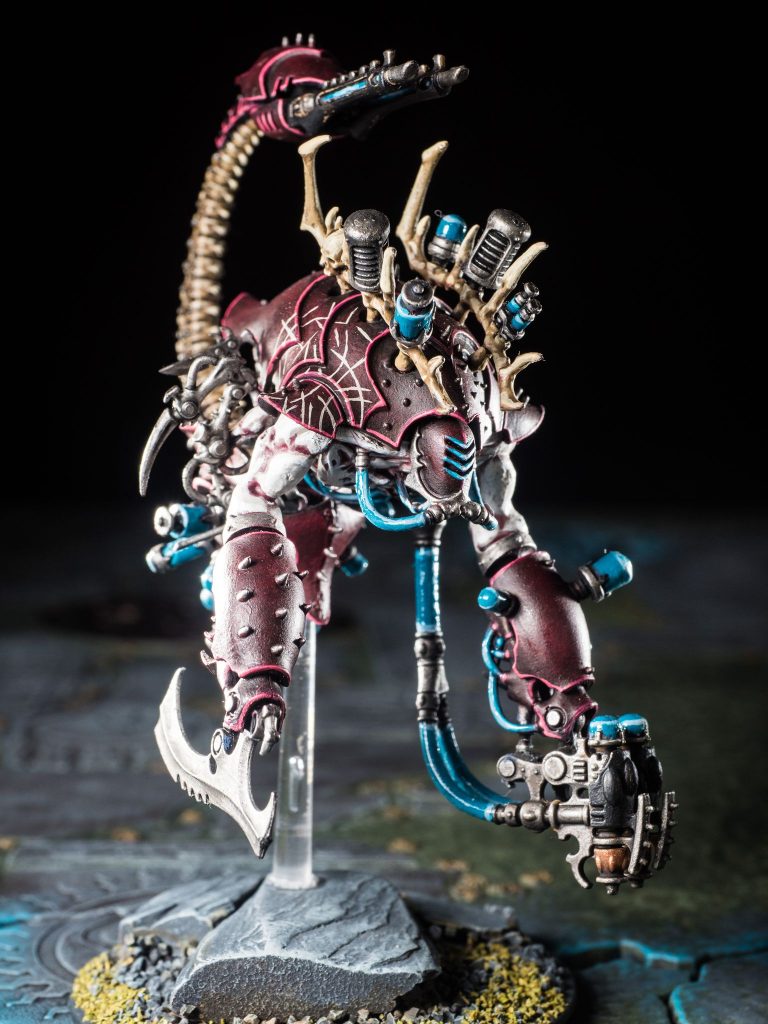
This was a little more difficult due to the model size. The key light remains the same, and immediate frame left, with the frame left accent light a little nearer than the above two images. The accent light at frame right, however, caused too much spill and was far too “soft”. I taped a couple of strips of paper over the speedlight, creating a miniature striplight. This allowed a much more targeted accent light along the model’s left (frame right) arm.
All speedlights are again at the same settings as the above.
Olympus OM-D E-M1 mkII 1/125th sec ISO200 12-40mm f9
It’s a lot of fun trying to come up with ways for speedlights to mimic studio modifiers without swamping the model details etc.